In the era of digital content creation, video editing has become a core tool for conveying emotions and narratives. Whether it’s professional filmmaking or personal vlog creation, mastering techniques to adjust lighting, color, rhythm, and other elements is crucial. This article will break down eight key editing techniques, leveraging features of mainstream software (such as Adobe Premiere Pro and DaVinci Resolve) and Gilisoft Video Editor Pro to help you craft more polished video works.

I. Reshaping Light and Color: From Brightening Shadows to Vintage Fading
1. Brightening Dark Footage
- Premiere Pro: Use the “Basic Correction” module in the Lumetri Color panel. Drag the “Exposure” and “Shadows” sliders to enhance dark details, and adjust “Highlights” to avoid overexposure. The 2025 update’s AI intelligent analysis automatically identifies dark areas in the frame, optimizing exposure balance with one click.
- DaVinci Resolve: Utilize node-based color grading. In the “Color Wheels,” brighten shadow areas individually, and refine brightness distribution with the “Curves” tool. The Studio version supports HDR scopes, enabling real-time monitoring and dynamic adjustment of brightness ranges.
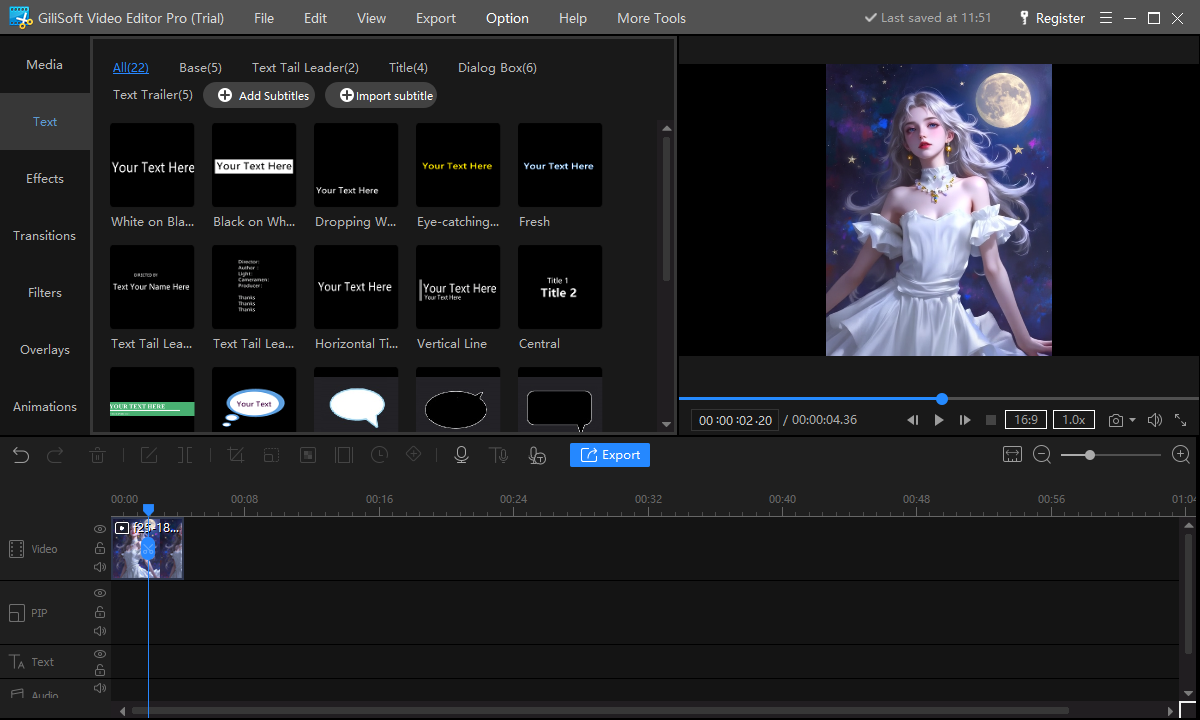
- Gilisoft Video Editor Pro: Adjust the “Brightness” slider directly in the “Effects” menu, with real-time preview. The 2025 update adds HEVC/H.265 support, preserving quality when processing high-resolution footage.
2. Softening Saturated Colors
- Premiere Pro: Lower the “Saturation” value in the Lumetri panel, or use the “HSL Secondary” tool to fine-tune specific colors. The AI-powered “Media Intelligence” feature automatically identifies skin tones in the frame, preventing over-adjustment.
- DaVinci Resolve: Reduce overall saturation via the “Color Balance” module, and isolate skin tones with “Qualifiers.” The Studio version’s new “AI Skin Tone Protection” intelligently locks skin regions, ensuring natural complexion during adjustments.
- Gilisoft: Offers a “Saturation” slider and filters like “Black & White” or “Vintage Photo” for one-click desaturation. Batch process multiple clips efficiently using the “Batch Editing” function.
3. Enhancing Highlights for Darkened Subjects
- Premiere Pro: Use the “Radial Gradient” tool to frame a subject’s face. Boost brightness in “Shadows” and “Highlights,” and enhance details with “Dehaze.” The 2025 “Generative Extend” feature intelligently expands frame edges, avoiding noise when brightening.
- DaVinci Resolve: Draw a mask with “Power Window,” then brighten the selected area in a “Luminance” node. Pair with “Noise Reduction” to refine quality. The Studio version’s “AI SuperScale” upscales low-res footage to 4K while preserving facial details.
- Gilisoft: Adjust the global “Highlights” slider, or crop to zoom in on the subject and brighten manually. For precision, export to Photoshop and use the “Curves” tool for local adjustments.
4. Adding Vintage Fade Effects
- Premiere Pro: Overlay vintage LUTs (e.g., Kodak 5207) and tweak “Color Balance” to add warm yellows and cyans, mimicking film fade. The 2025 “AI Style Transfer” automatically converts modern footage to retro tones.
- DaVinci Resolve: Add film grain in the “Film Grain” node, and reduce contrast/saturation with color wheels. The Studio version’s “AI Restoration” removes scratches and noise from old footage.
- Gilisoft: Use the built-in “Vintage Photo” filter to add sepia tones and subtle grain. For finer effects, layer a “Blur” filter to simulate time-worn textures, and standardize edits across clips with “Batch Editing.”
II. Enhancing Visual Quality: Sharpening and Contrast
5. Sharpening Blurry Footage
- Premiere Pro: Apply the “USM Sharpen” effect, adjusting “Amount,” “Radius,” and “Threshold” to avoid over-sharpened edges. The 2025 “AI Smart Sharpen” targets the frame’s main subject for focused detail enhancement.
- DaVinci Resolve: Boost “Sharpen” and “Structure” in the “Details” module, paired with “Noise Reduction” for balanced quality. The Studio version’s “AI UltraNR” eliminates high-ISO noise while preserving sharpness.
- Gilisoft: Use the “Sharpen” slider for quick clarity boosts. For severely blurry footage, integrate third-party tools like Topaz Gigapixel AI—2025’s update adds a direct integration interface for seamless use.
6. Boosting Depth with Contrast
- Premiere Pro: Increase “Contrast” and “Blacks” in Lumetri, or use “Curves” to enhance light-dark contrast. AI-driven “Auto Contrast” intelligently optimizes contrast based on scene content.
- DaVinci Resolve: Expand dynamic range with the “Contrast Enhancer” module, and adjust black/white points with “Levels.” The Studio version’s “AI Dynamic Range Expansion” preserves highlight/shadow details while lifting overall contrast.
- Gilisoft: Drag the “Contrast” slider, paired with linked adjustments to “Brightness” and “Saturation” for real-time preview. The 2025 “Smart Contrast” mode auto-detects scene types (e.g., night or snow) for targeted optimization.
III. Rhythm Control: Speed and Audio Artistry
7. Fixing Chaotic Rhythm with Speed Adjustments
- Premiere Pro: Right-click footage and select “Speed/Duration” to input a percentage, or use “Time Remapping” to create speed curves. The 2025 “AI Beat Detection” auto-generates speed keyframes synced to background music beats.
- DaVinci Resolve: Draw speed curves in the “Edit” page with the “Speed Editor,” supporting reverse playback and frame freezing. The Studio version’s “AI Optical Flow” ensures smooth motion during speed changes, avoiding choppiness.
- Gilisoft: Adjust the “Speed” slider in “Effects” for 0.1x to 10x speed. Batch adjust clips with “Batch Editing,” which auto-syncs to audio rhythm.
8. Silencing Slow Rhythms
- Premiere Pro: Detach the audio track, then right-click to “Delete” or “Mute,” or lower volume to -∞dB with “Audio Gain.” The 2025 “AI Voice Isolation” separates vocals from background noise for easy individual editing.
- DaVinci Resolve: Mute or delete audio in the “Fairlight” audio page. The Studio version’s “AI Music Remixing” extracts background tracks and adjusts their rhythm automatically.
- Gilisoft: Right-click the video, select “Detach Audio,” then delete or mute the track. To retain original audio, overlay a new track and refine quality with “AI Noise Reduction.”
IV. Software Comparison and Selection Guide
| Feature | Adobe Premiere Pro | DaVinci Resolve | Gilisoft Video Editor Pro |
|---|---|---|---|
| Color Grading Depth | Mid-to-high; comprehensive Lumetri | Professional; node-based + AI | Basic; sliders + preset filters |
| Speed/Audio Tools | Flexible; time remapping | Powerful; Fairlight audio suite | Basic; sliders + track separation |
| Usability | Steeper learning curve | User-friendly; beginner-friendly | Minimalist; one-click operations |
| Hardware Requirements | High; needs powerful CPU/GPU | Mid-high; free version with GPU acceleration | Low; runs smoothly on standard PCs |
| Cost-Effectiveness | Subscription-based; high long-term cost | Free version robust; Studio cost-effective | One-time purchase; affordable |
V. Conclusion: Choose the Right Tool to Unleash Creativity
- Professional Creators: Prioritize DaVinci Resolve for its film-grade color grading and audio tools. For Adobe ecosystem integration, Premiere Pro remains ideal.
- Beginners/Light Users: Gilisoft Video Editor Pro offers intuitive interfaces and essential features, perfect for batch processing and simple effects.
- Advanced Tips: For complex projects, combine third-party tools (e.g., Topaz AI for quality enhancement) or expand functionality with plugins (e.g., Hawaiki Color for FCPX’s classic color wheels).
Whether adjusting light, refining color, or controlling rhythm, the key is understanding each tool’s strengths and using them flexibly. With practice, you’ll master the full workflow from raw footage to polished final cuts, creating more impactful video content.