In the digital era, securing sensitive files is non-negotiable. Gilisoft File Lock Pro is a top-tier tool for encrypting and protecting data—whether on your computer’s internal drive or external storage like USBs. This step-by-step tutorial will show you how to lock and unlock files with ease, plus answer common questions to avoid mistakes.
How to Lock & Unlock Files on Local Hard Drives
Local drives (e.g., C: drive, internal SSDs) store most of your daily files. Here’s how to secure them with Gilisoft File Lock Pro:
Step 1: Lock Files on Local Drives
- Launch the software: Open Gilisoft File Lock Pro and enter your master password (set during first use).
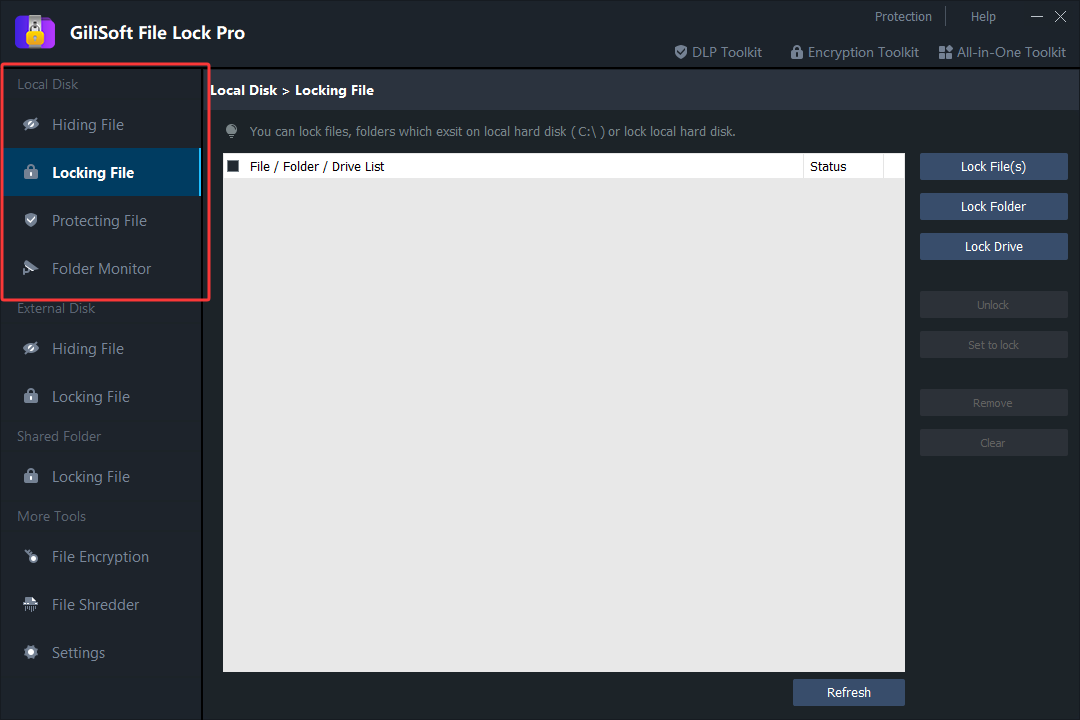
- Select the module: Click the “Local Disk” tab—this is designed for internal storage.
- Choose what to lock:
- To lock individual files: Click “Lock File(s)” and browse to select the files you want to protect (e.g., documents, photos).
- To lock folders or drives: Use “Lock Folder” or “Lock Drive” instead for bulk protection.
- Set a password: You can use your master password or create a unique password for the selected files. Tip: Avoid weak passwords like “123456”!
- Confirm locking: Click “Lock” to finish. Locked files will now be inaccessible—you can’t read, edit, or delete them without unlocking.
Step 2: Unlock Files on Local Drives
If you need to access locked files again:
- Open the software: Go to the “Local Disk” tab and find the “Locked Files/Folders” list.
- Select the target: Choose the file/folder you want to unlock.
- Enter the password: Click “Unlock” and input the password used during locking.
- Alternative: Right-click unlock: In Windows Explorer, right-click the locked file, select “Gilisoft File Lock Pro > Unlock”, and enter your password.
How to Lock & Unlock Files on External Drives
External drives (USB flash drives, portable HDDs) are easy to lose—securing them is critical. Here’s how Gilisoft File Lock Pro handles them:
Step 1: Lock Files on External Drives (USB/Portable HDD)
- Connect your device: Plug in the external drive (USB/portable HDD) and ensure your PC recognizes it.
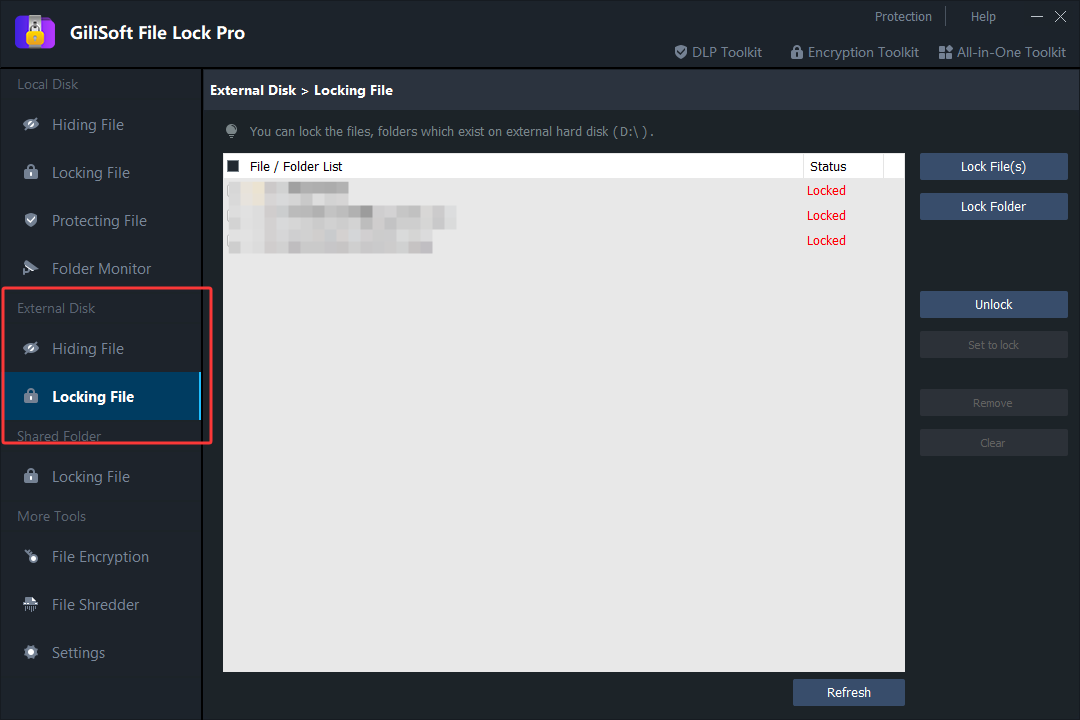
- Open the software: Launch Gilisoft File Lock Pro and go to the “External Disk” module.
- Add files to lock:
- Click “Lock File(s)” or “Lock Folder” and navigate to your external drive (e.g., E: drive).
- Select the files you want to protect (e.g., work reports, personal backups).
- Set password & lock: Use your master password or a new one, then click “Lock”. The files will be locked even if you plug the drive into another computer.
Step 2: Unlock Files on External Drives
To access locked files on an external drive:
- Keep the drive connected: Ensure it’s detected by your PC.
- Use the software: Go to “External Disk > Locked Files” and select the item to unlock.
- Unlock with password: Click “Unlock” and enter the correct password.
- Quick unlock via right-click: Right-click the locked file on the external drive, choose “Gilisoft File Lock Pro > Unlock”, and input your password.
Common Questions (FAQ)
- Q: What if I forget the password?
A: If you used the master password, reset it via the software’s “Password Recovery” (requires registered email). For unique file passwords, premium versions offer recovery tools. - Q: Will locked files work on other computers?
A: No—locked files on external drives stay protected unless unlocked with the correct password, even on other devices. - Q: Is Gilisoft File Lock Pro compatible with Windows 11?
A: Yes, it supports Windows 10/11, 8, 7, and macOS (check official site for updates).
By following these steps, you can fully leverage Gilisoft File Lock Pro to secure files on both local and external drives. Always remember your password—It’s the key to your data’s safety!