
How to Normalize Audio Volume on Windows
If an exported recording is consistently too quiet, normalization can adjust its overall level. Here is the file-editing workflow in the current GiliSoft Audio Editor. This is different from changing Windows speaker volume, which only affects playback on that PC.
Quick answer
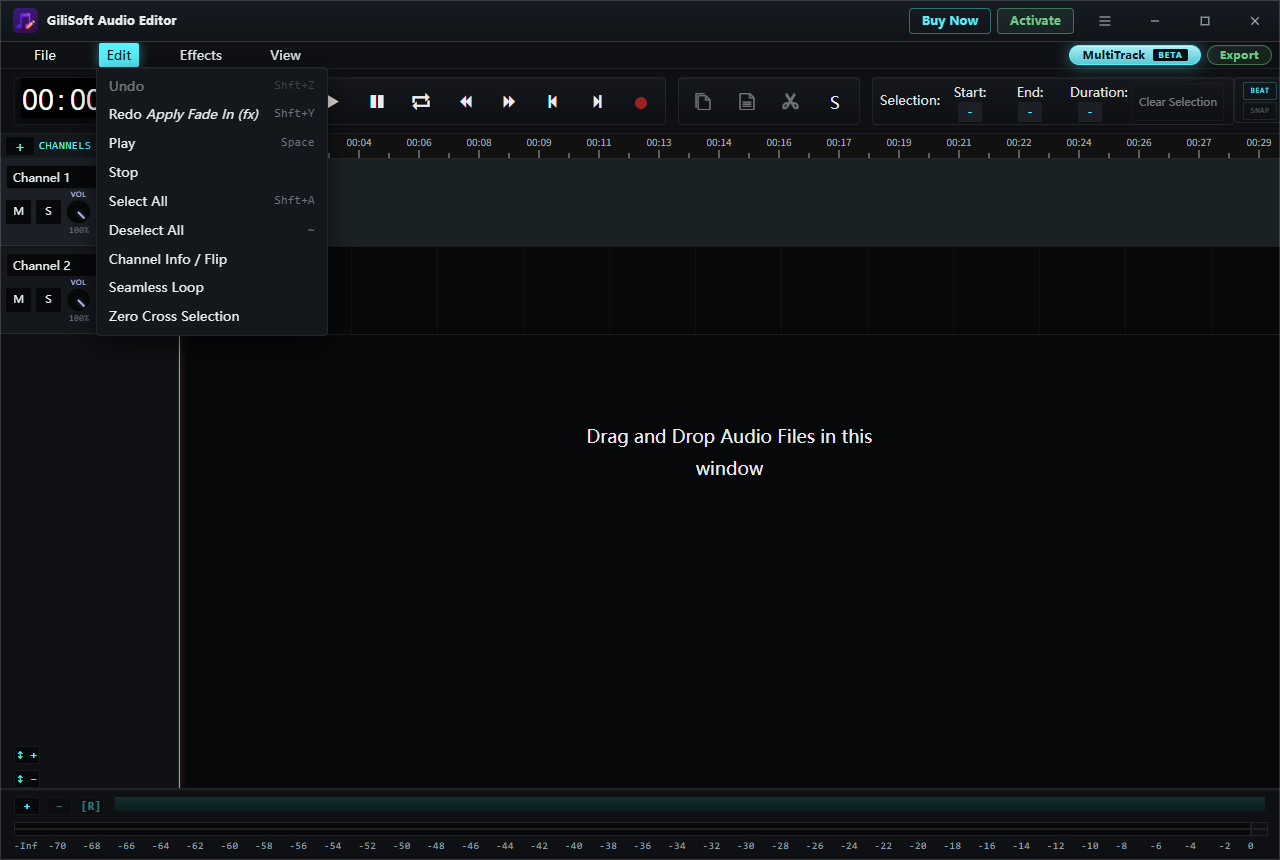
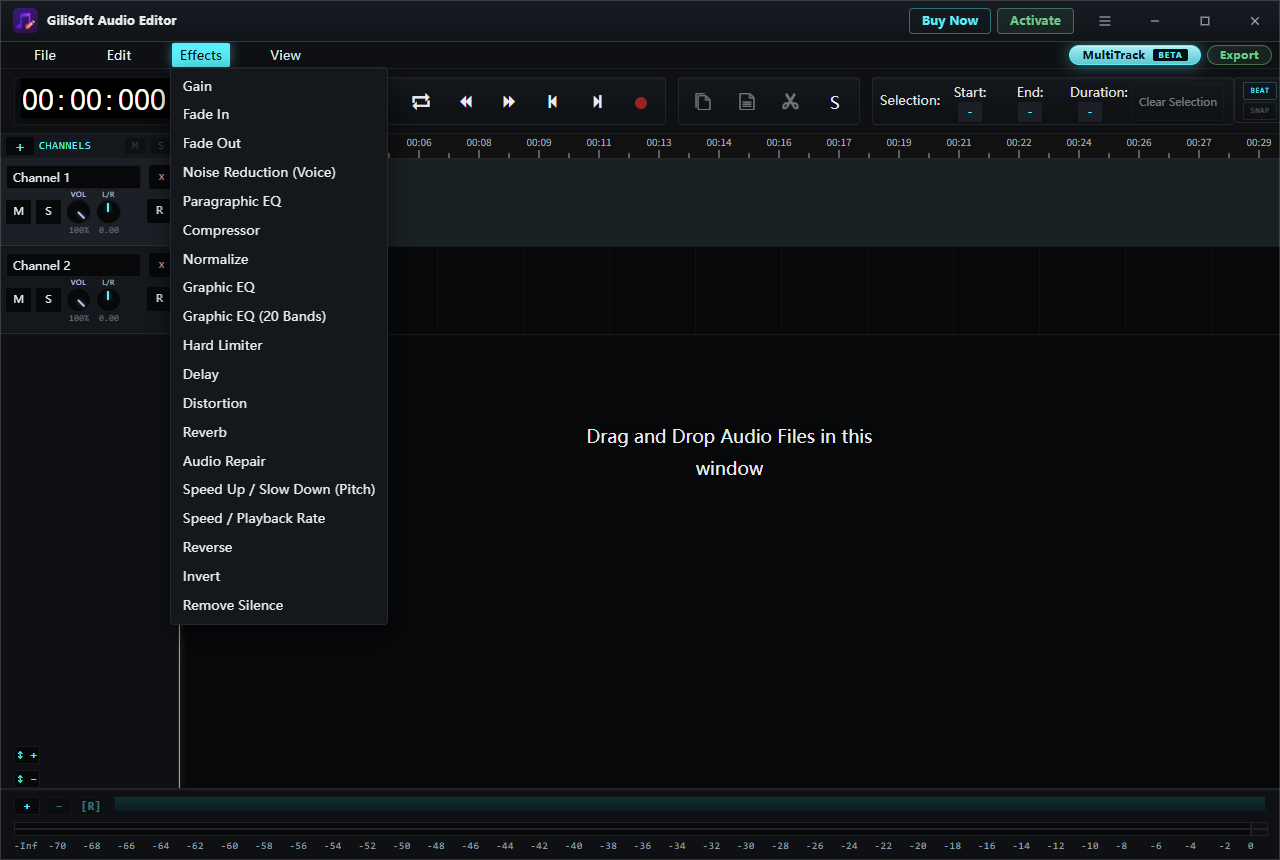
In GiliSoft Audio Editor, load the audio file, choose Edit > Select All, then open Effects > Normalize. Review the options shown in your version, apply the effect, compare the result with the source, and use File > Export to save a new copy.
Normalize, Gain, or Compressor?
| Problem | Start with | What to check |
|---|---|---|
| The entire file is quiet | Normalize the full recording | Compare overall level and loudest peaks |
| Only one passage is quiet | Select that passage and review Gain | Listen across both selection boundaries |
| Words vary widely in level | Review Compressor | Check whether speech still sounds natural |
| Playback is quiet only on your PC | Check Windows or player volume first | Play the file on another device |
Normalization is not noise reduction: raising a quiet recording can also make existing hiss more noticeable. It cannot restore audio that was clipped during recording.
Normalize an Audio File in GiliSoft Audio Editor
- Keep the original
Work from a copy so you can compare the sound and return to the unprocessed recording.
- Load and listen
Open Audio Editing from the task hub, then choose File > Load from computer. Listen to the quiet and loud sections before changing the level.
- Select the full recording
Choose Edit > Select All when the entire file needs adjustment. If only one passage is quiet, consider Gain for that range instead.
- Open Normalize
Choose Effects > Normalize. Review the options displayed by your installed version rather than assuming a particular target or preset.
- Compare before export
Play the loudest peak and a typical quiet passage. Undo and try a more suitable approach if the result is harsh, noisy, or still inconsistent.
- Export a new file
Use File > Export or the upper-right Export button. Open the saved file outside the editor and check its complete playback.
Check the Result Before Sharing
- Compare the processed file with the original at the same playback volume.
- Listen for clipping, newly prominent background noise, and uneven voice levels.
- Check the exported file on the device or service where it will be used.
For unwanted starts and endings, trim the audio before final export. For a gentle opening or ending, see fade in and fade out.
Frequently Asked Questions
Does normalization make every word equally loud?
Not necessarily. A whole-file level adjustment does not fix every difference between quiet and loud words. Review Compressor when the recording's dynamics vary substantially.
Is this the same as Windows loudness equalization?
No. This guide edits and exports an audio file. Windows playback settings affect what you hear on a device without creating a newly edited file.
Will normalization remove hiss?
No. It changes level, not the underlying noise. Compare the processed recording with the original before sharing it.
Where is Normalize in the current editor?
Open Audio Editing, select the audio, then choose Effects > Normalize.