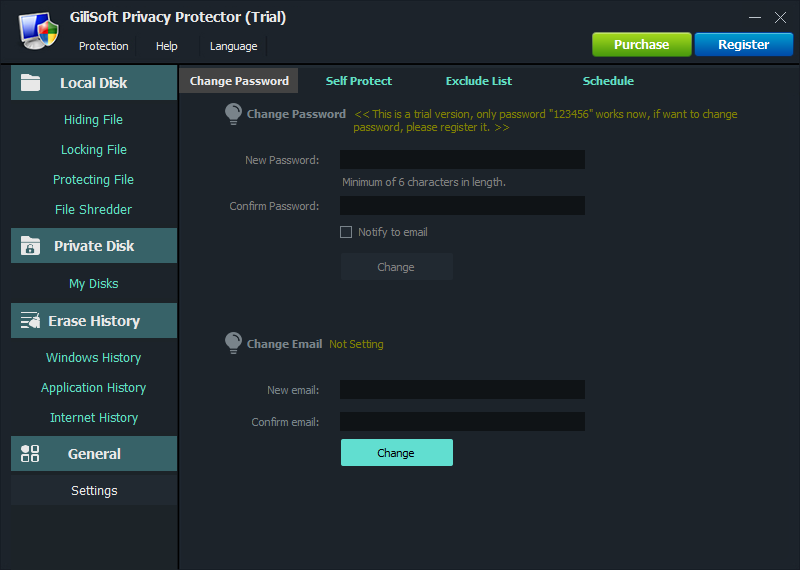
Set the main password
Use a password that other users of the PC do not know. It controls access to protected data and administrative settings.

Use GiliSoft Privacy Protector to remove Windows, browser, and application activity traces, schedule automatic cleanup, hide or lock private content, create a personal private disk, and securely delete sensitive data.

Set recovery details and review trusted paths before deleting history or applying protection. A few minutes of preparation makes later cleanup safer and easier to reverse where appropriate.
Use a password that other users of the PC do not know. It controls access to protected data and administrative settings.
Enter an email address for password recovery and security notifications so an avoidable lockout does not become permanent.
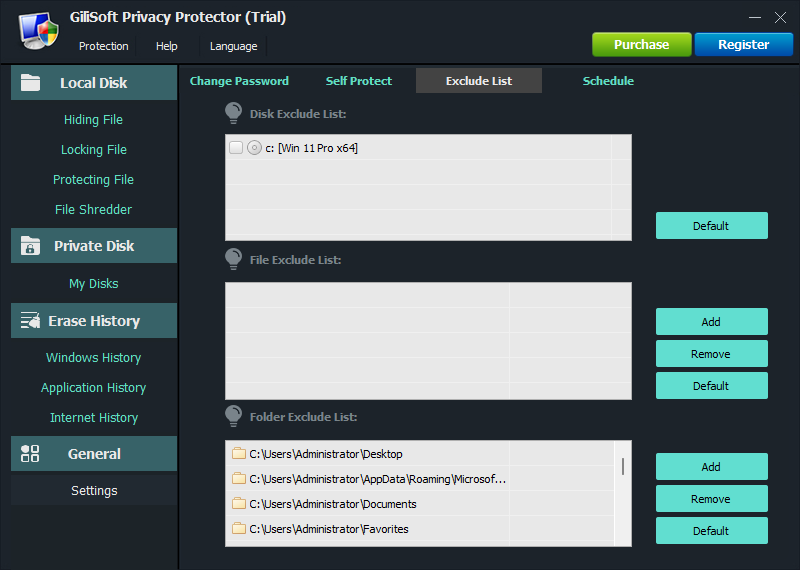
Exclude trusted disks, system-sensitive locations, and personal folders that should not be selected accidentally.
Choose only the categories you intend to erase, close applications that are currently using those records, and review the selection before starting cleanup.

Remove recent activity, Run and search records, recent document history, temporary traces, and other selected local usage details.
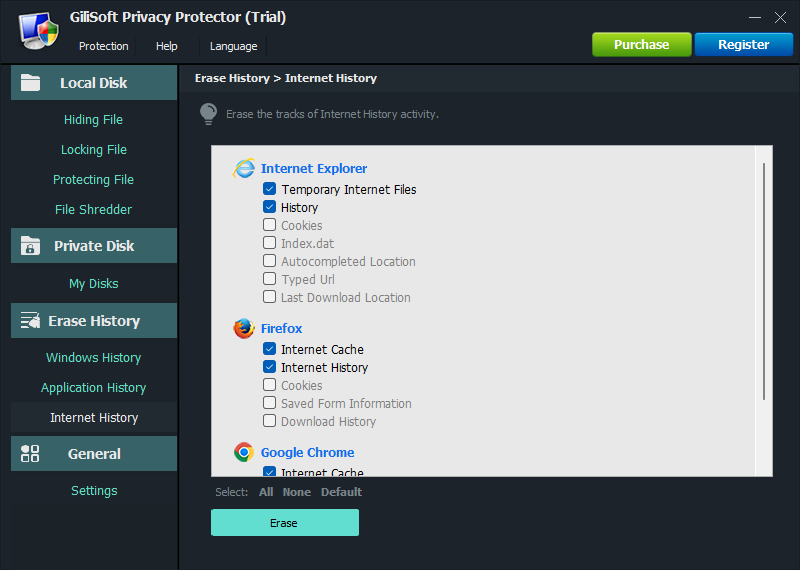
Select browser history, cache, cookies, typed addresses, saved form information, and download records for cleanup.
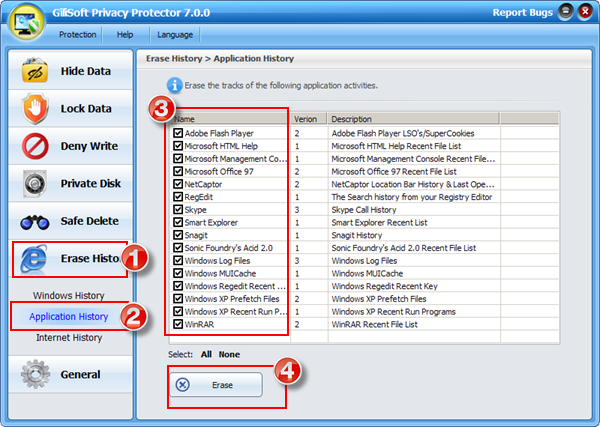
Review supported desktop applications and erase selected activity records left by office, media, communication, and utility software.
A schedule is useful on shared, reception, training-room, or family PCs where the same privacy routine should run repeatedly.
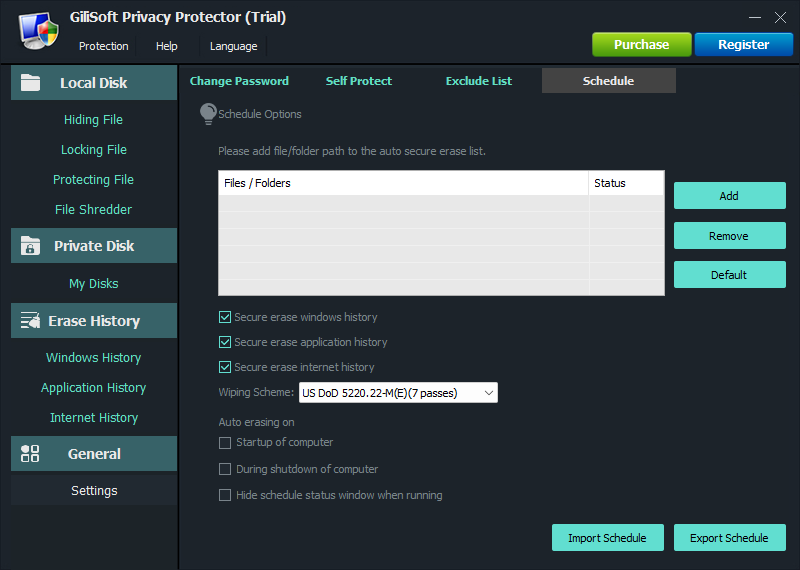 Schedule: selected history categories and automatic cleanup timing
These actions solve different problems. Choose the result you want instead of applying every option to the same item.
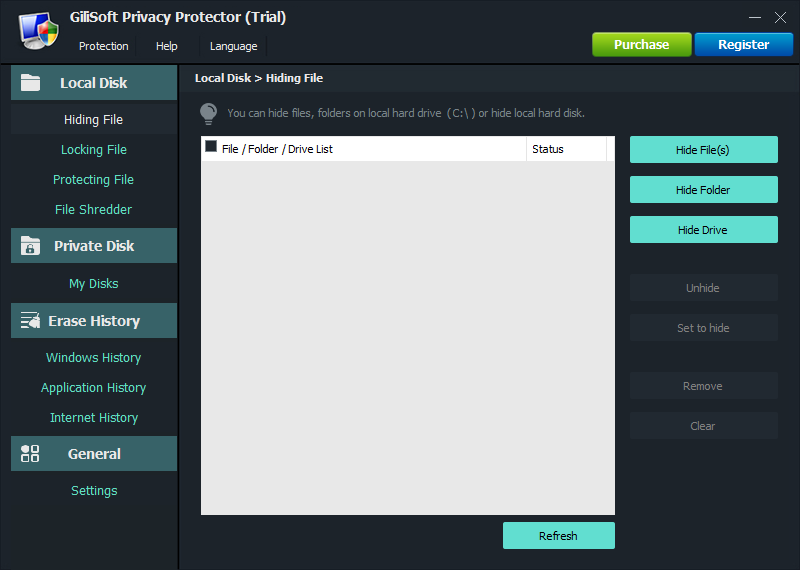
Use Hide when a file, folder, or local drive should disappear from ordinary Windows browsing and search.
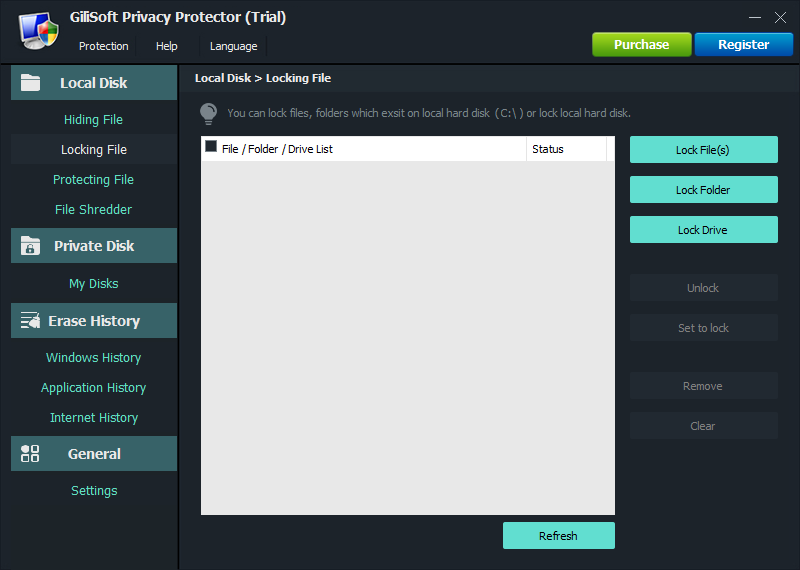
Use Lock when the item may remain visible but must require the Privacy Protector password before it can be opened.
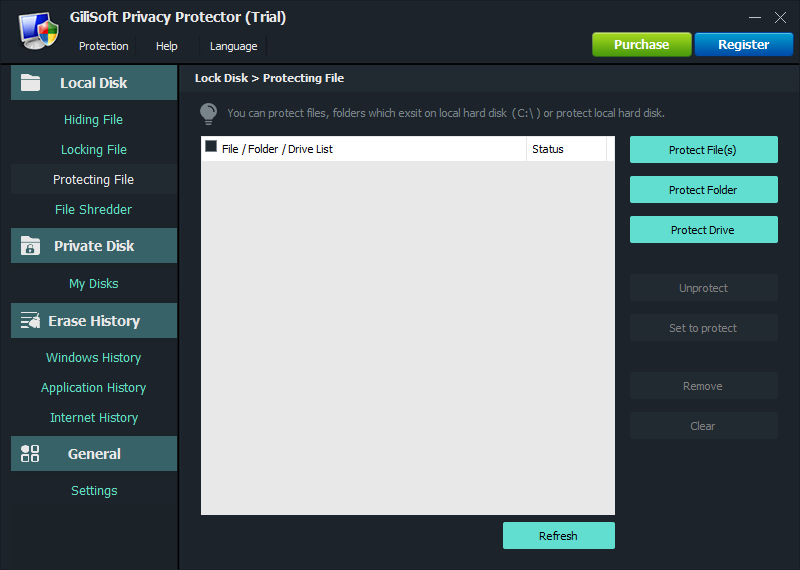
Use Protect when content should remain available for viewing but needs protection against unwanted editing or deletion.
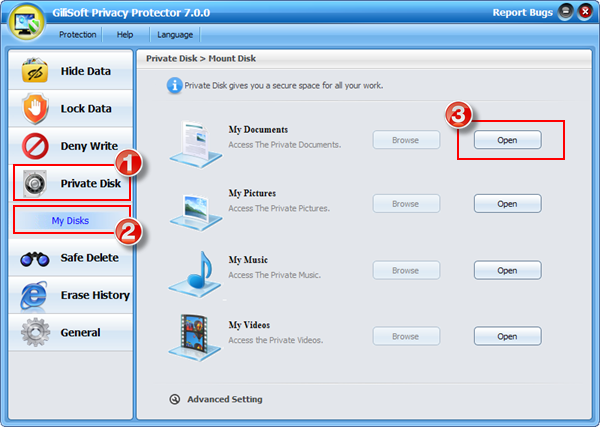 Private Disk: a separate personal space for documents, pictures, music, and videos
Use this for personal archives that are easier to manage together than as many separately hidden items.
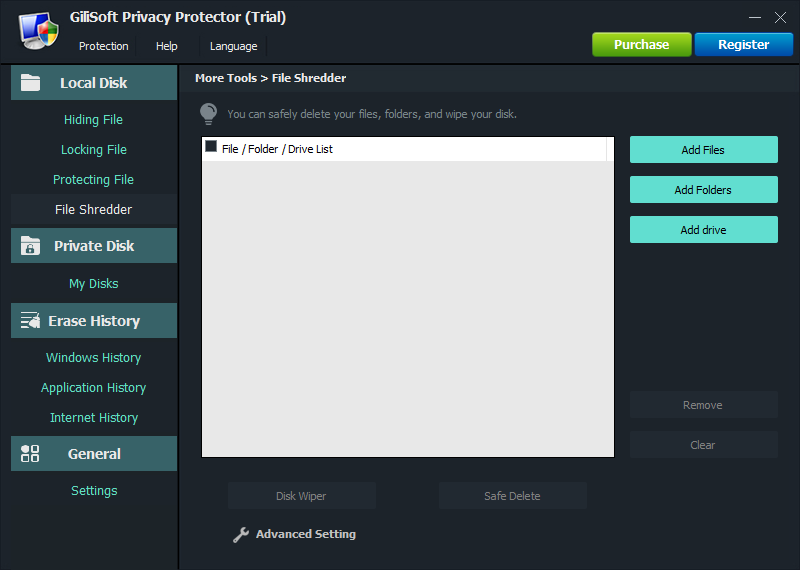 File Shredder: add the intended targets, verify them, and then erase
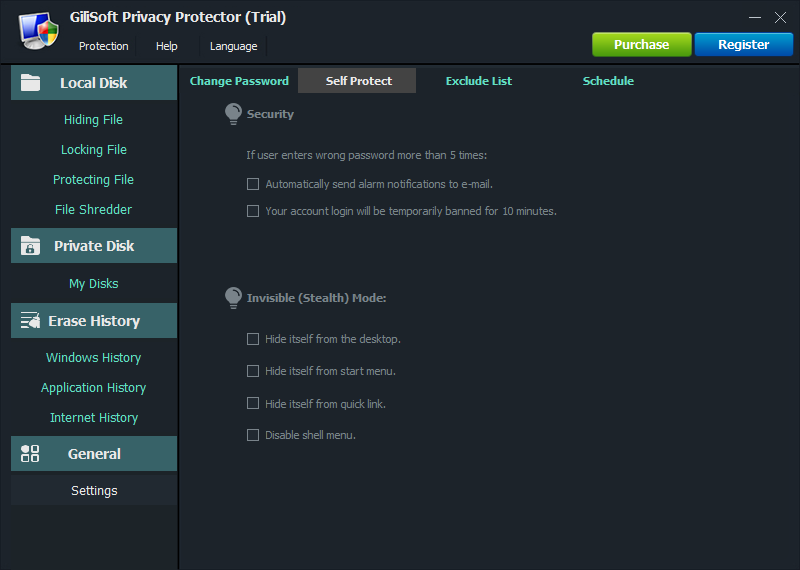 Self protection: wrong-password responses, alerts, temporary limits, and stealth options
Keep at least one reliable way to reopen the program before enabling stealth options.
Close the browser before cleaning, confirm the correct browser categories are selected, then rerun cleanup. A browser left open may keep files in use or recreate records when it closes.
Open the corresponding Hide section, select the item, and use the unhide or restore action after entering the Privacy Protector password.
Cancel before cleanup where possible. Add important or system-sensitive locations to the Exclude List to reduce the chance of selecting them again.
Lock controls opening the item with a password. Protect is intended to keep content available while restricting unwanted modification or deletion.
Yes. Use Schedule to select the trace categories and the time or event that should trigger routine privacy cleanup.
Use the configured recovery email route. Set and verify the recovery address before relying on hidden, locked, or stealth-protected content.
Use Privacy Protector for routine activity cleanup, private file handling, automatic schedules, personal storage, and secure deletion.
View GiliSoft Privacy Protector 


Enter your email address to get our latest newsletter