
Diagnose the Recording Before Applying Effects
| Symptom | Likely problem | First response |
|---|---|---|
| Steady fan or hiss | Continuous background noise | Try conservative denoise on a copy |
| Long blank gaps | Excessive silence | Shorten only confirmed empty regions |
| Harsh flattened peaks | Clipping during capture | Use a different take when available; repair is limited |
| Voice changes volume | Distance or level inconsistency | Use careful level adjustment and improve future mic technique |
| Hollow or distant speech | Room echo or poor placement | Repair conservatively; prevention is more effective |
| Clicks or isolated bumps | Transient noise or bad edit boundary | Repair the specific event instead of processing everything |
Use a Conservative Cleanup Order
There is no universal chain, but a practical speech workflow is: remove obvious unwanted sections, address steady noise gently, correct broad level differences, shorten excessive pauses, then export and review. Avoid repeatedly encoding a lossy file between steps.
Clean Up an Audio Recording: Step by Step
Preserve the original
Duplicate the file and keep the untouched recording available for comparison.
Listen through and mark problems
Note timestamps for noise changes, silence, clipping, mistakes, echo, and level shifts.
Remove only unwanted content
Cut false starts or unrelated sections at safe boundaries.
Apply light noise reduction
Use the lowest amount that improves intelligibility without making speech metallic or watery.
Shorten excessive silence
Keep natural pauses and room tone; do not cut quiet words or break synchronization.
Export once and review
Check speech clarity, artifacts, duration, format, and playback on normal headphones or speakers.
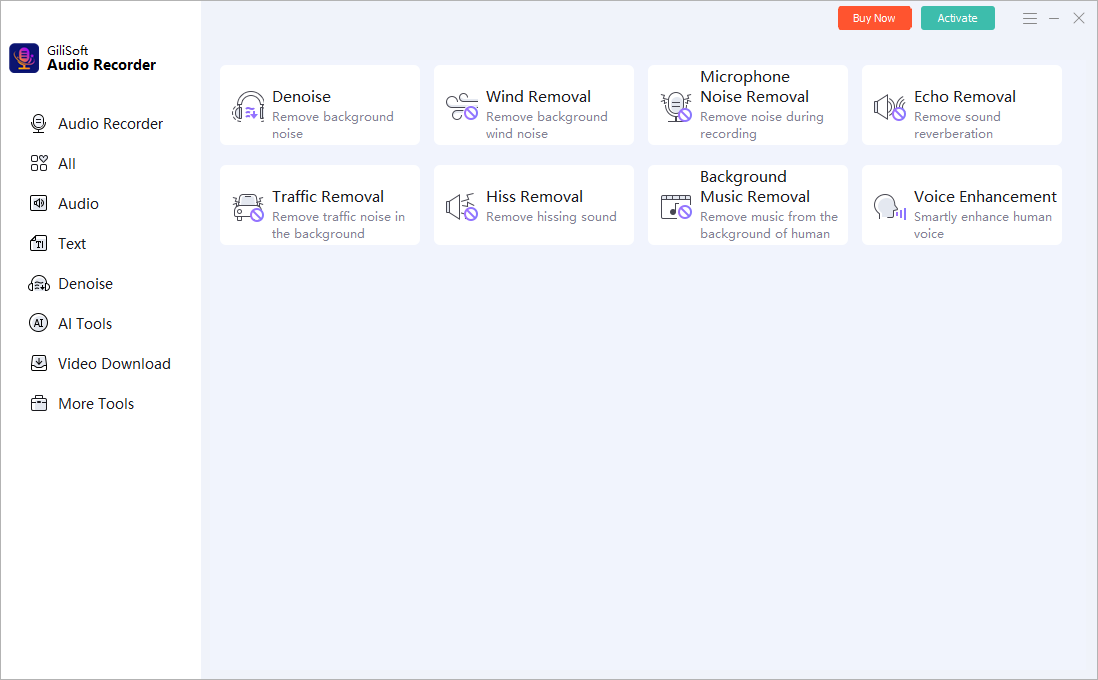
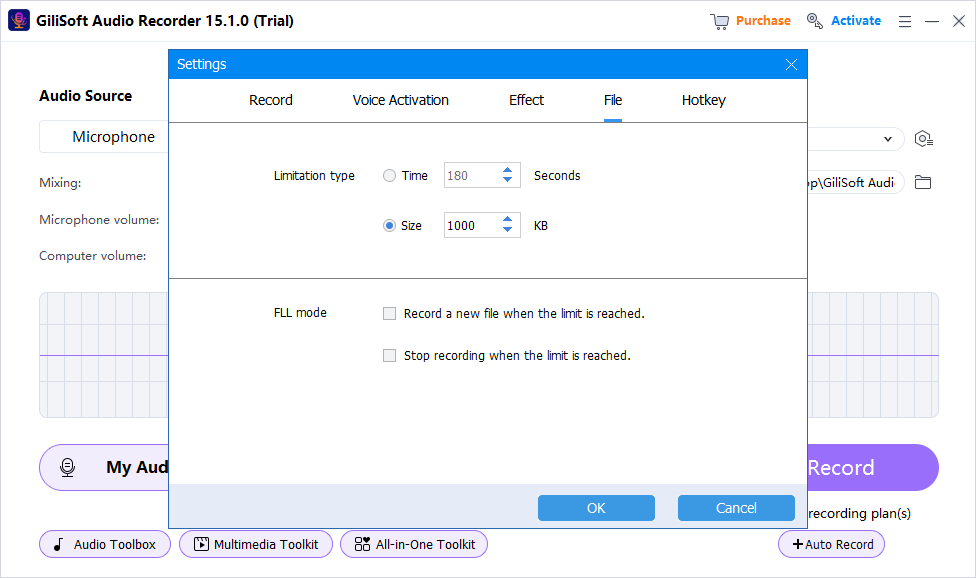
Recommended Windows Tool: GiliSoft Audio Recorder Pro
GiliSoft Audio Recorder Pro is recommended for capturing cleaner Windows audio and handling common post-recording tasks such as noise reduction, silence handling, effects, and recorded-file management. For extensive waveform editing, use the broader GiliSoft Audio Toolbox workflow.
Choose the source first
Record computer sound, microphone input, or both instead of repairing the wrong source later.
Test before the full session
A short saved sample catches silence, clipping, echo, and device mistakes early.
Use practical cleanup tools
Voice activation, silence handling, noise reduction, and recorded-file management support a cleaner workflow.
Keep the original recording
Preserve an untouched source before cleanup, effects, conversion, or destructive trimming.
Avoid Overprocessing the Voice
- Stop when speech becomes metallic, watery, dull, or phasey.
- Do not expect denoise to repair clipping, extreme echo, or missing speech.
- Apply cleanup to the problem region when the rest of the file is already clean.
- Compare at matched listening volume so louder is not mistaken for better.
- Keep an unprocessed original and export a new file.
Frequently Asked Questions
What should I fix first?
Fix the issue that most harms understanding. Remove obvious mistakes, then address steady noise, broad level problems, and excessive pauses conservatively.
Can noise reduction remove every background sound?
No. Strong or changing noise, overlapping speech, echo, and clipping may remain, and aggressive processing can damage the voice.
Is silence removal the same as cleanup?
It is only one part. Silence removal shortens low-level regions; denoise, edits, levels, and artifact repair address different problems.
Why does cleaned speech sound metallic?
Noise reduction or another process may be too strong. Reduce the amount and compare with the original.
Can clipped audio be fully repaired?
Usually not. Repair may reduce the damage, but a clean rerecording is preferable when available.
Which file should I keep?
Keep the original plus a clearly named cleaned export. Do not overwrite the only source recording.
More Windows Audio Guides
Continue with the recording, cleanup, or troubleshooting guide that matches the next task.