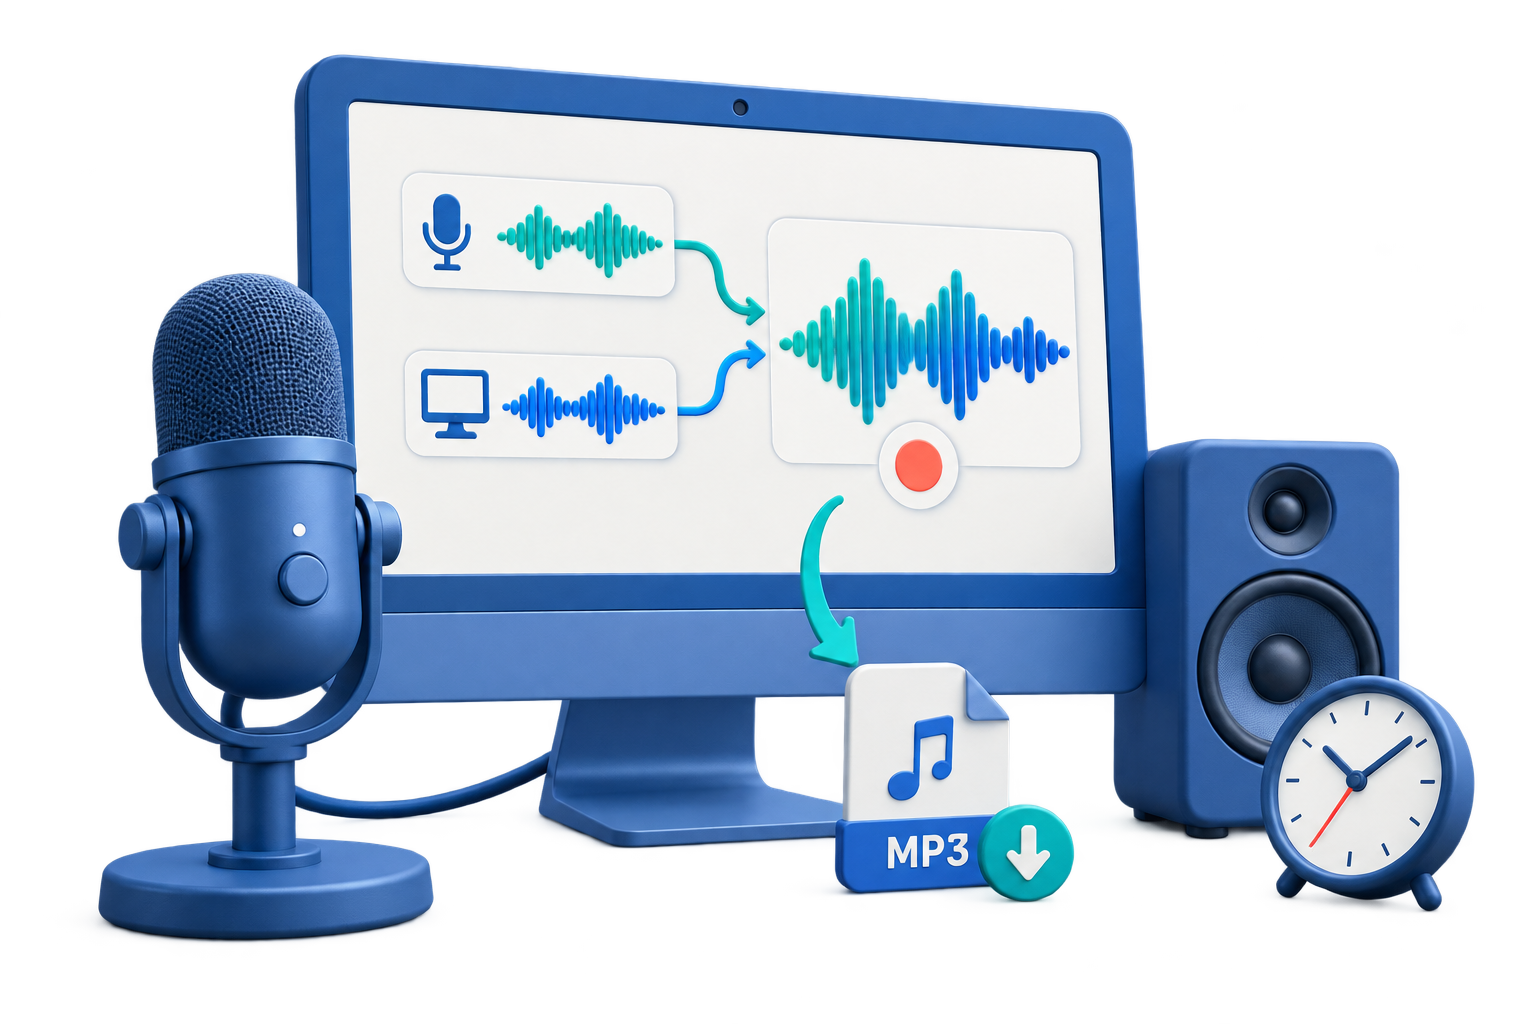
Make a Voice Note Easy to Use Later
| Note element | What to say | Why |
|---|---|---|
| Context | Project, person, place, or topic | Makes the note understandable later |
| Observation | The idea or information in one clear sentence | Keeps the core message easy to find |
| Action | What should happen next and who owns it | Turns recording into useful work |
| Timing | Date, deadline, or follow-up point when relevant | Prevents time-sensitive notes from becoming vague |
Record a Voice Note on Windows: Step by Step
Choose the microphone
Select the intended built-in, headset, USB, or interface microphone in Windows Sound settings.
Run a short input test
Speak at the normal distance and confirm the recording is clear without clipping.
State the subject first
Begin with the project or topic so the note still makes sense weeks later.
Record one focused idea
Keep unrelated topics in separate recordings and state the next action when applicable.
Stop and verify
Listen to the beginning and end before assuming the note was saved correctly.
Rename and file it
Use a consistent date, subject, and status pattern and place the note in the correct project folder.
Keep Voice Notes Searchable
- Use filenames such as
2026-09-15-client-follow-uprather thanRecording 17. - Separate unrelated ideas into different files.
- Include the action or decision in the spoken note.
- Move completed notes to an archive instead of leaving one unsorted folder.
- Protect confidential voice notes with appropriate storage and access controls.
Recommended Windows Tool: GiliSoft Audio Recorder Pro
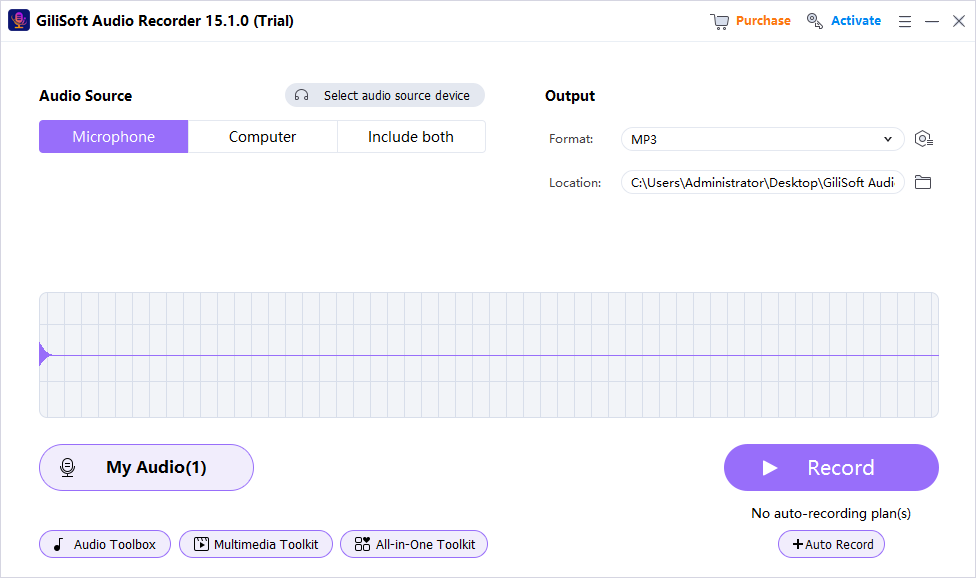
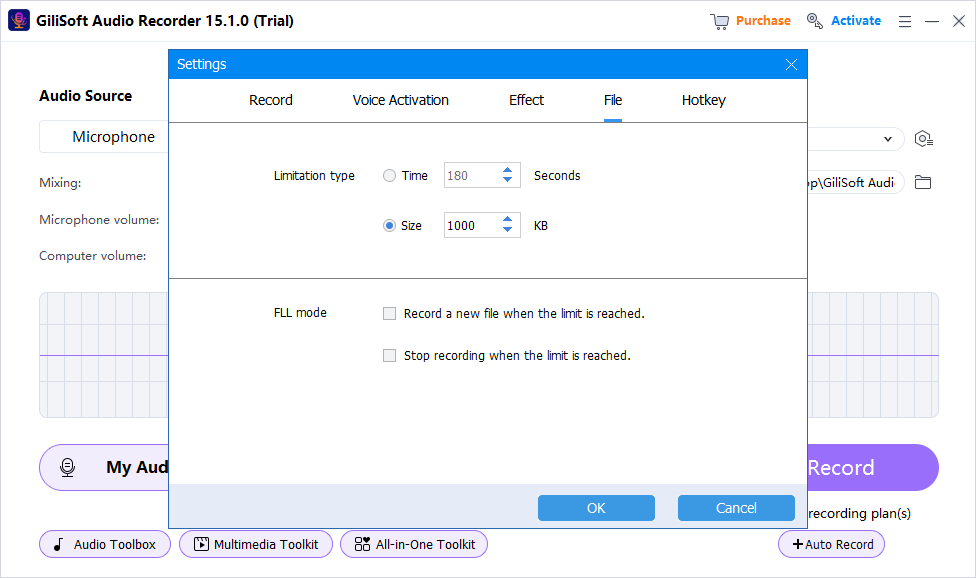
GiliSoft Audio Recorder Pro is a practical choice for Windows voice notes when you need microphone selection, hotkeys, voice activation, noise reduction, and organized recorded-file management beyond a basic one-button recorder.
Choose the source first
Record computer sound, microphone input, or both instead of repairing the wrong source later.
Test before the full session
A short saved sample catches silence, clipping, echo, and device mistakes early.
Use practical cleanup tools
Voice activation, silence handling, noise reduction, and recorded-file management support a cleaner workflow.
Keep the original recording
Preserve an untouched source before cleanup, effects, conversion, or destructive trimming.
Fix Quiet, Missing, or Noisy Voice Notes
- Check Windows Settings > System > Sound > Input for the selected microphone.
- Enable microphone access under Privacy & security when required.
- Move closer before raising input volume excessively.
- Reduce fan, keyboard, desk, and room-reflection noise at the source.
- Test another application to separate device problems from recorder settings.
Frequently Asked Questions
What is the best format for voice notes?
MP3 is convenient for compact everyday notes, while WAV is useful when an uncompressed source is needed.
Why is my voice note silent?
The wrong microphone may be selected or Windows microphone access may be disabled. Check Sound > Input and Privacy & security > Microphone.
How long should a voice note be?
Keep it as short as the idea allows. Separate unrelated topics so each file remains easy to identify and use.
Can voice activation help?
Yes, for hands-free or intermittent note capture, but test the threshold against quiet speech and room noise.
How should I name files?
Use a consistent date plus topic or project name, and add an action or status when helpful.
How are voice notes different from voice memos?
Voice notes are usually quick observations or actions; voice memos are often longer, more structured recordings meant for review or distribution.
More Windows Audio Guides
Continue with the recording, cleanup, or troubleshooting guide that matches the next task.