
Confirm whether the input is an audio file, a video file, or tracks on an Audio CD.
GiliSoft Audio Converter Ripper Help Center
Audio Converter Ripper User Guide for Windows
Follow the real workflow to convert audio formats, extract sound from video, rip Audio CDs, trim or combine tracks, adjust sound settings, edit tags, and verify output files.
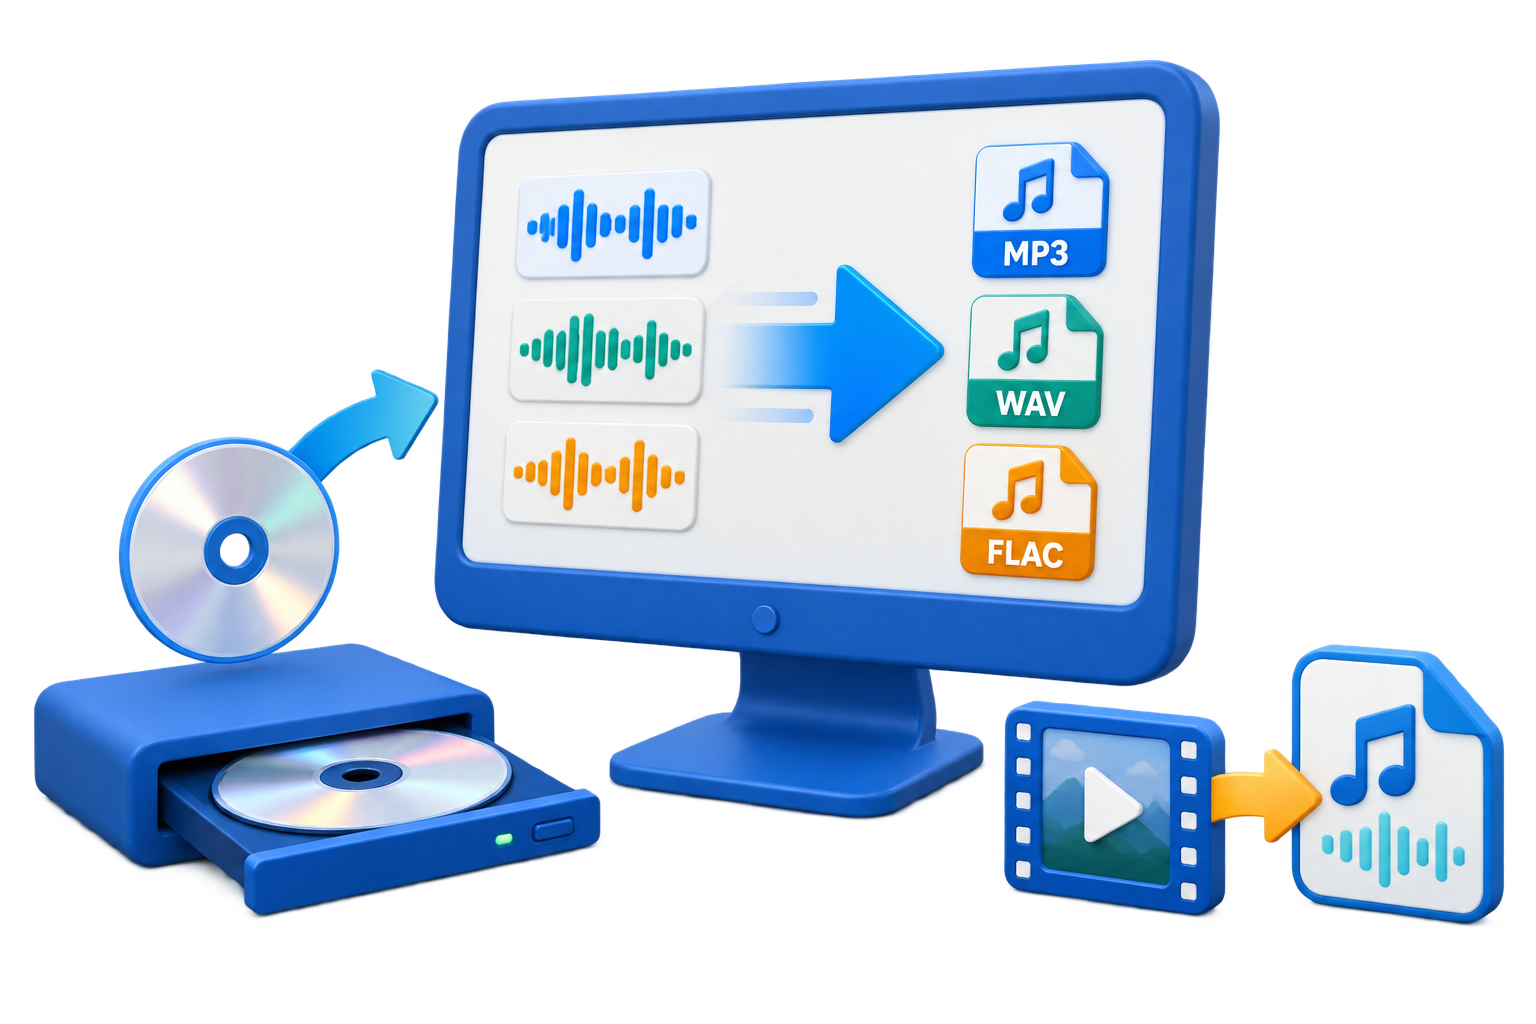
Before You Convert
A few decisions at the beginning make it easier to avoid the wrong format, an oversized file, or output saved to an unexpected folder.
Select a format that matches the player, editor, archive, phone, or delivery platform.
Review encoder, bit rate, sample rate, and channel settings when the default is not suitable.
Use an output folder with enough space and a location that will be easy to find afterward.
Choose the Right Audio Output Format
Choose the format according to where the file will be played, edited, stored, or uploaded. A larger file is not automatically a better result for every destination.
| Format | Best suited to | What to consider |
|---|---|---|
| MP3 | General playback, sharing, phones, websites, and compact libraries | Broad compatibility and smaller files; use an appropriate bitrate for speech or music. |
| WAV | Editing, production handoff, and uncompressed Windows audio | High compatibility with editors, but files are substantially larger. |
| FLAC | Lossless music archives and quality-conscious playback | Preserves audio without WAV-sized storage, but confirm player support. |
| AAC / M4A | Modern phones, portable devices, and efficient music delivery | Good quality at practical sizes; compatibility depends on the target app or device. |
| WMA / OGG / APE | Existing libraries, specialist players, or source-format migration | Use when the destination explicitly supports the format; MP3 or AAC is often easier to share. |
Convert Audio Files to Another Format
Use the main conversion workspace for one file or a batch of mixed audio and video sources.
- Add every source file required for the conversion job.
- Choose one output profile for the batch, or review individual settings where needed.
- Check bitrate, sample rate, channels, and output names.
- Select the output folder and start the conversion queue.
- Open representative converted files and listen to the beginning, middle, and end.
MP3 is practical for compatibility and smaller files. WAV is useful for uncompressed audio work, while FLAC is suitable when lossless compression is preferred.
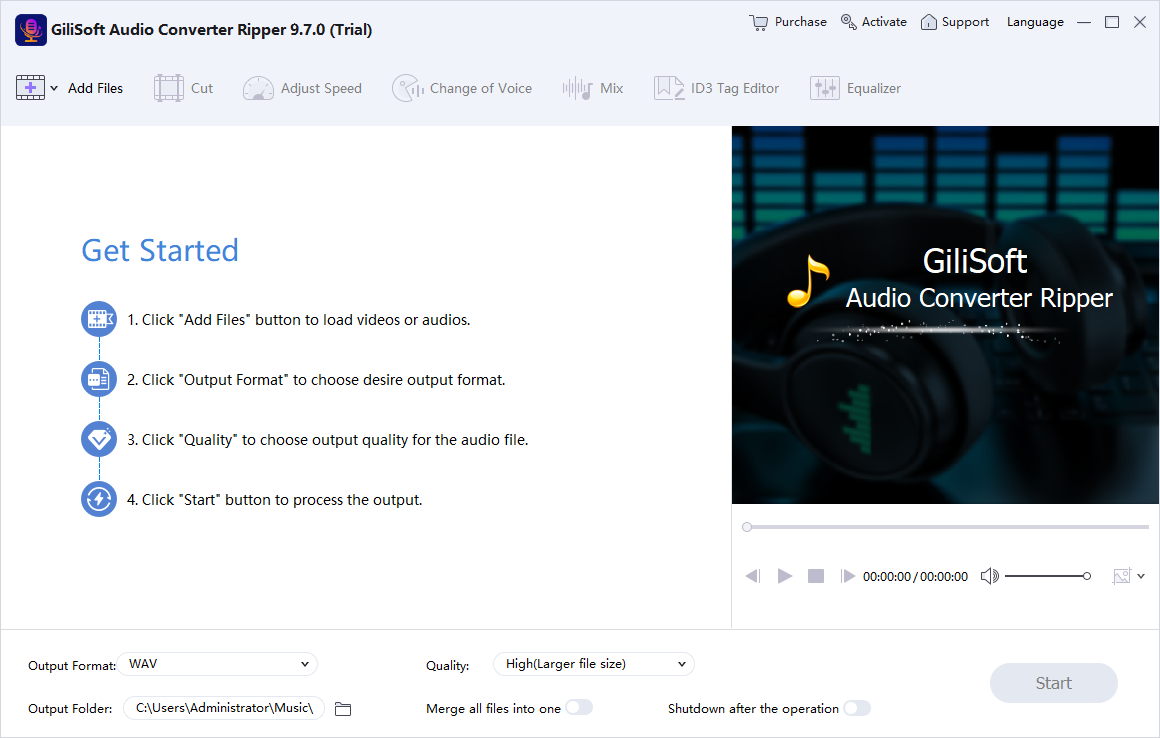 Main conversion workspace. Click to enlarge.
Extract Audio from a Video File
A video file can be used as the source when you only need its soundtrack, narration, lecture, meeting audio, or music bed.
- Add the video file to the conversion list.
- Choose an audio-only output format.
- Set the output location and quality.
- Convert, then check that the exported audio covers the required part of the video.
For a focused explanation with common use cases, see How to Extract Audio from Video.
Video File→Audio Output
The conversion engine reads the media source and creates an audio-only file in the selected format.
Rip Audio CD Tracks to Digital Files
Digitize music or spoken-word Audio CDs so the tracks can be stored, searched, played, and backed up without relying on the physical disc.
- Insert the Audio CD and select the available CD drive.
- Choose the tracks that should be copied.
- Select MP3, WAV, FLAC, AAC, or another available audio output.
- Review album and track details when CDDB information is available.
- Start ripping and verify the exported track order and names.
Use only discs and recordings you are authorized to copy. For a dedicated walkthrough, see Rip Audio CD to MP3.
Audio CD
Select tracksChoose formatCheck CDDB tagsRip and verify
Digital Audio Library
Cut an Audio Segment
Convert only the part you need when preparing a short reference, sample, ringtone, lesson extract, or reusable clip.
- Add the source audio and open the cutting tool.
- Set the start position and duration or end position.
- Preview the selected range.
- Choose the output format and convert the clip.
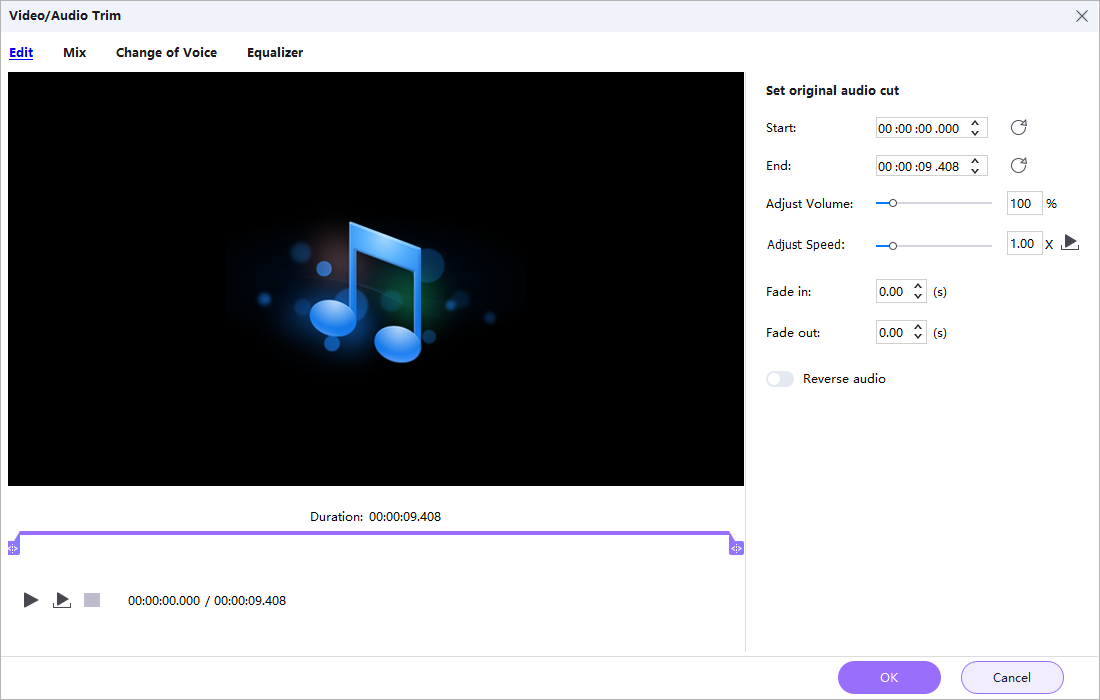 Audio cutting controls. Click to enlarge.
Join or Mix Audio Files
Joining places tracks in sequence, while mixing combines sound from multiple sources into the same output. Choose the method that matches the intended result.
- Add the files and confirm their order.
- Choose sequential joining or the available mixing controls.
- Preview transitions and relative levels.
- Select one output format and create the combined file.
For straightforward sequential joining, see Audio Joiner for Windows.
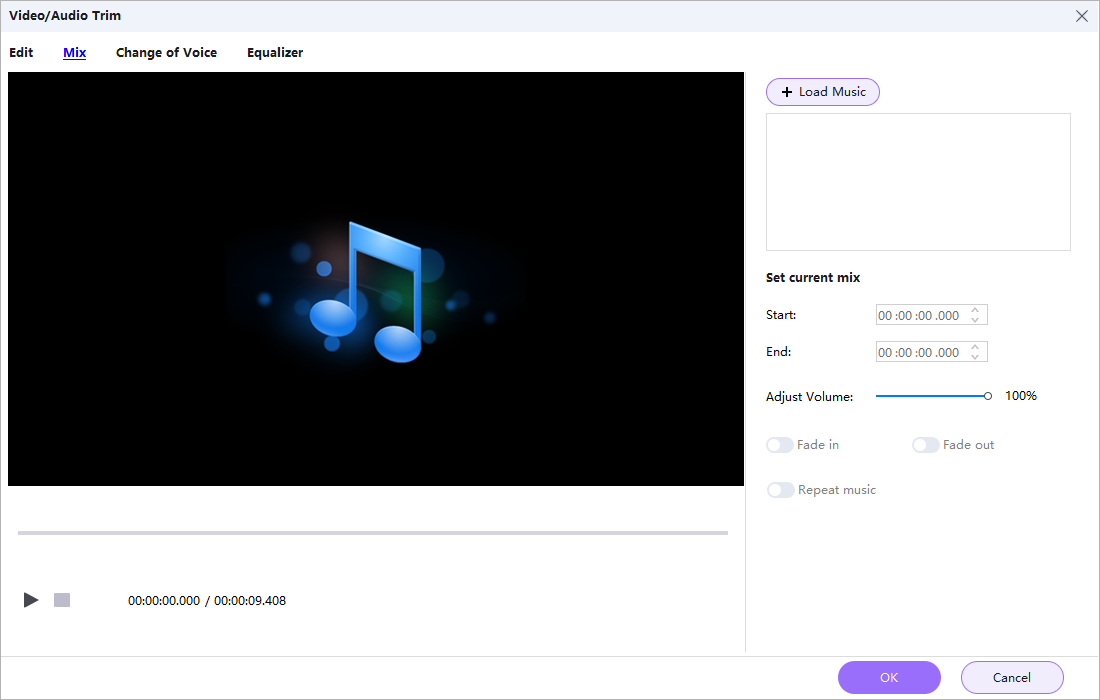 Audio mixing and joining workspace. Click to enlarge.
Adjust Sound Before Export
These controls are part of the converter's broader audio-processing toolset and can be used independently when a conversion job needs sound changes.
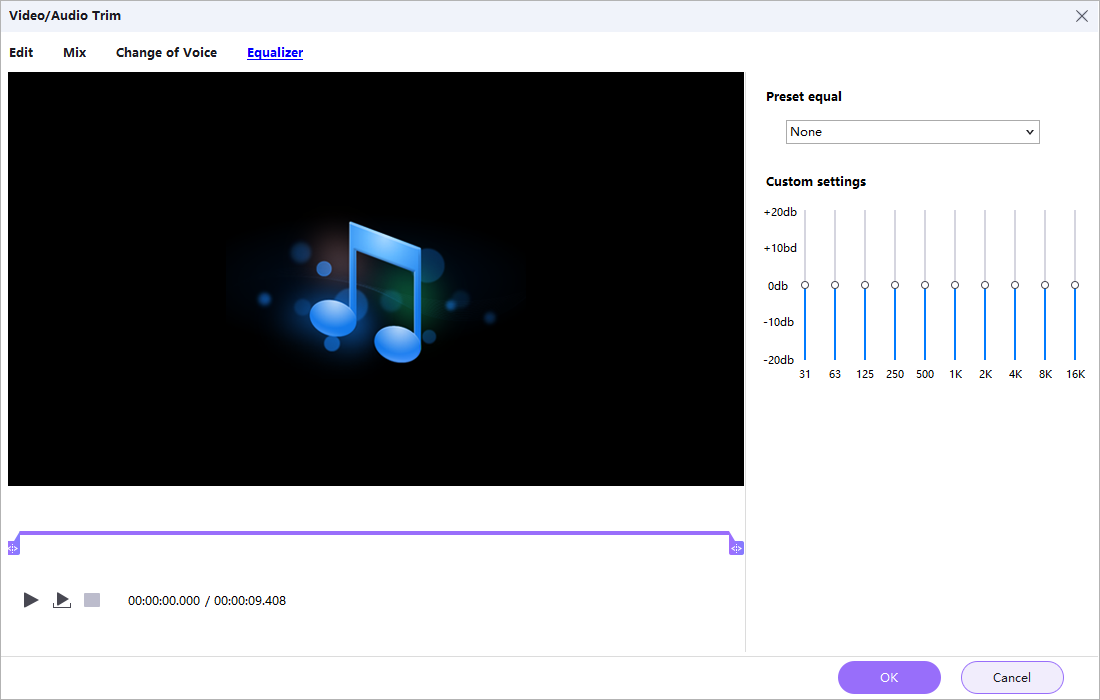
Equalizer and Sound Adjustment
Adjust frequency balance and use the available volume, speed, fade, or related sound controls when the source needs correction or a different presentation.
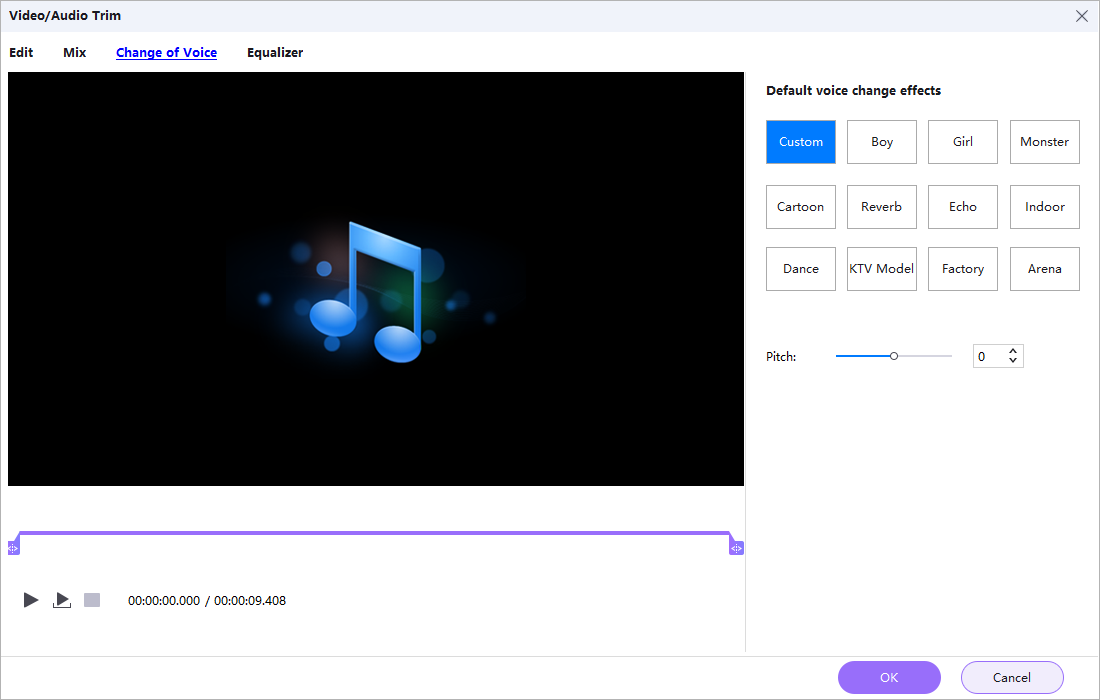
Voice and Audio Effects
Apply simple effects when a converted voice or audio file needs a different tone or creative treatment.
Edit ID3 Tags and Organize Output Files
Track information makes converted music and spoken-word libraries easier to sort in players and media managers.
- Open the ID3 tag editor for the selected audio file.
- Review title, artist, album, genre, and track information.
- Correct missing or inconsistent values.
- Save the tags and confirm them in the converted output.
When ripping an Audio CD, CDDB data can reduce manual entry, but the returned album and track names should still be reviewed.
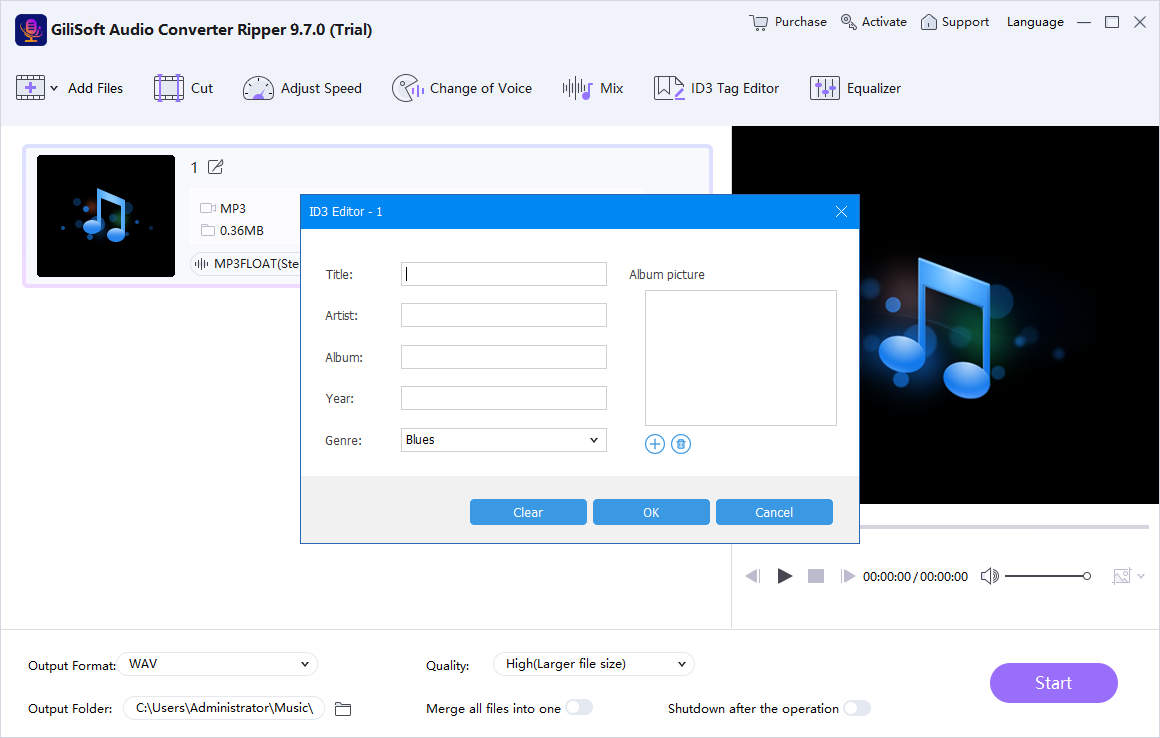 ID3 tag editor. Click to enlarge.
Final Output Checklist
Audio Conversion Guides by Task
Open a focused walkthrough for a particular source format, CD-ripping job, or audio-preparation task.
Audio Converter Ripper troubleshooting and FAQ
Which audio format should I choose?
Choose MP3 for broad compatibility and smaller files, WAV for uncompressed work, or FLAC when lossless compression is preferred.
Why is the converted file too large?
Review the format, bit rate, sample rate, and channels. Lossless or uncompressed settings usually create larger files.
How do I save only the sound from a video?
Add the video as the source, select an audio-only output profile, and convert it to the required audio format.
What is the difference between joining and mixing?
Joining places files one after another. Mixing combines simultaneous audio sources into one output.
Why is Audio CD information missing?
CDDB information may not be available for every disc. Enter or correct track details manually before finalizing the library.
Where are converted files saved?
Check the output destination selected before conversion, then open that folder after the task finishes.
Convert and organize audio on Windows
Use GiliSoft Audio Converter Ripper for format conversion, batch processing, video-to-audio extraction, Audio CD ripping, clips, joins, sound adjustment, and track information.
Download Trial Buy Now


