
Allow Screen Recording, Microphone, and Camera access for every source the session will use.
GiliSoft Screen Recorder for Mac User Guide
Screen Recorder for Mac User Guide
Record the full Mac screen or a selected area with internal audio, microphone narration, and webcam video.
- Choose full-screen or custom-area capture
- Record internal audio, microphone, and webcam together
- Use annotations, cursor effects, auto stop, and file splitting
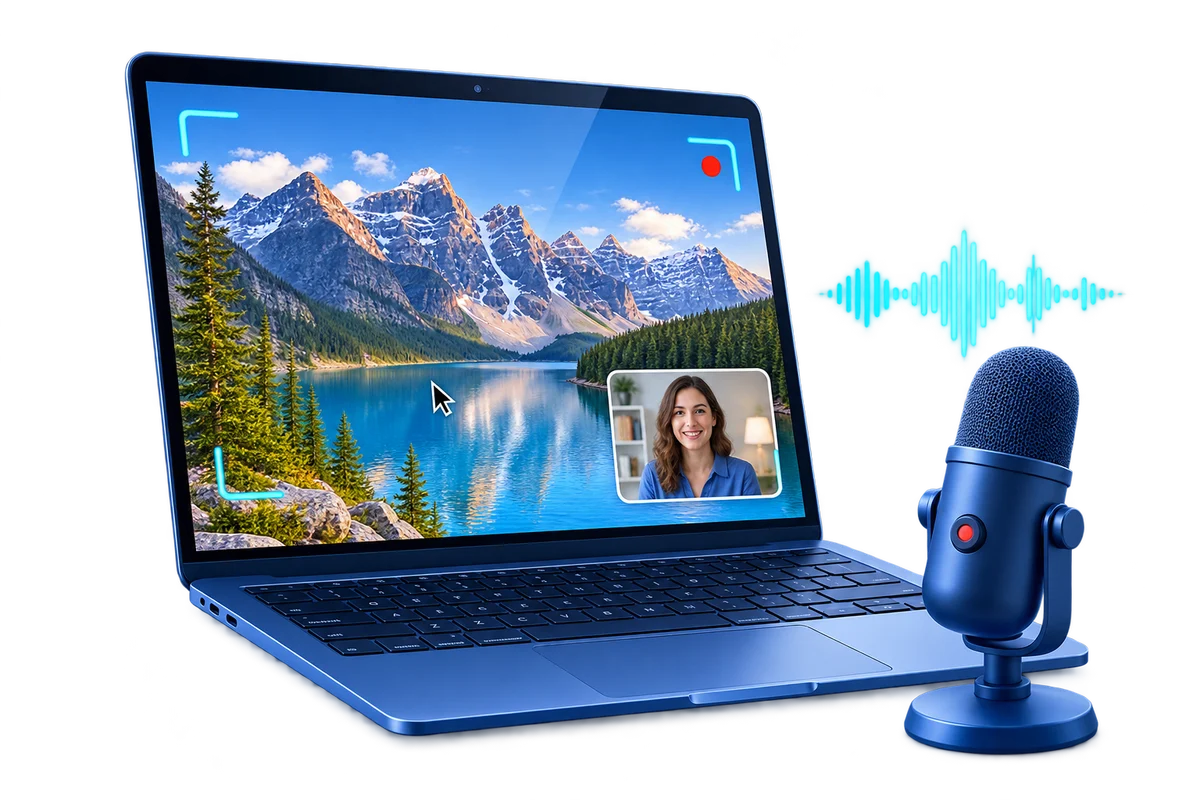
Before You Start Recording
Confirm permissions, capture sources, destination, and available storage before the full session so the finished video contains the screen, camera, and sound you expected.
Close private windows and notifications, then arrange the applications that should appear in the recording.
Decide whether the video needs internal audio, microphone narration, webcam presence, or a combination.
Record a brief sample and check the image, sound, cursor, webcam placement, and saving location.
Choose the Full Screen or a Selected Area
Match the recording area to the material the viewer actually needs to see.
- Open the screen recording task from the main workspace.
- Select full screen when the recording moves between several applications or windows.
- Select a custom region when the video should focus on one app, panel, or demonstration area.
- Keep private notifications, files, and unrelated windows outside the selected region.
- Confirm the capture frame before starting the session.
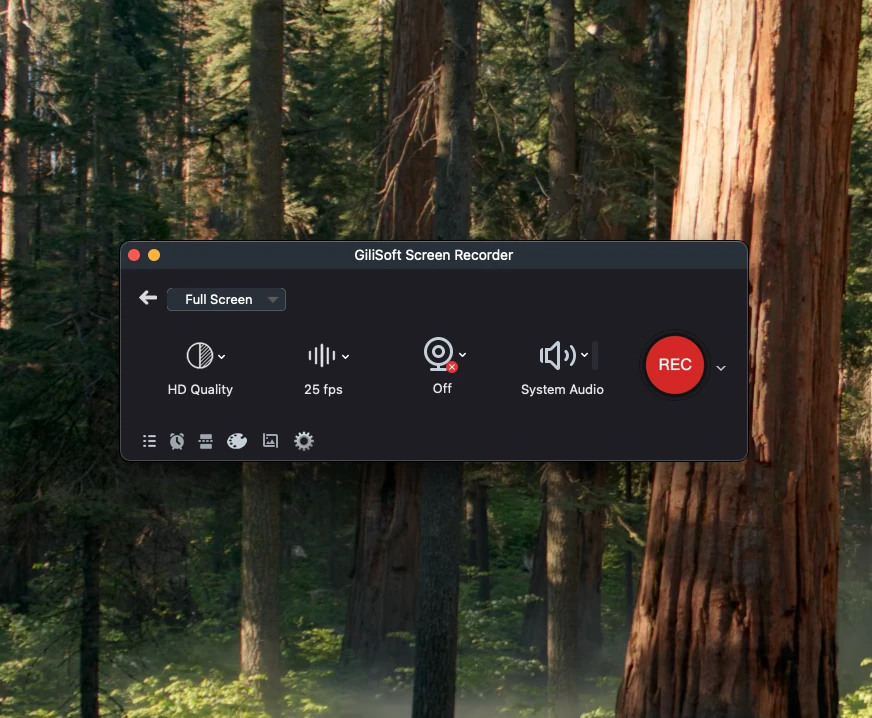 Full-screen and selected-area capture. Click to enlarge.
Choose Internal Audio, Microphone, and Webcam
Enable only the sources required by the recording so the result stays clear and focused. Use headphones when recording internal audio and microphone together to reduce speaker echo.
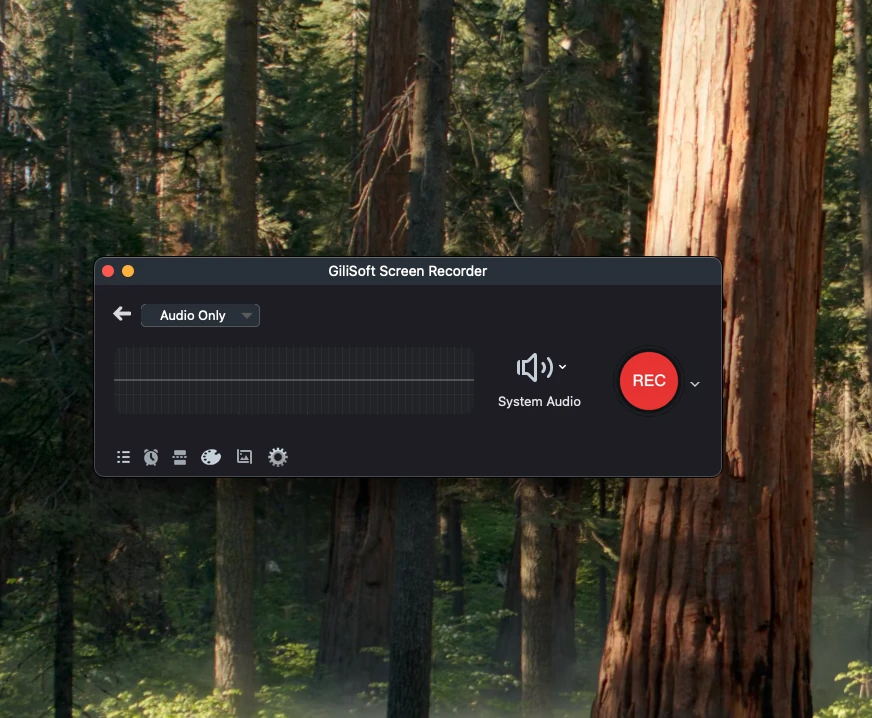
Internal Audio and Microphone
Capture computer sound, narration, or both together for meetings, tutorials, demonstrations, and support videos.
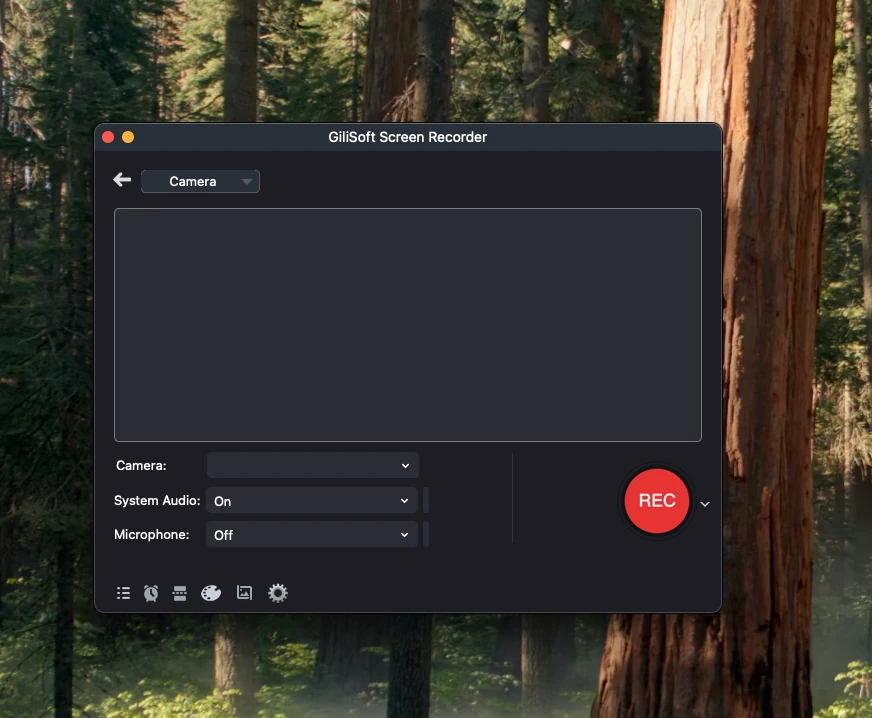
Add Webcam Video
Include presenter video when face presence improves a lesson, product walkthrough, update, or reaction recording.
Start and Control the Recording
Use the live recording panel to confirm that capture is active and to control the session without losing track of progress.
- Check the selected screen area, audio inputs, and webcam state.
- Start recording and confirm that the timer advances.
- Pause when the session needs a temporary break.
- Resume without creating an unnecessary new recording.
- Stop when the demonstration, meeting, or lesson is complete.
For an important recording, check the first few seconds before continuing with a long session.
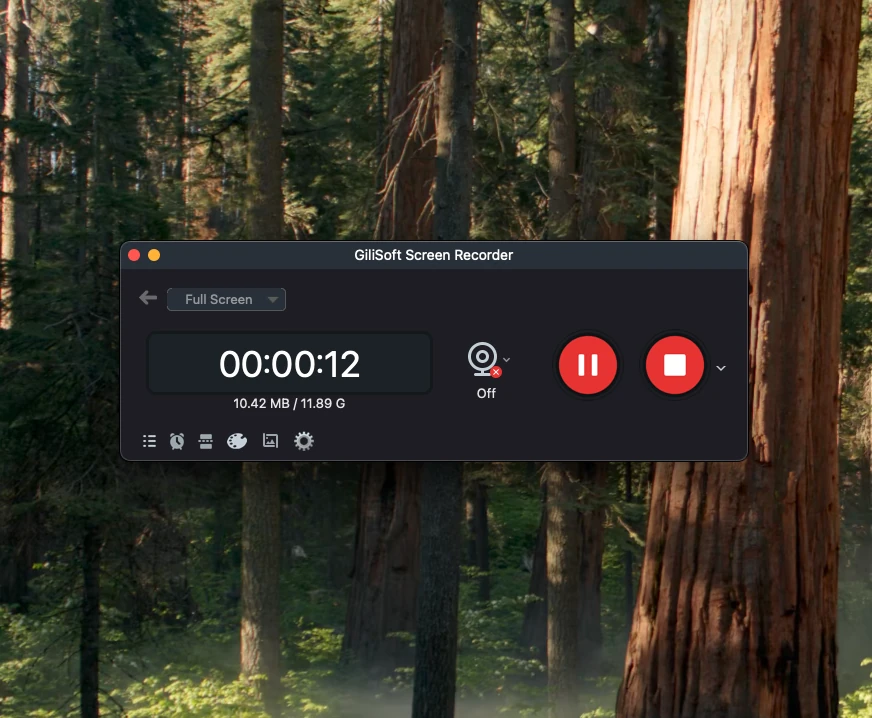 Live recording controls. Click to enlarge.
Make the Recording Easier to Follow
Use live annotations, cursor effects, and keyboard shortcuts when the viewer needs to follow precise on-screen actions.
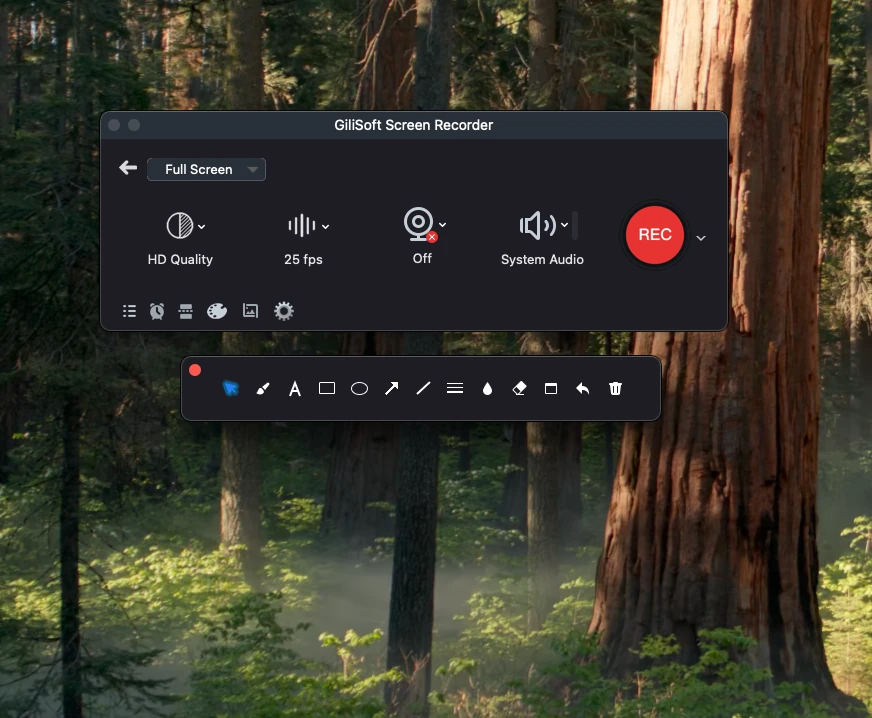
Draw While Recording
Mark buttons, menus, fields, and other important areas during tutorials and support videos.
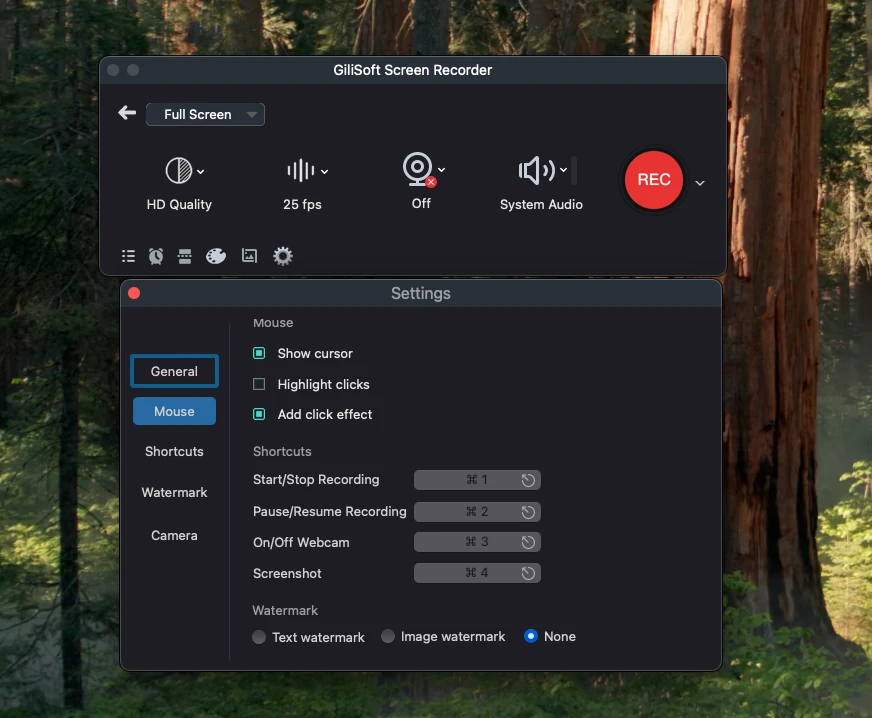
Show Cursor and Click Effects
Make cursor movement and mouse actions easier to identify in step-by-step recordings.
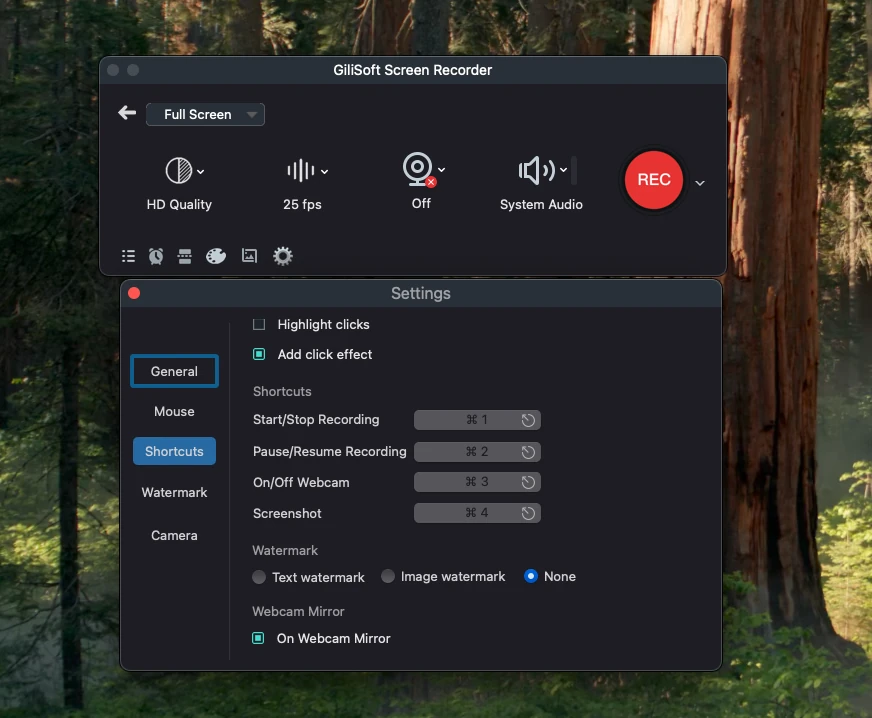
Use Recording Shortcuts
Start, pause, stop, or capture a snapshot without repeatedly opening the control panel.
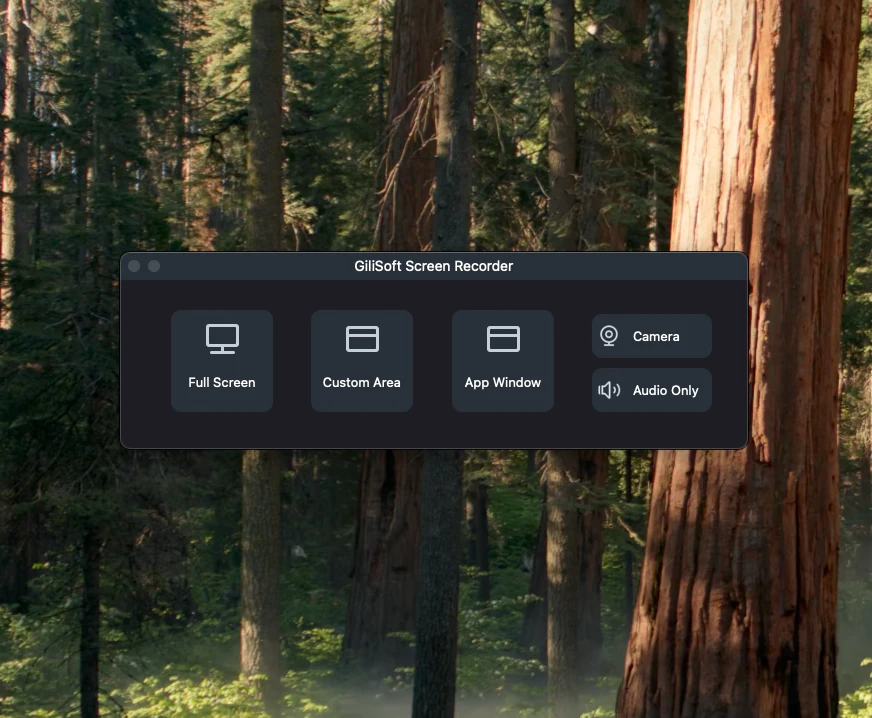
Keep Tasks in One Workspace
Return to the main interface to change capture mode, review sources, and manage completed recordings.
Manage Long Recording Sessions
Auto stop and automatic splitting help meetings, lessons, demonstrations, and unattended recordings finish in manageable files.
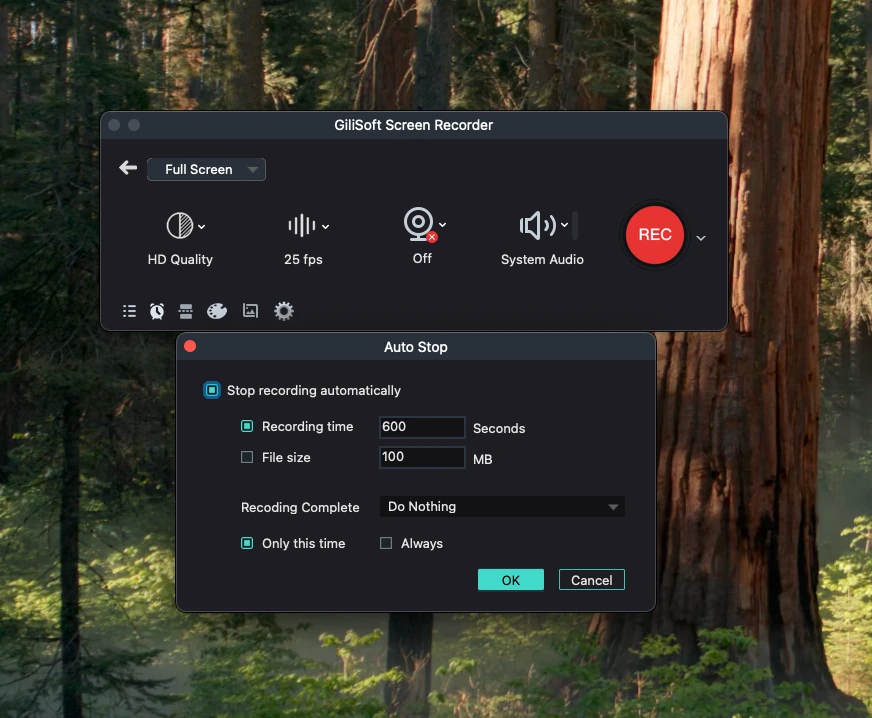
Stop Automatically
Set a duration or file-size condition so the recording can finish without waiting for a manual Stop command.
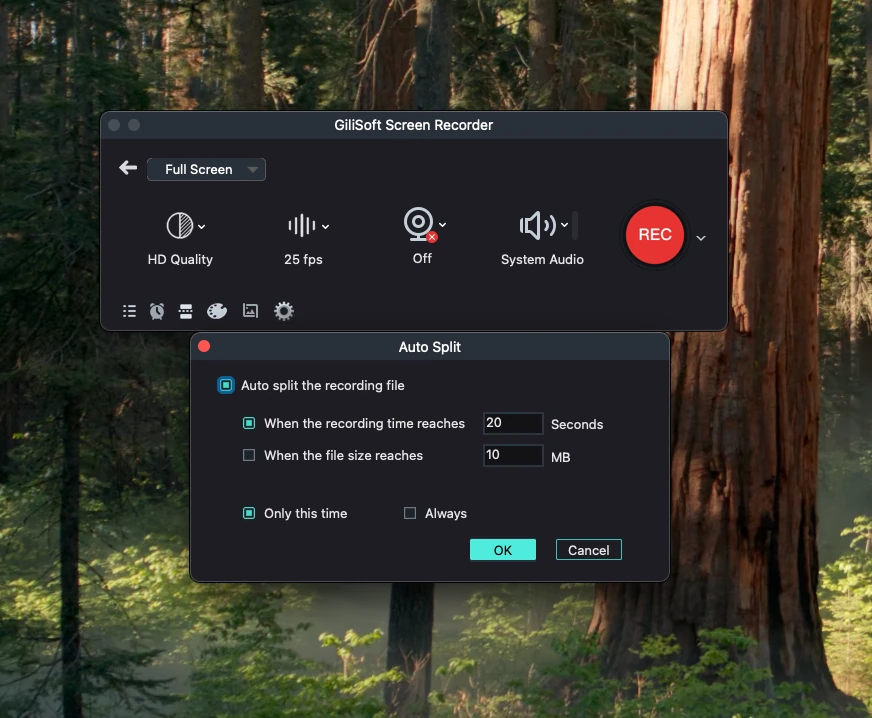
Split by Time or File Size
Divide a long recording into smaller files that are easier to review, store, upload, and share.
Review Settings and Manage Recorded Files
Finish the task by checking the saved video and keeping future recording jobs consistent.
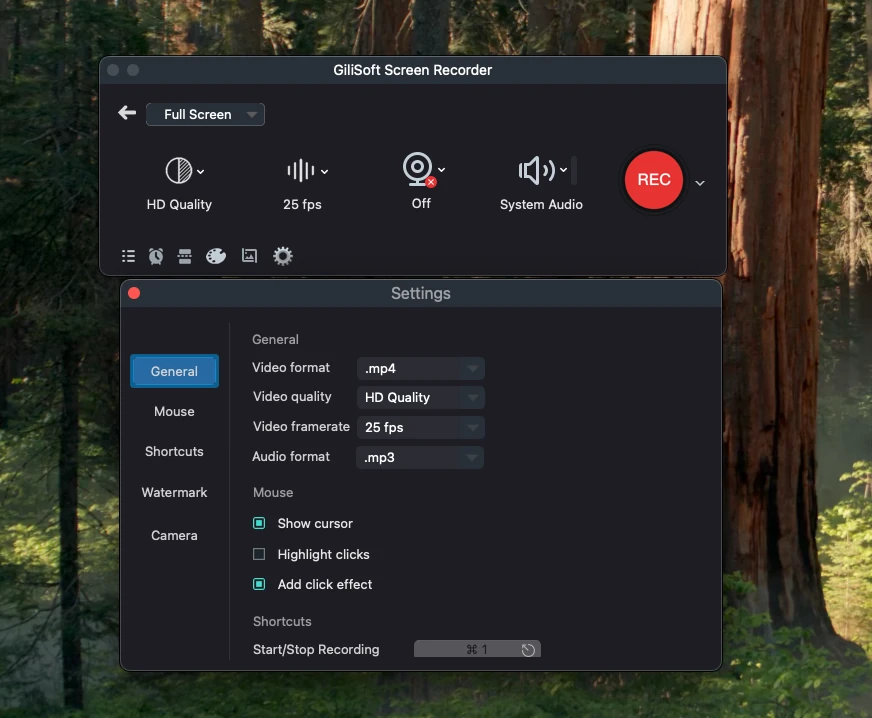
Recording Settings
Confirm the destination and recurring capture behavior before another session.
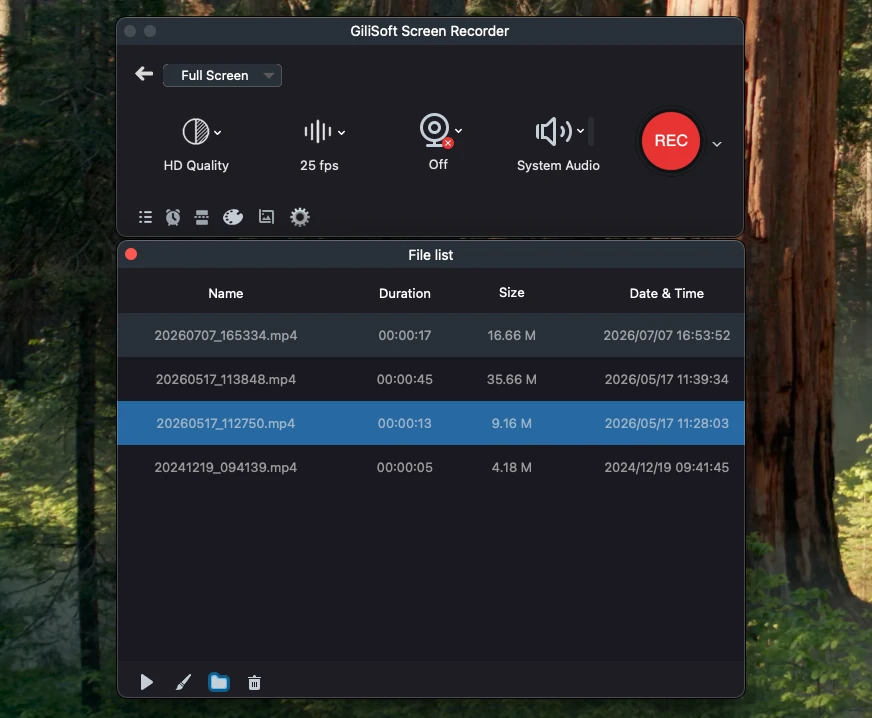
Recorded File List
Find, open, check, rename, and organize completed videos after capture.
Play the beginning, middle, and end of an important video and check screen clarity, audio synchronization, webcam placement, and cursor visibility.
Mac Screen Recording Checklist
Screen Recorder for Mac FAQ
Why is the Mac screen not being recorded?
Allow the application under Screen Recording in macOS privacy settings, then reopen the recorder if macOS requests it.
Why is internal audio missing?
Enable internal audio, confirm the active Mac playback device, and make a short test while the source application is producing sound.
Why is the microphone or webcam unavailable?
Select the correct device and allow Microphone or Camera access in macOS privacy settings.
Can I record screen, webcam, and audio together?
Yes. Select the screen area, enable webcam video, then choose internal audio, microphone, or both before recording.
How do I avoid one very large recording?
Enable automatic splitting by duration or file size before starting the long session.
Where are recorded videos saved?
Check the destination in Settings, then use the recorded file list to open and review the completed video.
Ready to record your Mac screen?
Capture the screen, webcam, internal audio, and microphone with controls for clear, manageable recordings.


