
Check the current size, background, framing, and file requirements supplied by the passport, visa, school, employer, or application service.
GiliSoft SnapID Help Center
SnapID User Guide for Windows
Prepare a clear portrait, choose the intended photo type and size, adjust framing, clean or replace the background, and export a finished digital image.

Before you create the photo
A good source portrait reduces the amount of correction needed later. Confirm the intended use before choosing the crop, background, and output size.
Choose an evenly lit image with the full head and shoulders visible and enough space around the subject for cropping.
A plain, contrasting background makes portrait separation and edge cleanup easier, especially around hair and shoulders.
Save the prepared result as a new file so the source portrait remains available for another size or background treatment.
SnapID provides sizing and preparation tools. Before submitting a formal document photo, compare the finished image with the latest requirements from the organization receiving it.
1. Create an ID, passport, visa, or badge photo
Import the portrait and prepare the required composition
- Open SnapID and enter the ID photo workspace.
- Import the portrait you want to prepare.
- Choose the intended ID, passport, visa, badge, or profile photo type and size.
- Adjust the crop so the face, head, shoulders, and surrounding space fit the selected frame.
- Review head position, brightness, clarity, and the visible portrait edges.
- Preview the finished composition before digital export.
When preparing employee, student, or membership photos, repeat the same framing and background treatment to keep the set visually consistent.
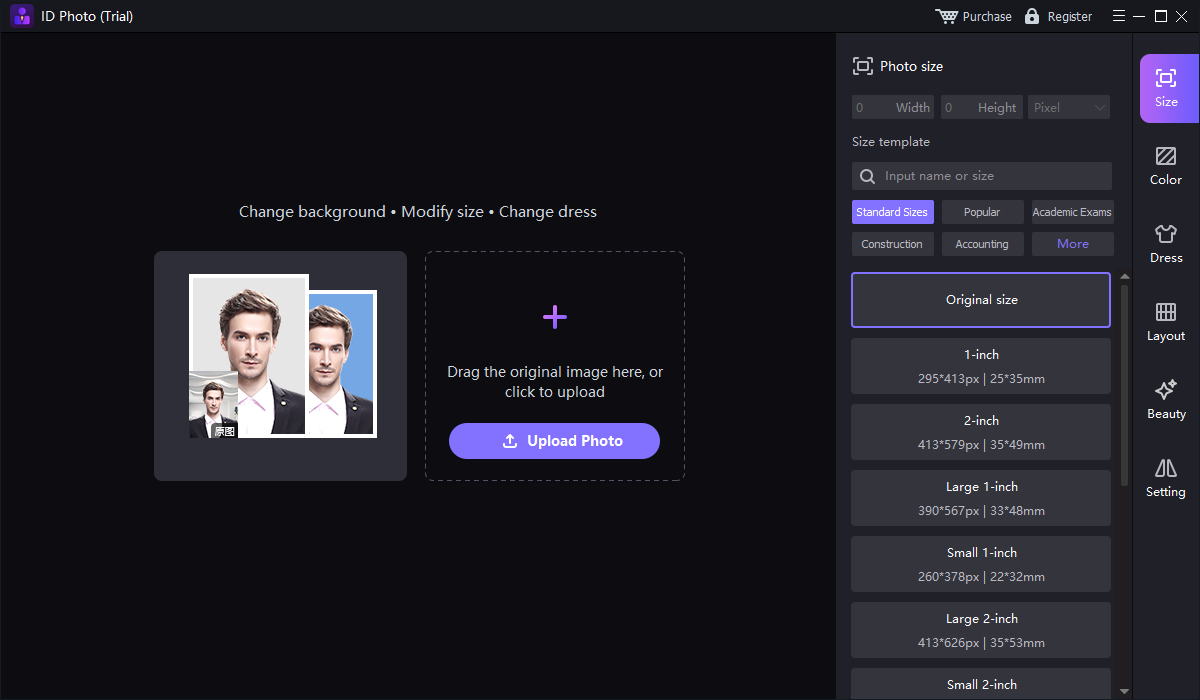 Create and size a formal portrait photo
Passport and visa photos
Prepare a portrait around the requested dimensions, background, and head placement before digital submission.
Employee and student badges
Keep crop, background, and portrait placement consistent across repeat organizational photo sets.
Profiles and office records
Create clean, evenly framed portraits for directories, account profiles, forms, and internal records.
2. Cut out the portrait and change the background
Clean the subject edge before choosing the final background
- Open the portrait cutout or background tool.
- Load the source image and allow SnapID to separate the person from the original background.
- Inspect hair, ears, shoulders, clothing, and other fine edges at a larger view.
- Correct areas where background remains or part of the portrait was removed.
- Choose the required plain color or replacement background.
- Return to the complete portrait view and check that the result looks natural.
Edge quality is easier to judge against both a light and a dark preview background. Check the full-size result before final export.
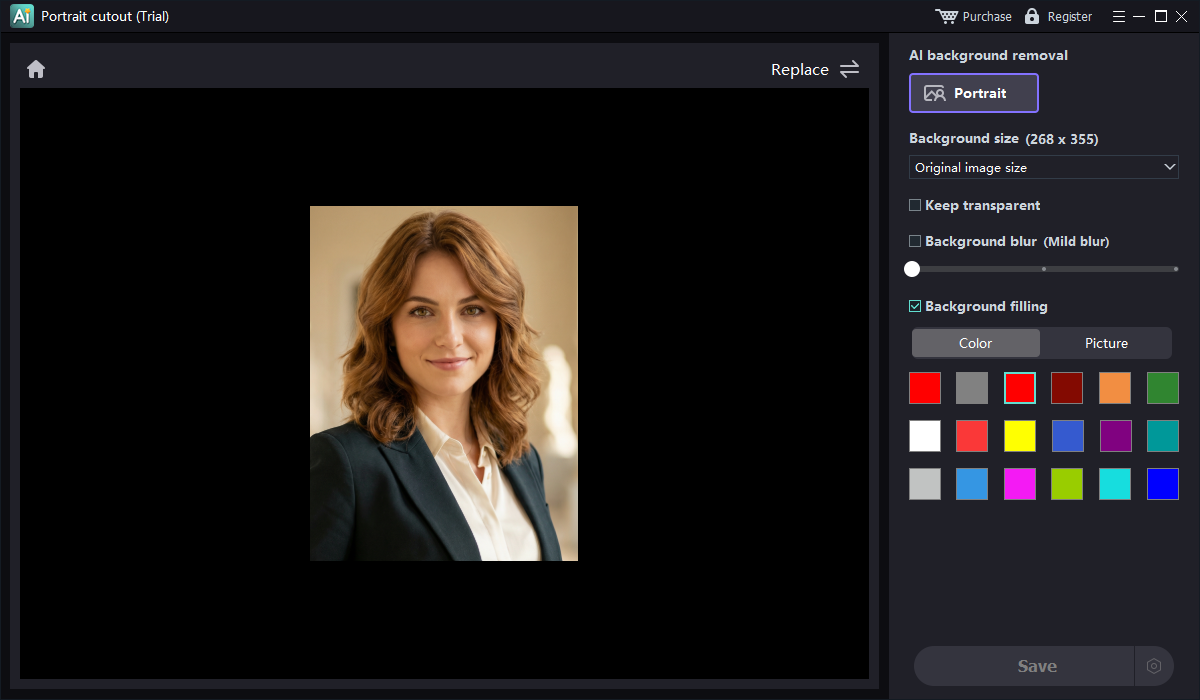 Remove or replace the source portrait background
3. Review and export the finished digital photo
Check the complete photo at its intended size
- Return to the ID photo workspace and review the complete composition.
- Confirm that the head is centered and no hair, chin, or shoulders are clipped unexpectedly.
- Check the selected dimensions and background against the intended use.
- Choose a suitable image destination and keep the output separate from the original portrait.
- Select the required image format, dimensions, and file settings.
- Open the exported file at full size and verify it before submission or delivery.
Confirm framing, dimensions, and digital output before delivery4. Use additional portrait and image tools when needed
These tools are separate from the main ID-photo workflow. Use them only when the portrait project needs the corresponding visual change.
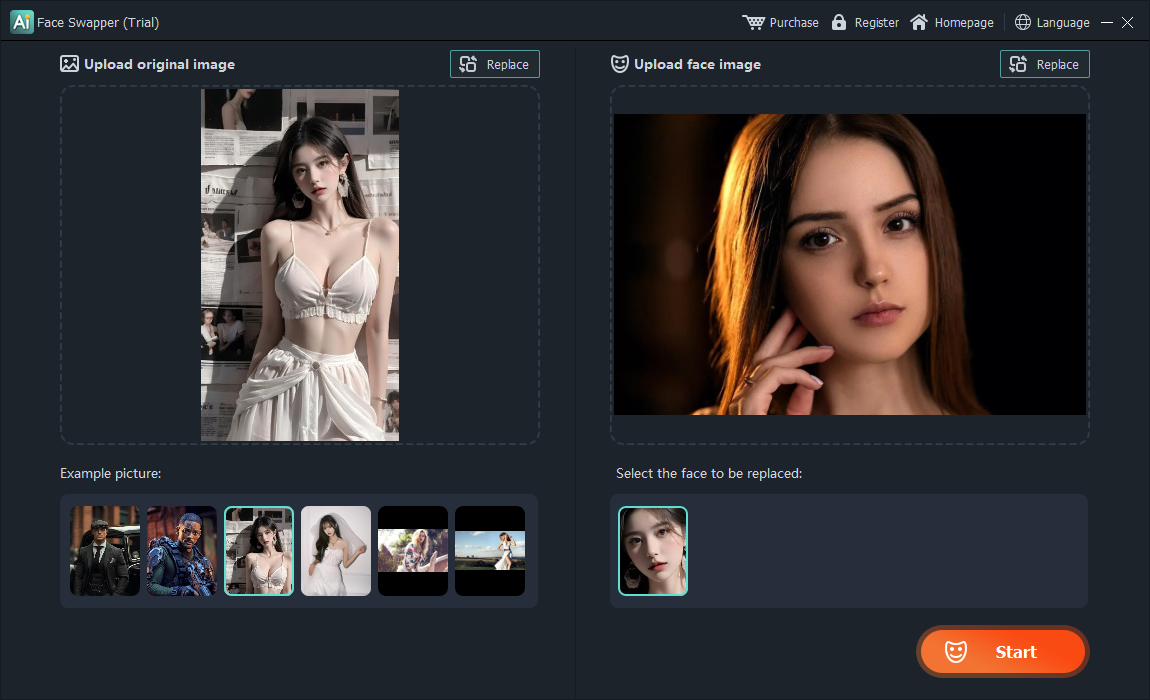 Face swap: prepare an authorized portrait variation before final sizing and background work
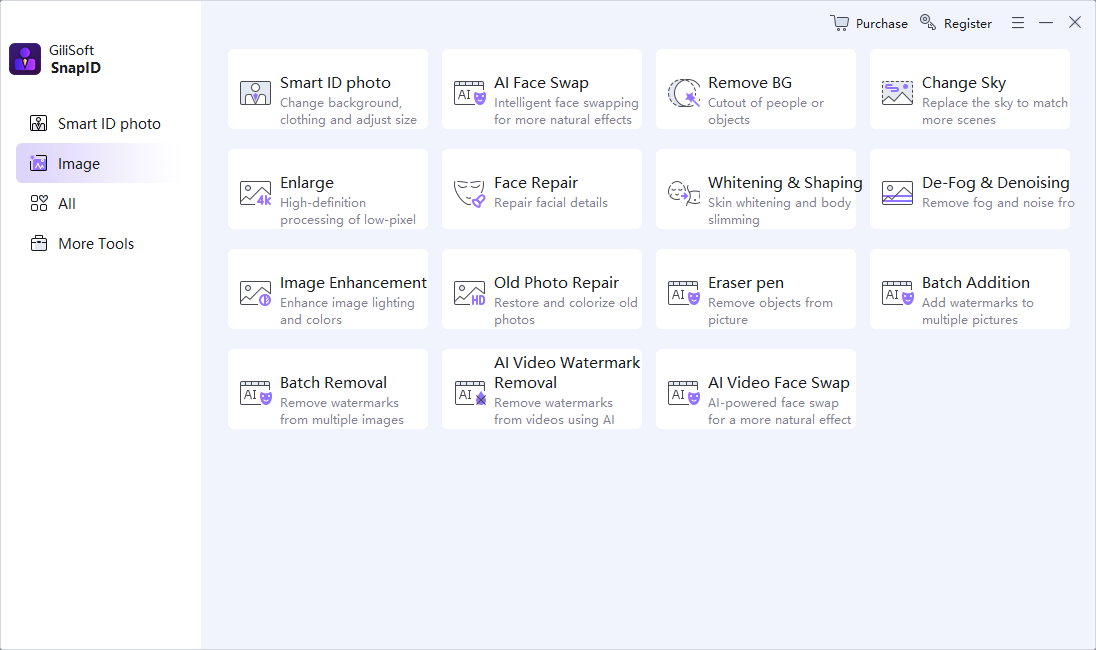 Image tools: open related utilities for additional portrait or image preparation
Final SnapID checklist
Confirm these points before submitting or delivering the digital photo.
SnapID troubleshooting and FAQ
Why do the portrait edges look rough?
Use a clearer source photo with stronger contrast between the person and background. Recheck hair and shoulder edges in the cutout workspace before applying the final background.
Why does the exported photo have the wrong dimensions?
Confirm the selected photo type, width, height, aspect ratio, and export settings. Open the finished file and check its pixel dimensions before submission.
Can I use SnapID for passport and visa photos?
SnapID can prepare portrait framing, background, size, and output. Select the intended specification and compare the finished image with the current requirements of the receiving authority.
Can I change the background color?
Use the cutout and background workflow to separate the person, clean the visible edges, and apply the color needed for the intended photo.
How do I prepare several employee or student photos?
Use the same photo type, crop logic, background color, and output settings for each portrait, then review the set together for consistency.
Why was an uploaded photo rejected?
Review the service's latest rules for dimensions, file size, background, head position, expression, lighting, and recent-photo requirements, then correct the specific issue and export again.
Create cleaner ID and document photos on Windows
Use GiliSoft SnapID to prepare portrait framing, background, dimensions, and output for passports, visas, badges, profiles, and office records.


