
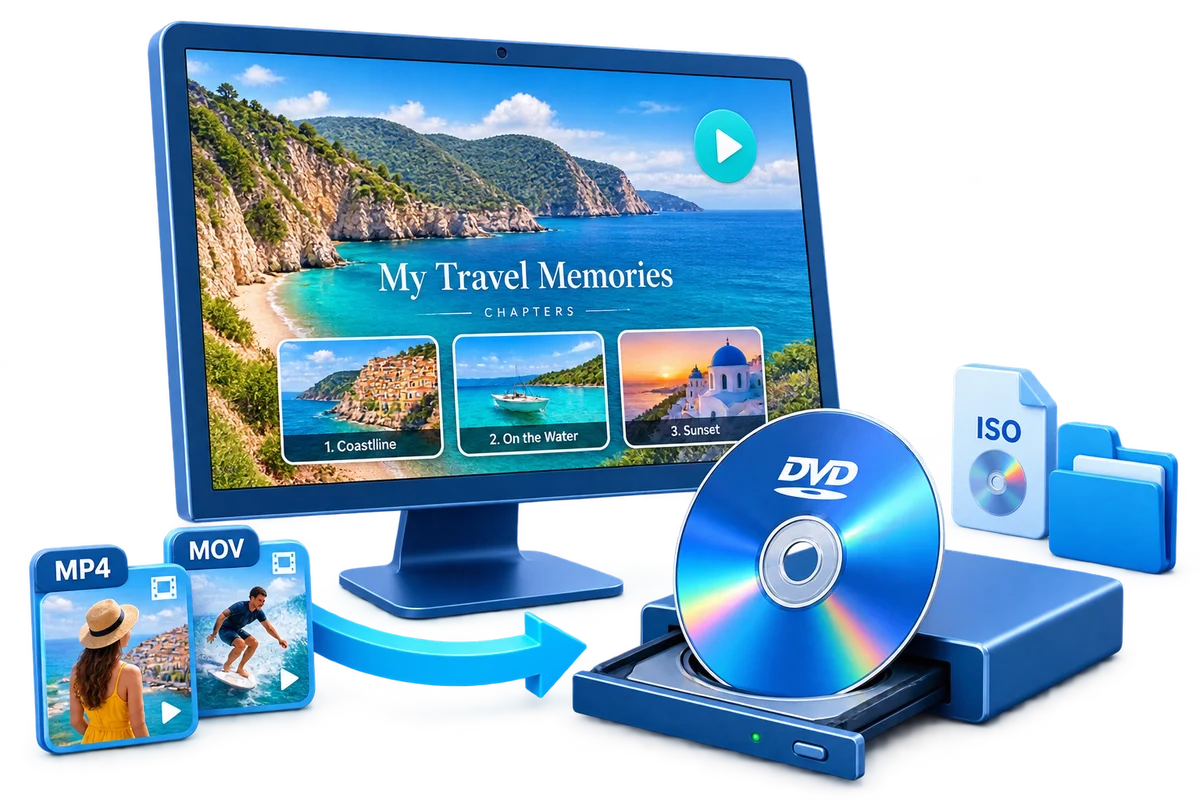
AVI to DVD Converter for Windows
Use this workflow for an AVI container whose actual video and audio codecs must be identified before authoring. Test the actual streams inside the source file, because a filename extension alone does not guarantee codec or audio compatibility.
Quick answer
Add an authorized AVI source to GiliSoft Movie DVD Creator, preview its video and audio, choose the target aspect ratio and PAL or NTSC standard, build the menu, and create an ISO test before burning the final disc.
Choose the Right DVD Workflow
| Source situation | Recommended approach | What to verify |
|---|---|---|
| File imports and previews correctly | Author a short test project | Video, audio, seeking, and sync |
| Extension opens but preview fails | Identify the internal codec first | Codec support, not only filename |
| Low-quality legacy source | Use restrained correction | Do not amplify blocks or ringing |
Step-by-Step DVD Authoring Workflow
- Confirm authorization and source playback
Use only video you created, own, or have permission to author. Play the complete source before adding it to the project.
- Create a test project
Open GiliSoft Movie DVD Creator, add one representative file, and confirm that video, audio, duration, and orientation preview correctly.
- Choose the DVD destination
Select 16:9 or 4:3 and PAL or NTSC according to the target player, region, and project requirement.
- Build simple navigation
Arrange clips, create short menu labels, set chapters, and preview every button before output.
- Create ISO first when practical
Verify the authored ISO or DVD folder before using blank media, then test the physical disc in the intended player.
Use the GiliSoft Movie DVD Creator Workspace
These screenshots show the real import, preparation, and menu-authoring interfaces. Controls can vary by source codec and installed Windows components, so approve a short project before a full encode.


Check DVD Settings Before Output
| Aspect ratio | Choose 16:9 or 4:3 from the intended display, then preview letterboxing and cropping. |
|---|---|
| TV standard | Choose PAL or NTSC for the target playback equipment; do not infer it only from the source filename. |
| Capacity and quality | Compare total duration with disc capacity. Longer projects require a lower average bitrate and can lose visible detail. |
| Menus and chapters | Keep labels readable on a television and test every navigation path. |
| Disc verification | Check the ISO or folder first, then test the burned disc in the actual standalone player when that is the delivery target. |
Frequently Asked Questions
Can GiliSoft Movie DVD Creator burn AVI to DVD?
The product supports broad video input, but AVI is a container or format family that can contain different codecs. Test a representative source in the installed build before a long project.
Why does the finished DVD look softer than the source?
DVD-Video is standard definition. HD and 4K sources must be downconverted, and increasing bitrate cannot preserve their original pixel resolution.
Should I choose PAL or NTSC?
Choose the standard required by the target country or playback equipment. PAL and NTSC use different frame and raster conventions, so test the intended player.
Why are there black bars or cropped edges?
The source and DVD project may use different display aspect ratios. Preview 16:9 and 4:3 behavior and preserve the full frame unless cropping is intentional.
Can I create an ISO without a blank disc?
Yes. ISO and DVD folder output let you create and inspect the authored structure before physical burning.
Is copying a video file to a disc the same as DVD authoring?
No. A data disc stores files; an authored DVD-Video project creates the playback structure, menus, and chapters expected by a DVD player.