
Collect the videos in the intended order and check that each file plays correctly before authoring.
GiliSoft Movie DVD Creator User Guide
Movie DVD Creator User Guide for Windows
Turn video files into a playable DVD, ISO image, or DVD folder with menus and chapter navigation.
- Import, arrange, trim, and prepare source videos
- Create DVD menus, chapters, subtitles, and labels
- Choose PAL or NTSC and output to disc, ISO, or folder
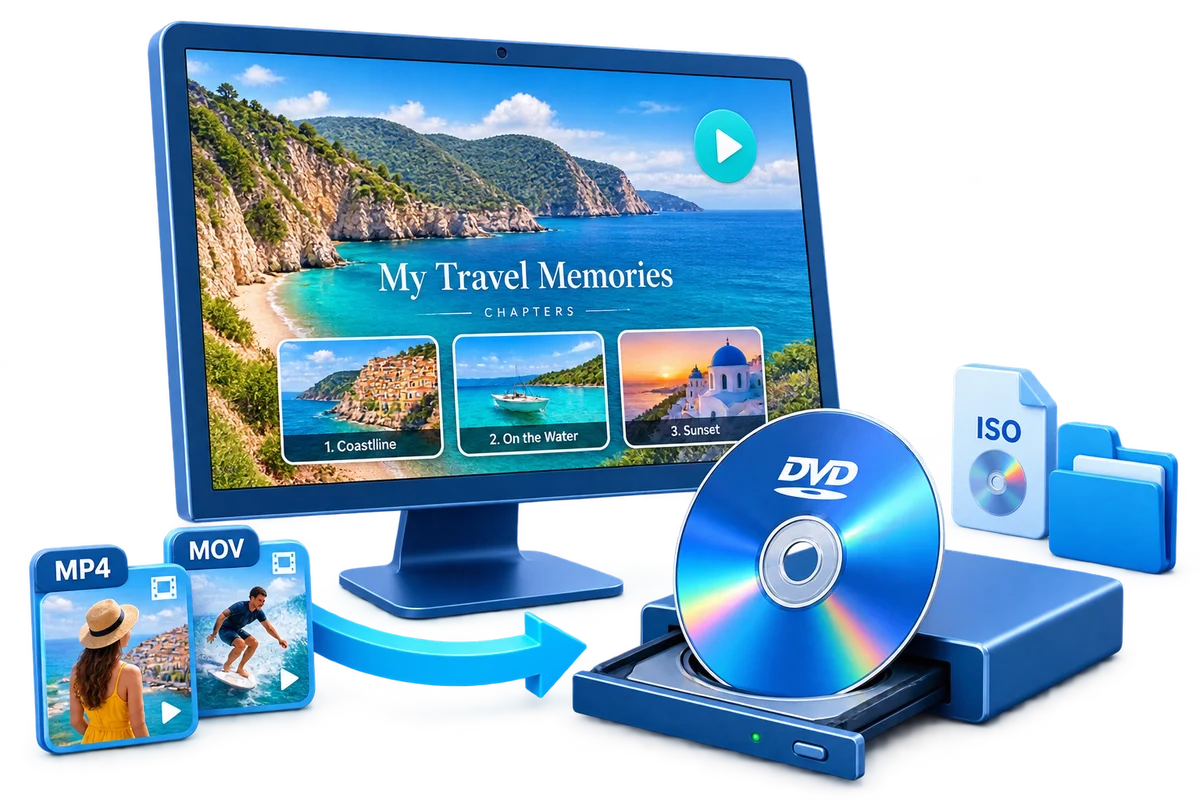
Before you create the DVD project
Prepare the source videos and decide how the project will be delivered. A disc output needs a compatible DVD writer and suitable blank media, while ISO and DVD folder output can be created without inserting a disc.
Decide whether the final project should be written to a DVD disc, saved as an ISO image, or stored as a DVD folder.
Choose PAL or NTSC according to the target country, television system, or playback equipment.
Review the total video duration, target disc size, and whether the project should use 16:9 or 4:3 framing.
 Start the DVD project and review the available authoring tools
1. Add videos to the DVD project
Import and arrange the source videos
- Open GiliSoft Movie DVD Creator and start a DVD project.
- Click Add Files and select one or more source videos.
- Review the imported clip information and remove any file that does not belong in the project.
- Arrange the videos in the order viewers should see them.
The imported order becomes the basis for the DVD structure. Confirm it before creating menu pages and chapter navigation.
 Import source videos and establish the DVD playback order
2. Arrange and trim the source videos
Remove material that should not appear on the DVD
- Select a source clip and open the Video Tools area.
- Choose Cut to mark the section that should remain.
- Remove unwanted beginnings, endings, pauses, or middle sections.
- Preview the prepared clip before returning to the DVD project.
Basic preparation keeps the authored disc focused without requiring a separate editor for simple cleanup.
 Open the preparation tools
 Trim unwanted scenes
3. Prepare the video frame and appearance
Correct framing and orientation before menu authoring. These changes affect the source clip used in the final DVD project.
 Crop unwanted edges and adjust framing
 Correct phone or camera orientation
 Adjust brightness, contrast, saturation, and basic effects
For extra-wide or differently shaped videos, choose the project aspect ratio carefully and preview the result. Letterboxing can preserve the complete frame when the source and DVD shape do not match.
4. Add subtitles, text, and watermarks
Add only the elements needed by the final DVD: subtitles for spoken content, labels or titles for context, and a watermark when visible ownership or branding is required.
 Load and adjust subtitle presentation
 Add simple titles, labels, or contextual text
 Add text or image branding to authorized source videos
5. Create the DVD menu and chapter navigation
Build a menu viewers can use on a DVD player
- Open the DVD Menu area after the source videos are arranged.
- Choose a menu template that fits the project.
- Customize the menu background, title, and available visual settings.
- Review chapter entries and navigation buttons.
- Preview the menu before creating the output.
Keep menu labels short and readable on a television screen. Test every chapter entry in the preview so navigation reaches the intended video.
 Choose a menu template and prepare chapter-based navigation
6. Choose the DVD standard and aspect ratio
The correct television standard and frame shape improve playback compatibility and reduce unexpected stretching or cropping.
PAL or NTSC
Select the standard used by the target region or playback equipment. NTSC and PAL differ in frame-rate and television-system expectations, so use the setting appropriate for the intended viewer.
16:9 or 4:3
Use 16:9 for widescreen projects and 4:3 for older display requirements. Preview wide or portrait source videos and use letterboxing when preserving the full frame is more important than filling the screen.
7. Choose DVD Disc, ISO Image, or DVD Folder output
The source preparation and menu steps are the same. Only the final destination changes, so there is no need to repeat the entire project for each output type.
DVD Disc
Create a playable physical DVD when the project must be delivered or viewed on compatible disc hardware.
Requires: compatible DVD writer and suitable blank mediaISO Image
Save the authored DVD as one image file for storage, transfer, mounting, or later disc creation.
Best for: a single archive fileDVD Folder
Save the authored DVD folder structure on a hard drive when the files must remain accessible for backup or later processing.
Best for: folder-based storage and reviewBefore starting the final creation process, confirm the destination, available storage or disc capacity, menu preview, and selected PAL/NTSC and aspect-ratio settings.
Final check before creating the DVD output
Source order
Confirm every video appears once and in the intended playback sequence.
Menu and chapters
Preview the title, background, navigation buttons, and chapter destinations.
Subtitle display
Check timing, readability, and whether the correct subtitle track is loaded.
Video framing
Review cropping, rotation, 16:9 or 4:3 output, and any letterboxing.
DVD standard
Verify PAL or NTSC against the target region and playback equipment.
Capacity and destination
Check disc capacity, free storage, output location, and the selected output type.
Movie DVD Creator troubleshooting and FAQ
Why does the video have black bars?
The source and DVD project may use different aspect ratios. Preview 16:9 and 4:3 output and use letterboxing when the full source frame should remain visible.
Should I choose PAL or NTSC?
Choose the television standard used by the target country or playback device. When the DVD is for a specific recipient, confirm their equipment before output.
What is the difference between ISO and DVD Folder?
An ISO stores the authored DVD as one image file. DVD Folder output stores the authored folder structure as separate files and folders.
Why is the DVD menu not displayed as expected?
Reopen the menu preview, verify the selected template and navigation structure, and confirm that menu output is enabled for the project.
Why are subtitles missing?
Confirm the subtitle file was loaded for the correct clip, check its timing and encoding, and preview it before creating the final DVD output.
What should I check if disc creation fails?
Check the blank media, DVD writer, available capacity, destination, and whether another application is using the drive. ISO output can help verify the authored project separately.
Ready to create a DVD project?
Prepare your videos, build a menu with chapters, choose the DVD standard, and create a disc, ISO image, or DVD folder.


