
Match the DVD Structure to the School Event
| Project | Recommended structure | Reason |
|---|---|---|
| Graduation or awards | Chapters by program segment | Viewers can reach speeches and presentations |
| Concert or recital | Titles or chapters by performance | Families can find individual acts quickly |
| School play | Chapters by scene or act | Navigation follows the production structure |
| Sports day or season recap | Titles by event or team | Different activities remain easy to locate |
Prepare the School Event Responsibly
Confirm permission
Follow school policy and obtain the required approval for recording and distribution.
Protect student privacy
Avoid unnecessary personal information and limit delivery to the intended audience.
Follow the program order
Use the official event schedule to name and arrange each section.
Preserve the originals
Keep original recordings and the final edited master separate from the viewing disc.
Create a School Event DVD: Step by Step
Prepare the approved final videos
Complete edits, check names and titles, and remove footage that is not cleared for distribution.
Import and arrange the program
Add the videos to GiliSoft Movie DVD Creator in the same sequence used at the event.
Set titles and chapter points
Create entry points for ceremonies, performances, speeches, scenes, or activities.
Design a simple school-event menu
Use a clear event name, date, strong contrast, and concise button labels.
Preview picture, sound, and navigation
Check names, audio levels, chapter targets, menu buttons, and end actions from beginning to end.
Create the output and test playback
Create a disc, ISO, or DVD folder, then test the master on the type of player families will use.


Make the Disc Clear for Families
Use the official event name
Keep the cover, menu, and disc label consistent.
Prefer short button labels
Long student or performance names can become difficult to read on a TV.
Check every displayed name
Proofread titles carefully and use names only when approved.
Create a controlled master
Store the ISO or DVD folder securely and manage who can produce copies.
Create the Event DVD with GiliSoft Movie DVD Creator
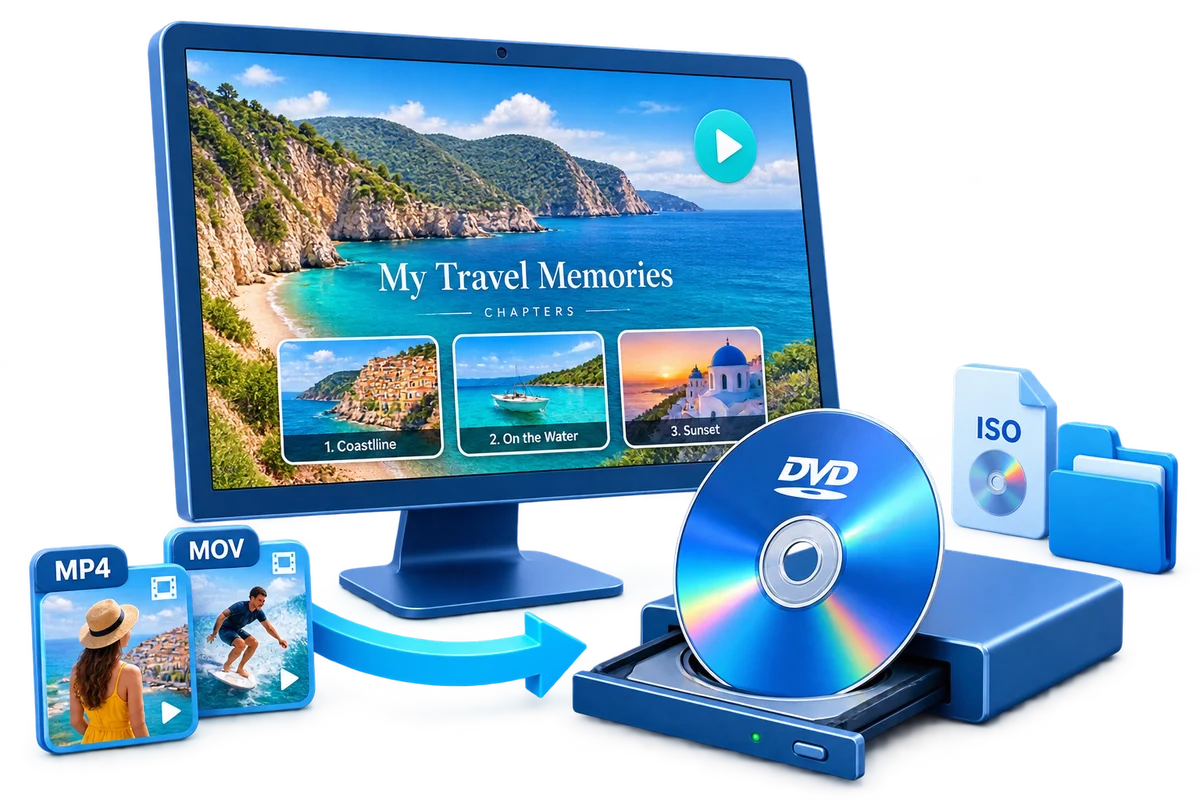
GiliSoft Movie DVD Creator provides one Windows workflow for arranging final footage, creating titles and chapters, designing a menu, previewing navigation, and outputting a disc, ISO image, or DVD folder. The authored DVD is a viewing copy; keep the higher-quality original recordings in separate storage.
Troubleshooting
- A family cannot find a performance: revise the title or chapter structure to match the printed program.
- A name is incorrect: correct the menu or source title before producing any more copies.
- Text is cropped on a television: move labels farther from the screen edge.
- The disc plays on a PC but not a DVD player: confirm it was authored as DVD-Video and test media compatibility.
- Distribution requirements changed: stop copying and follow the school administrator or event organizer policy.
Respect Rights, Privacy, and the Original Files
Create and distribute discs only from video, music, images, and personal recordings you are authorized to use. Keep source and high-resolution masters separately; an authored DVD is a delivery or viewing copy, not the only archive.
Frequently Asked Questions
What school events work well on DVD?
Graduations, concerts, plays, awards events, and sports recaps can work well when organized into clear sections.
Should every student be named in the menu?
Only include names when approved and useful; concise section or performance labels are often easier to navigate.
Can I add chapters for each performance?
Yes. Meaningful chapters help families reach a specific act without scanning the complete recording.
How should privacy be handled?
Follow school policy, secure the required permissions, and distribute only to the intended audience.
Can I create an ISO before making copies?
Yes. An ISO provides a consistent master for approved repeat production.
Should the DVD be the only archive?
No. Preserve the original and final high-quality video files separately from the DVD viewing copy.