
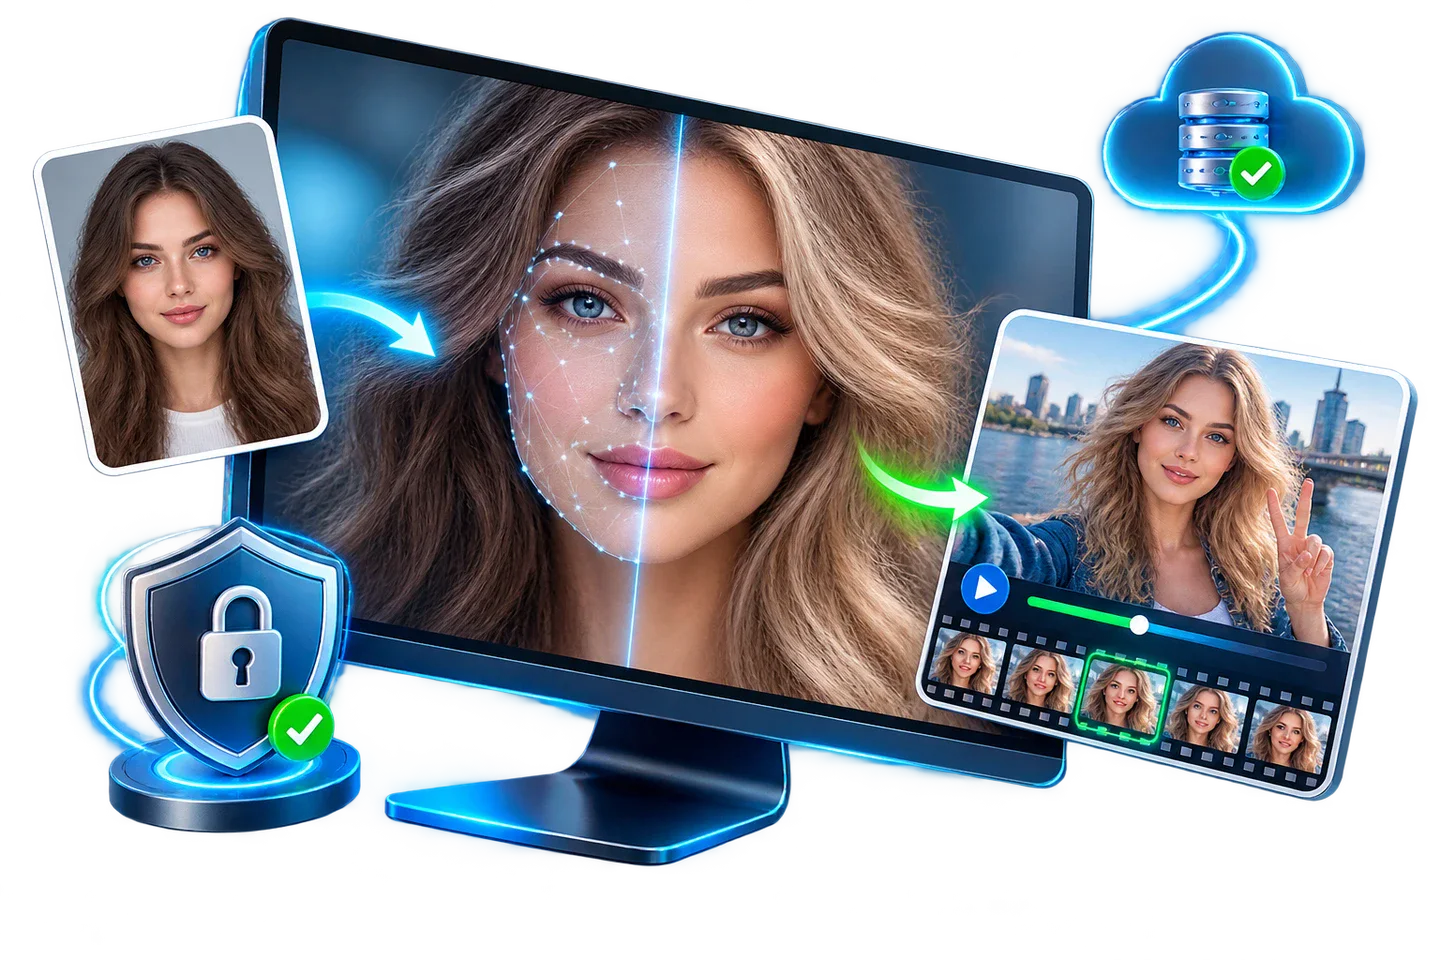
Choose Photos That Can Blend Naturally
A face swap begins with the source portrait and target photo. Similar pose and lighting matter more than simply choosing the largest file.
| Check | Better choice | Avoid when possible |
|---|---|---|
| Pose | Source and target face the same direction | Front view paired with a strong side profile |
| Lighting | Comparable direction, contrast, and color | Bright daylight paired with deep colored shadow |
| Visibility | Eyes, nose, mouth, jaw, and forehead are clear | Hair, hands, glare, or objects cover key features |
| Expression | Neutral or broadly similar expression | Closed mouth paired with an extreme open-mouth pose |
Swap Faces in a Photo: Step by Step
Open the photo workflow
Launch GiliSoft Face Swap and choose the photo face-swap workspace.
Add the target photo
Import the image containing the face to replace and confirm that the intended face is fully visible.
Add the source portrait
Choose a clear replacement face with similar pose, lighting, and expression.
Select and preview the face
When the target contains several people, select the correct person and inspect alignment around the eyes, mouth, jawline, and hairline.
Export and review
Save the image, open the exported file at full size, and check tone, edges, sharpness, and facial proportions before sharing.
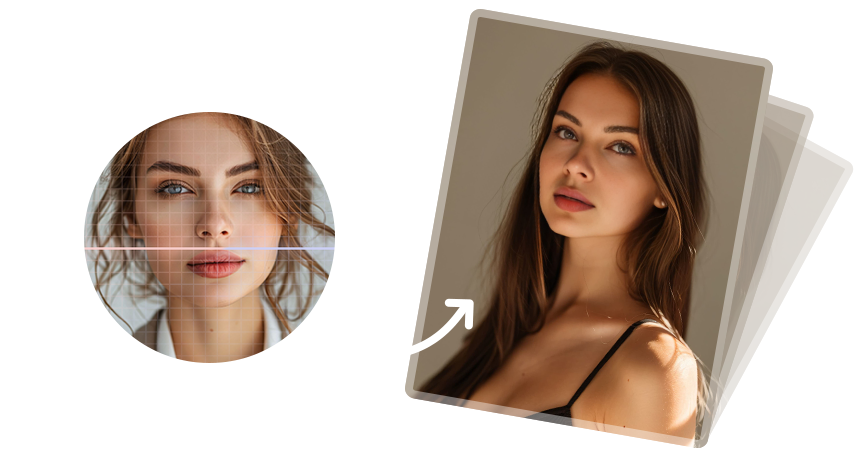 Source-to-target face replacement illustration. It explains the workflow and is not a software screenshot or guaranteed result.
Improve a Photo Face Swap
Correct the source first
Try another source portrait before repeatedly processing a poor match. Similar angle and lighting solve many visible problems.
Judge the face boundary
Inspect the jaw, cheeks, forehead, and hairline for halos, abrupt texture changes, or inconsistent sharpness.
Compare skin and scene light
The replacement should follow the target image’s light direction and contrast rather than retaining the source photo’s look.
Review at normal size
Zoom helps find edges, but also inspect the image at its intended viewing size to judge the overall result.
Fix Common Photo Face Swap Problems
| Problem | Likely cause | What to try |
|---|---|---|
| Face looks pasted on | Pose, scale, or light mismatch | Use a source portrait closer to the target |
| Visible edge around the jaw | Different sharpness, color, or face boundary | Try a clearer source and inspect the full-size export |
| Wrong person is changed | Multiple faces in the target | Select the intended face before processing |
| Expression feels unnatural | Source and target mouth or eye position differ | Choose a source with a comparable expression |
Use Photo Face Swaps Responsibly
- Use portraits and target photos you own or have permission to edit.
- Do not create deceptive endorsements, identity documents, evidence, harassment, or impersonation.
- Disclose meaningful synthetic edits when viewers could mistake the image for an authentic event.
- Keep original files and project records so the edit can be explained later.
Frequently Asked Questions
Can I swap two faces in one group photo?
Yes, when the workflow detects the people you want to change. Select each intended target carefully and review every face in the exported image.
Why is a front-facing portrait recommended?
A clear front or near-front view exposes more facial landmarks and is easier to align. A side profile can work when the target uses a similar angle.
Does photo resolution matter?
A sharp, well-lit face needs enough detail, but resolution alone does not fix blur, obstruction, mismatched pose, or harsh lighting.
Can I use a selfie as the source face?
Yes, if the selfie is sharp, evenly lit, and close to the target angle and expression.
Should I evaluate the preview or the export?
Use the preview for selection, then judge the exported image at full size because edge and texture problems may be easier to see there.
Is it okay to publish the result?
Only when you have the necessary rights and permission and the edit is not deceptive or harmful. Label meaningful synthetic changes when context requires it.
More Face Swap Guides
Continue with the guide that matches your media, privacy requirement, or next troubleshooting task.