
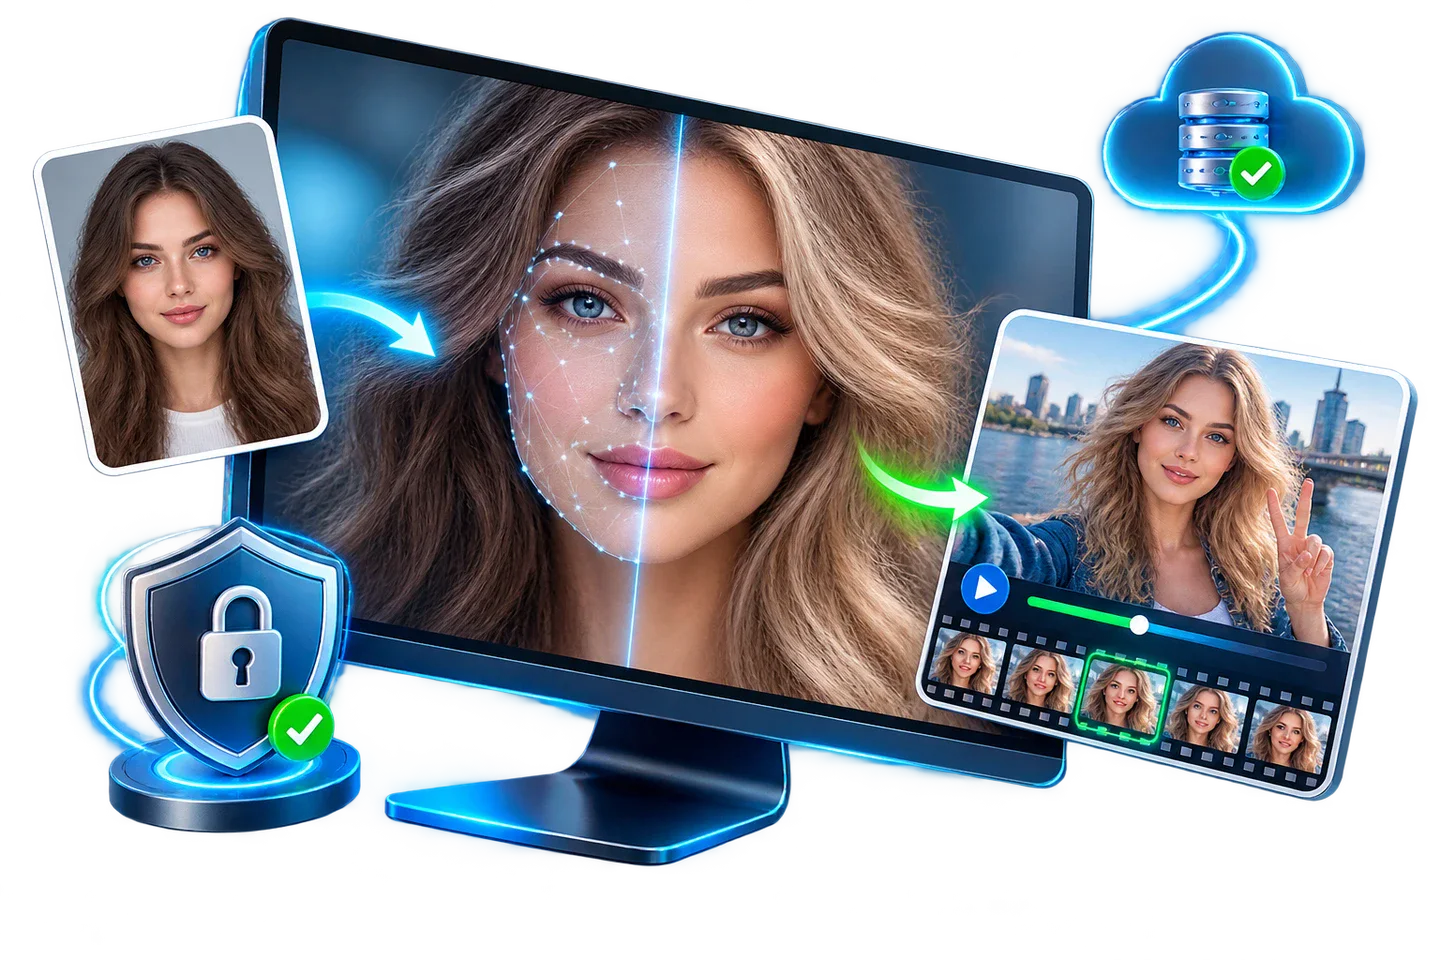
Choose the Right Face Swap Workflow
The best workflow depends on the media, the sensitivity of the files, and how much motion the target contains. Make that decision before uploading or processing a large project.
| Project | Good starting point | Check before continuing |
|---|---|---|
| Single photo | Cloud or offline photo workflow | Face angle, sharpness, lighting, and visible facial features |
| Short social clip | Preview a representative section first | Head turns, expression changes, occlusion, and frame stability |
| Long video | Offline workflow with a short test export | Processing time, storage space, and consistency across difficult scenes |
| Private or client media | Offline FaceSwap Master | Local folders, backup policy, permissions, and publishing rights |
Prepare Better Source and Target Faces
Match the viewing angle
A front-facing source works best with a front-facing target. Large differences in head rotation make alignment and facial proportions harder to preserve.
Use clear, visible features
Choose a sharp image where eyes, nose, mouth, jawline, and forehead are not hidden by hair, hands, glasses glare, or strong shadow.
Keep lighting compatible
Similar light direction, contrast, and color temperature reduce visible changes around skin tone and the face boundary.
Choose a compatible expression
A source with a neutral or comparable expression gives the model a better reference than a portrait with a very different mouth or eye position.
How to Swap Faces on Windows
Choose cloud or offline processing
Open GiliSoft Face Swap and choose the workflow that fits the project. Use cloud processing for convenience, or Offline FaceSwap Master when media should be processed locally on the PC.
Import the target photo or video
Add the media containing the face to be replaced. For video, begin with a short section that includes typical movement and at least one challenging moment.
Add a clear source portrait
Select the replacement face. Favor a sharp portrait with comparable pose, lighting, and expression instead of choosing only by image resolution.
Select the intended face and preview
When more than one person appears, confirm the correct target. Review alignment around the eyes, mouth, jaw, hairline, and any object that passes in front of the face.
Export and inspect the finished media
Check the saved result at normal playback speed and frame by frame around head turns or occlusion. Revise the source portrait or target section if identity consistency breaks.
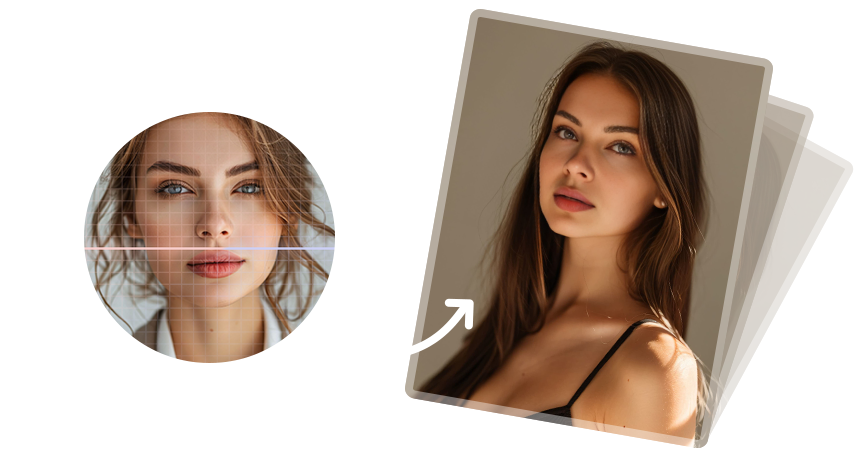 Face-replacement workflow illustration. This explains the source-to-target process and is not a software screenshot or a guaranteed output example.
Check Whether the Result Looks Natural
- Inspect the jawline and hairline for visible edges, halos, or abrupt texture changes.
- Compare skin tone and light direction between the replaced face and the surrounding head.
- Watch eyes and mouth during speech, blinking, smiling, and rapid expression changes.
- Review frames where glasses, hair, hands, microphones, or other objects cover part of the face.
- For video, check identity consistency during head turns and fast motion rather than judging one still frame.
- Export a short sample at the intended resolution before processing the entire source file.
Use Face Swap Software Responsibly
Get permission
Use faces and media you own or are authorized to edit. A technically possible edit is not automatically appropriate to create or publish.
Avoid deceptive impersonation
Do not present synthetic media as authentic evidence, an endorsement, or a real statement by another person.
Disclose meaningful edits
When viewers could reasonably misunderstand the media, label it as AI-modified or face-swapped and preserve relevant creation records.
Control local files
For sensitive work, use offline processing and store source portraits, target media, previews, and exports outside automatically synchronized folders.
Fix Common Face Swap Problems
| Problem | Likely cause | What to try |
|---|---|---|
| Face looks pasted on | Lighting, color, sharpness, or scale mismatch | Use a source with closer lighting and pose; review a new preview |
| Identity changes during video | Fast motion, strong turns, blur, or obstruction | Test a clearer source face and inspect the difficult section separately |
| Wrong person is replaced | Multiple faces or incorrect target selection | Confirm the intended face before processing the full file |
| Video takes too long | Long duration, high resolution, or demanding scenes | Run a short representative export first and confirm local storage is sufficient |
| Result differs from preview | Export processing exposes motion or edge problems | Judge the saved file at full resolution and revise the source portrait if needed |
Frequently Asked Questions
Can I use face swap software on Windows for both photos and videos?
Yes. GiliSoft Face Swap supports photo and video workflows. Start with a still image or a short clip so you can judge alignment and blending before processing a longer video.
Should I choose cloud or offline face swapping?
Cloud processing is convenient for quick projects, while Offline FaceSwap Master is better when you want media processed on your own Windows PC. Choose based on file sensitivity, connection reliability, and project size.
Why does a face swap look unnatural?
The usual causes are mismatched face angles, different lighting, low-resolution source portraits, occlusion, strong motion, and large differences in expression. A clearer source face with a closer pose usually improves the result.
Does a higher-resolution source photo always create a better result?
Resolution helps only when the face is also sharp, visible, and close to the target angle. A smaller but clear front-facing portrait can work better than a large image with blur, heavy shadow, or partial obstruction.
Can I test a video before processing the full file?
Yes. Use a short representative section that includes movement, turning, and expression changes. Review that sample before committing time to the complete video.
Is face-swapped media safe to publish?
Publish only media you have the rights and permission to use. Do not use a face swap to impersonate someone, mislead viewers, or support fraud. Clearly disclose meaningful synthetic edits when context could otherwise be confusing.
More Face Swap Guides
Continue with the guide that matches your media type, privacy requirement, or quality problem.