Encrypt USB Flash and Password Protect Data on USB Flash Drive with the Best Software - Gi

GiliSoft USB Encryption User Guide

How to create and open a password-protected USB secure area

Use this guide to divide a USB drive into a public area and a password-protected secure area, open the encrypted area as a virtual drive letter, and manage password, backup, recovery, and uninstall tools when needed.

  • Create public and password-protected secure areas
  • Open encrypted files through a virtual drive letter
  • Manage passwords, backup, recovery, and removal tools
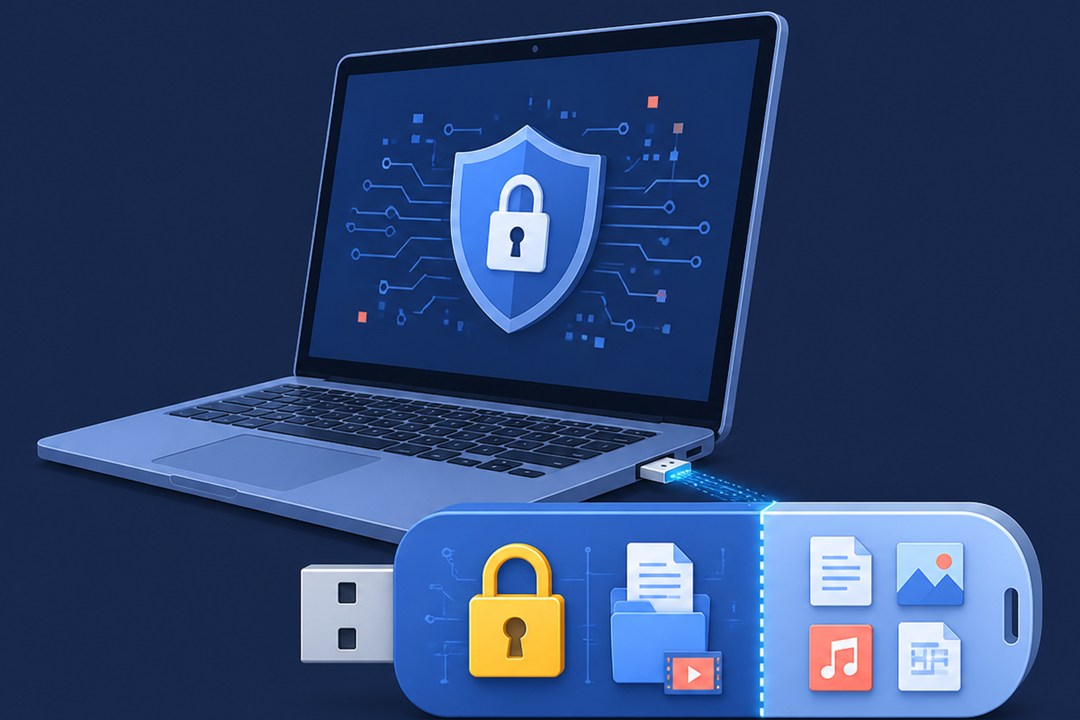
USB flash drive with a public area and password-protected secure storage
Home > How to Use > GiliSoft USB Encryption

Choose the USB encryption task you need

Step-by-step USB Encryption guide

Create a secure area on a USB drive with GiliSoft USB Encryption

How to create a secure area on a USB drive

The secure area is the encrypted part of the USB drive. Files stored there are not opened like ordinary public files; the area must be opened with the correct password first.

1Connect the USB drive and open GiliSoft USB Encryption.
2Select the USB drive from the drive list, then click Refresh if the device is not shown.
3Set the size of the secure area. The remaining space stays as the public area.
4Click Install and wait until the secure area is created on the USB drive.
Before creating or resizing a secure area, back up important files from the USB drive.
Open a USB secure area with a password and drive letter

How to open the secure area with a password

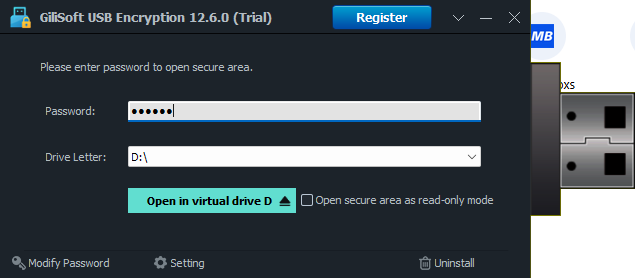
After the secure area is created, it can be opened as a normal Windows drive letter after password verification.

1Run the USB Encryption opener from the USB drive or from the installed program.
2Enter the password for the secure area.
3Choose the virtual drive letter you want to use, such as D: or another available letter.
4Click Open in virtual drive to mount the encrypted area.
Browse and close an opened USB secure area

How to browse files and close the secure area

Once opened, the secure area behaves like a mounted drive. You can browse, copy, save, or organize encrypted files from Windows Explorer.

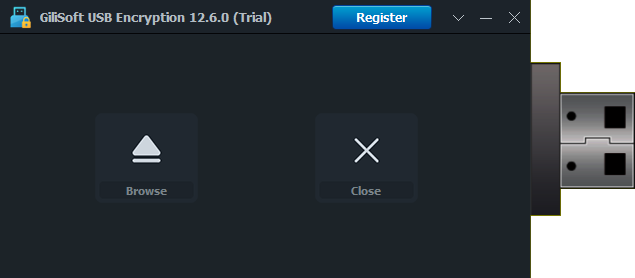
1Click Browse to open the mounted secure area.
2Work with files inside the virtual drive as needed.
3Close documents and applications that are using files from the secure area.
4Click Close, then safely eject the USB drive when Windows allows it.
USB Encryption toolbox for password, uninstall, recover, and backup

How to use USB Toolbox

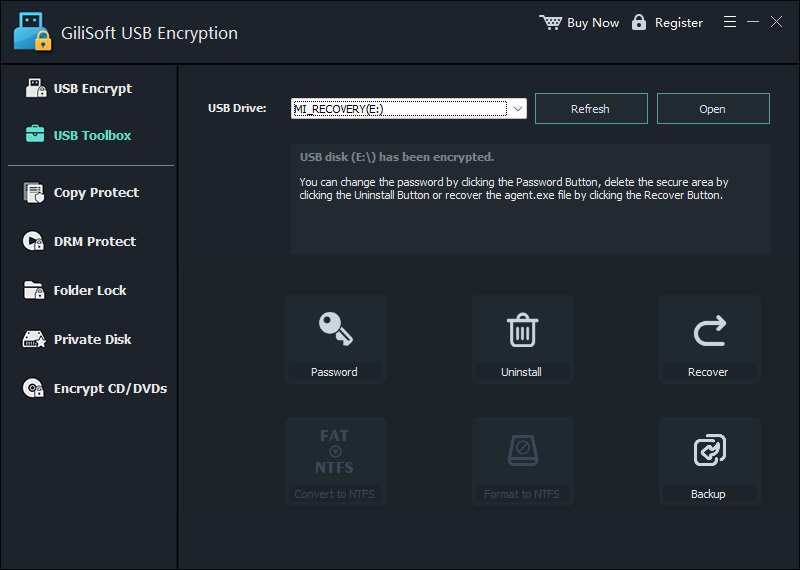
USB Toolbox keeps the main management actions in one place after the USB drive has already been encrypted.

1Open USB Toolbox and select the encrypted USB drive.
2Use Password when you need to change the secure-area password.
3Use Backup before major changes or before moving important protected data.
4Use Recover if the USB opener file needs to be restored, or Uninstall when you intentionally remove the secure area.
The recovery tool is for restoring the USB Encryption opener. It is not a reason to forget or share the secure-area password.

Useful operating notes

When should I open the secure area as read-only?

Use read-only mode when you only need to review protected files, show documents to another person, or reduce the chance of accidental edits during a presentation or check.

What should I do before uninstalling the secure area?

Back up files from the secure area, confirm the backup opens correctly, then use the uninstall option only when you are sure the encrypted area is no longer needed on that USB drive.

USB Encryption FAQ

Can one USB drive have both public and private space?

Yes. The public area remains available for ordinary files, while the secure area requires the password before it can be opened.

What happens after the password is accepted?

The secure area opens as a virtual drive letter in Windows, so you can browse and manage protected files more naturally.

Is this the same as USB Lock?

No. USB Lock controls USB port and device access. USB Encryption focuses on encrypting a secure storage area on a USB drive.

When should I choose File Lock Pro instead?

Use File Lock Pro when you mainly need to lock, hide, protect, or shred files on local disks, external disks, or shared folders.

More USB encryption guides

Protect private files on a USB drive with a secure area

Create a public area for ordinary files and a password-protected secure area for private documents, photos, videos, and portable work files.

View USB Encryption