
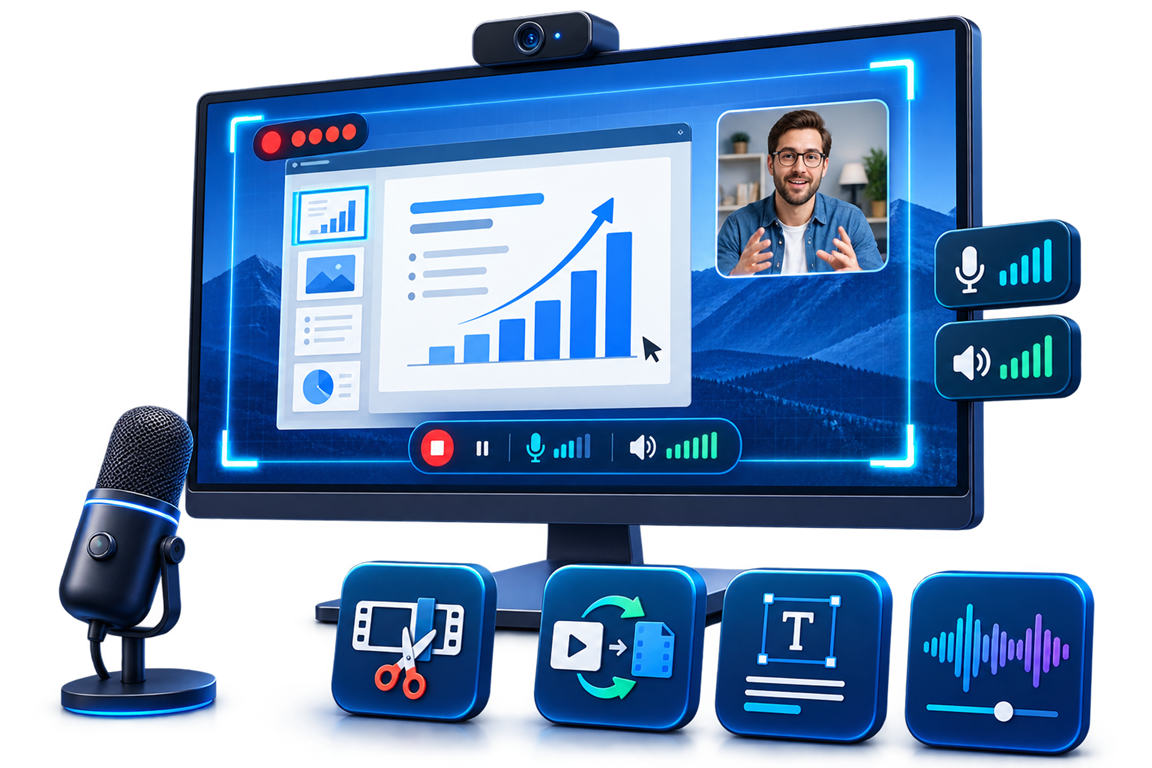
Prepare the Microphone Before Recording
Clear narration depends more on input selection and a short test than on fixing audio later. Windows provides microphone access and input testing controls that are worth checking before an important take.
| Audio setup | Best for | Why choose it |
|---|---|---|
| Microphone only | Spoken walkthroughs without application playback | The cleanest setup when narration carries the lesson |
| Microphone + computer sound | Tutorials that include media, alerts, or software audio | Lets the viewer hear both explanation and application output |
| Microphone + webcam | Presenter-led lessons, onboarding, and personal demonstrations | Adds face presence when it improves communication |
Record Screen with Microphone on Windows: Step by Step
Select the capture area
Choose full screen, one window, or a custom region. Keep notes close to the capture area without placing them inside the finished video.
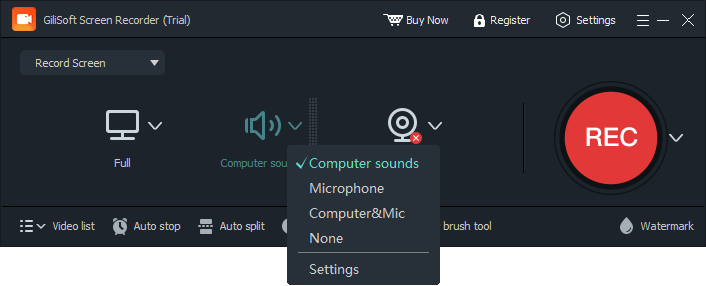
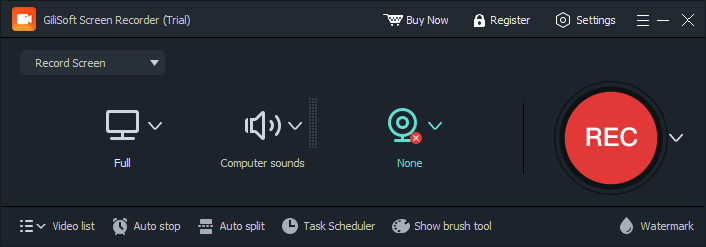
Enable and select the microphone
Turn on Microphone in the recorder and select the correct input device. Enable computer sound separately only when needed.
Make a short narration test
Record a normal sentence while moving through a sample screen action. Listen for low volume, clipping, keyboard noise, and delay.
Record the walkthrough
Start with a brief pause, explain one action at a time, and leave another short pause before stopping so the ends can be trimmed cleanly.
Record Clearer Voice Narration
Keep microphone distance steady
A consistent distance keeps voice level and tone stable throughout the walkthrough.
Reduce room and desk noise
Close windows, silence phones, move away from fans, and avoid typing while speaking when possible.
Write a short outline
A simple sequence of talking points reduces restarts and keeps the narration aligned with screen actions.
Use headphones when adding playback
If computer sound is included, headphones keep it from feeding back into the microphone.
If the Microphone Is Missing or Too Quiet
- Open Windows Settings > Privacy & security > Microphone and allow microphone access for desktop apps.
- Open Settings > System > Sound > Input, select the microphone, and run the Windows input test.
- Reconnect a USB or headset microphone and select it again inside the recorder.
- Increase input volume gradually; very high gain can increase background noise and distortion.
- Close conferencing or voice applications that may be using the device, then make another short test.
Frequently Asked Questions
Can I record the screen with only my microphone?
Yes. Enable Microphone and leave Computer Sound off when the recording only needs narration.
Can I add computer sound to the same recording?
Yes. Enable both sources when viewers need narration and application playback in the same video.
Why can the recorder not hear my microphone?
Windows microphone access may be disabled, the wrong input may be selected, or another application may be using the device.
How do I reduce keyboard noise?
Move the microphone away from the keyboard, use a headset or directional microphone, and pause typing while delivering important narration.
Should I use the built-in laptop microphone?
It can work for a quick recording, but a headset or external microphone often gives more consistent voice level and less keyboard or room noise.
Do I need a webcam to make a narrated tutorial?
No. Microphone narration can explain a screen workflow without showing the presenter. Add webcam only when face presence benefits the content.
More Screen Recording Guides
Continue with the recording setup or troubleshooting guide that matches the next task.