
GiliSoft Image Converter User Guide
Image Converter User Guide for Windows
Convert image formats, process folders in batches, and prepare images for delivery.
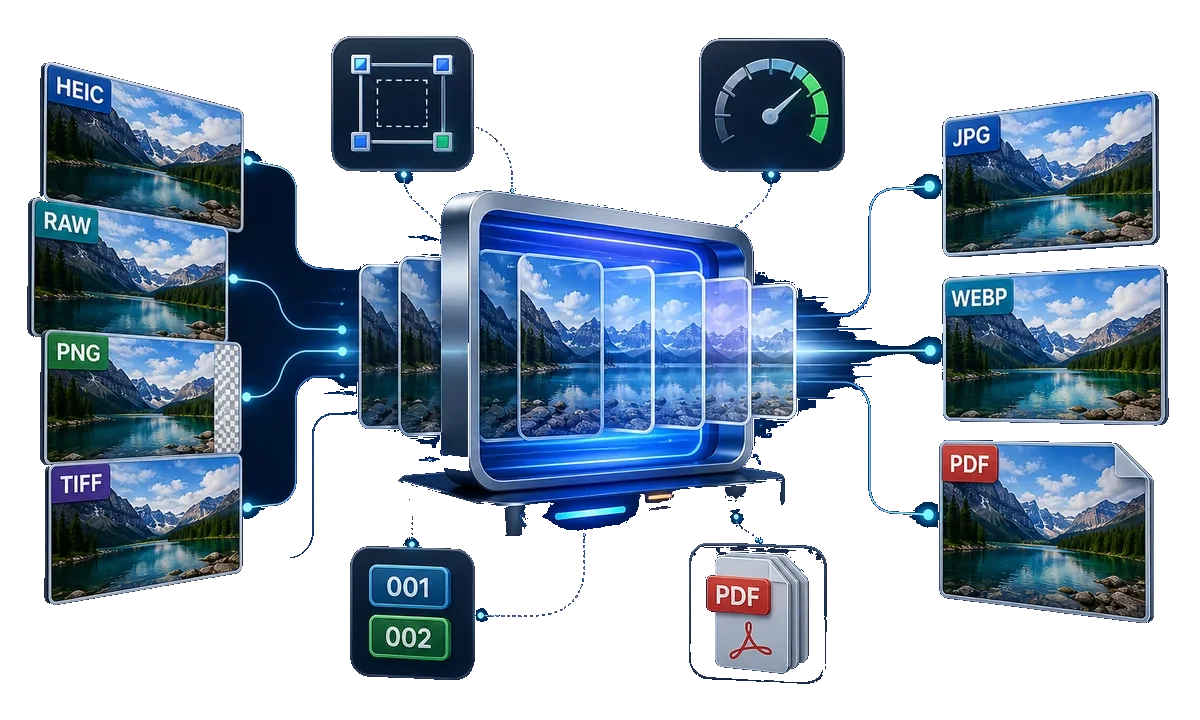
Image Converter Help by Task
Choose the result you need, then continue to the matching walkthrough below or open a focused guide.
Process Image Folders
Resize, crop, rotate, and rename in batchesBatch resize, crop, and rename softwarePrepare marketplace product photosCreate, Repair, and Recover
Image to PDF and batch toolsUse photo repair and corrupted-image toolsRecover lost image files
Use GiliSoft Image Converter for this guide
Download TrialConvert image formats, process complete folders, create PDFs, edit images, and open repair or recovery utilities from one Windows application.
Before you convert or process images
Keep the source files available and decide which changes belong to conversion, batch preparation, PDF output, editing, or the repair and recovery toolbox.
Write converted and processed files to a separate folder until the results have been checked.
Know whether the output is intended for editing, web publishing, office documents, devices, archives, or image delivery.
Use a source with typical dimensions, color, transparency, and orientation before running a large folder.
RAW sources, high-resolution photos, PDFs, and large image folders may require substantial output storage.
Conversion changes how an image is stored. Batch resize, rename, editing, repair, and recovery are separate tasks, even though they are available from the same application.
1. Quick start: convert images on Windows
Add the source images and choose the output format
- Open GiliSoft Image Converter.
- Add one image, several files, or a folder of source images.
- Select the files that should be included in the current conversion.
- Choose the target image format and available quality settings.
- Select a separate output folder.
- Run the conversion, then open a finished image and inspect its dimensions, color, orientation, and transparency.
The main workspace provides access to conversion, batch preparation, image-to-PDF output, editing, and the additional image toolbox.
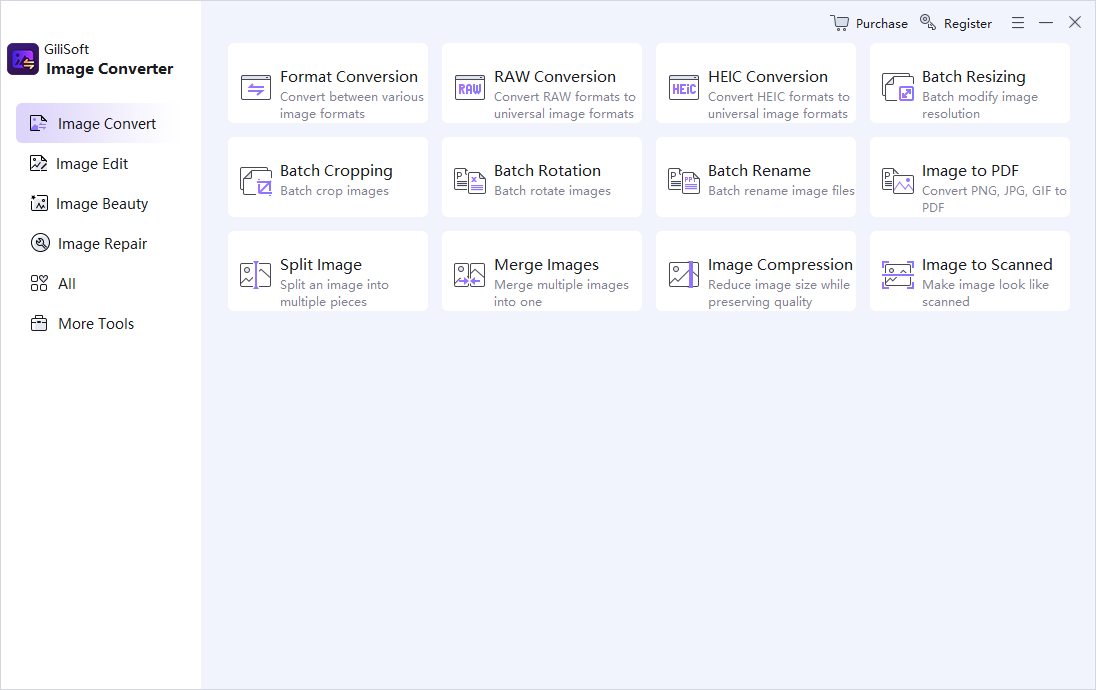 Choose the source images and the task you want to run
2. Convert common, HEIC, and RAW image formats
Match the output format to the next application or delivery channel
- Add the JPG, PNG, BMP, GIF, WEBP, TIFF, HEIC, RAW, or other supported source images.
- Choose a broadly compatible output such as JPG or PNG when the destination application has limited format support.
- Use PNG when transparency must be retained and the selected conversion supports it.
- Review quality or compression controls before converting photographic images.
- Keep orientation and dimensions consistent when preparing an image set.
- Open representative HEIC and RAW conversions and compare color and detail with the source.
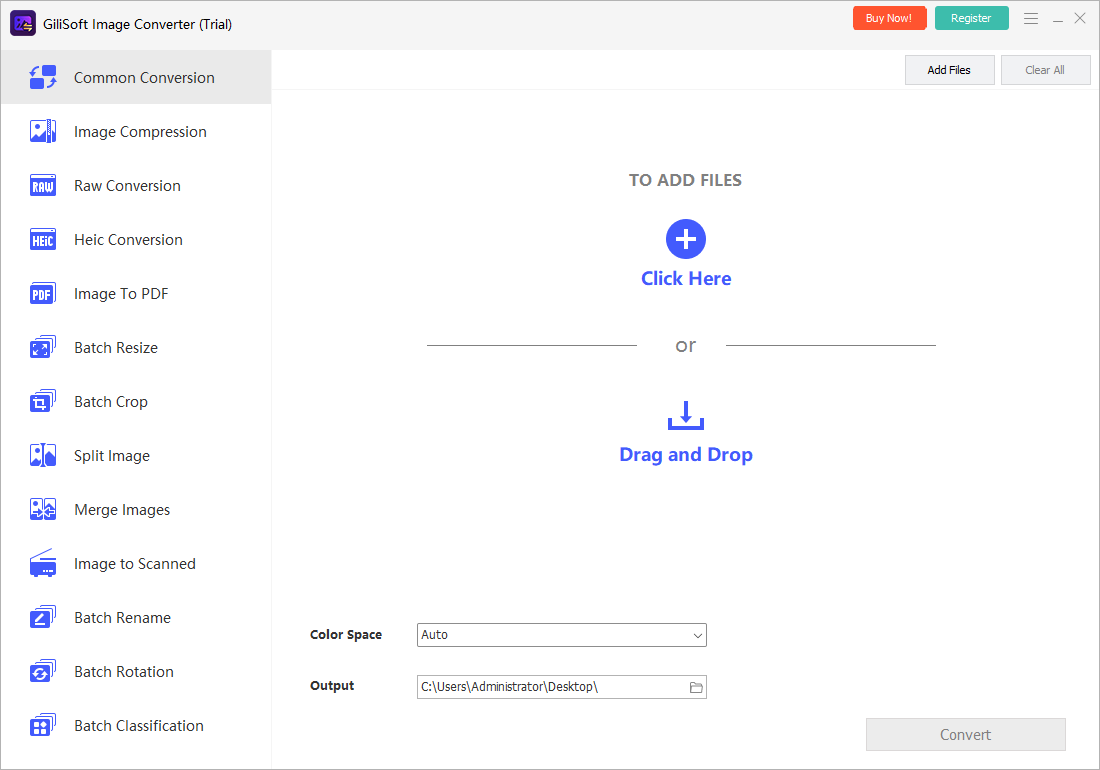 Select the target format and conversion settings
Common formats
Convert everyday image files for software compatibility, publishing, sharing, and repeat delivery tasks.
HEIC photos
Prepare phone photos as JPG or PNG when a Windows application, website, or document workflow cannot use HEIC directly.
RAW camera images
Create practical delivery copies from professional or camera RAW sources while keeping the original files available.
3. Resize, crop, rotate, and rename images in batches
Use batch preparation when a folder needs consistent dimensions, orientation, crop behavior, or file naming before delivery.
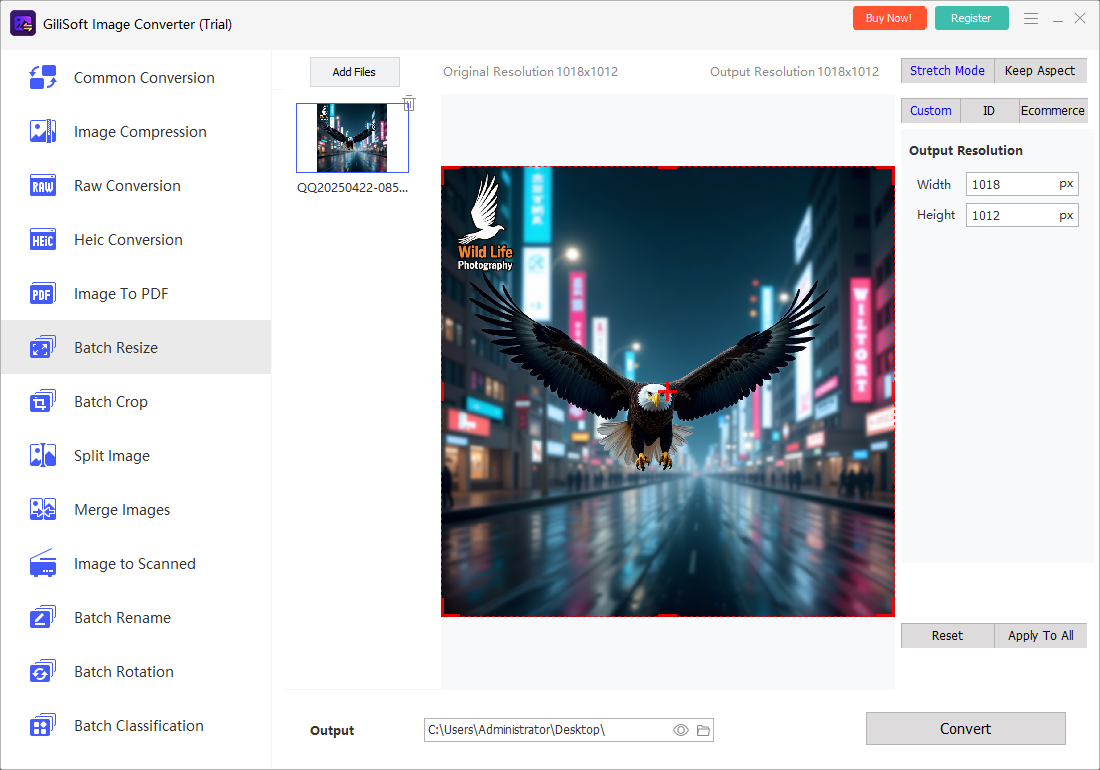 Apply consistent size, crop, and rotation settings to an image set
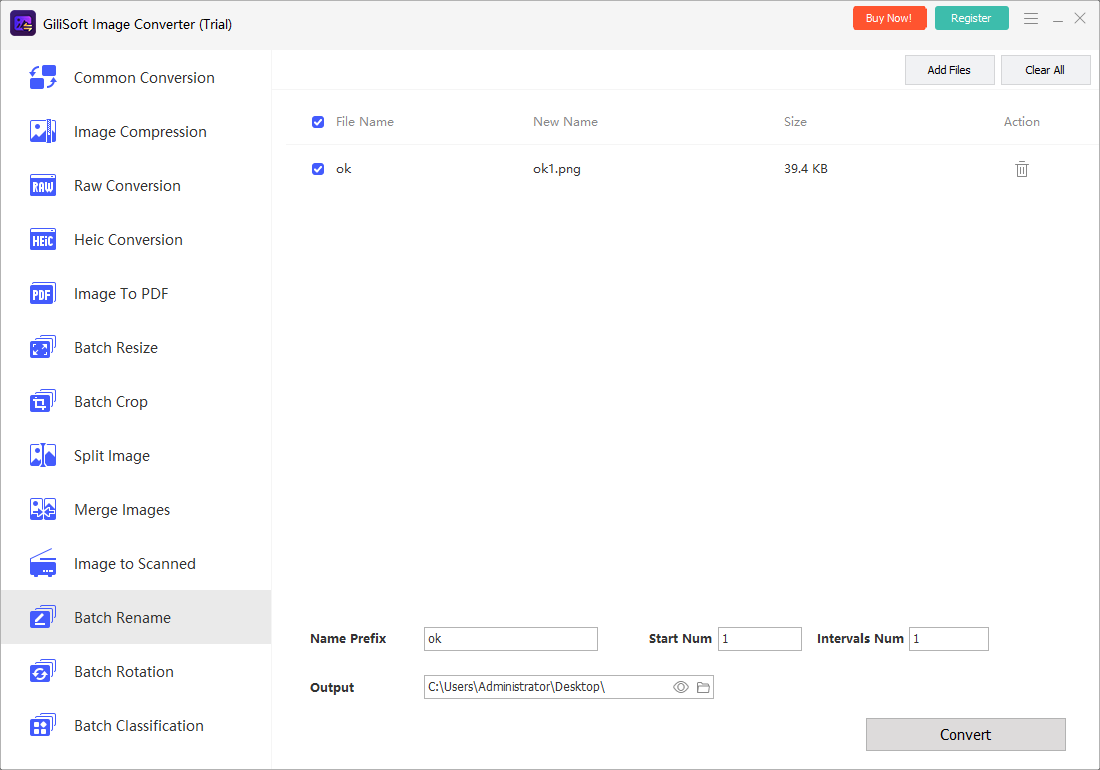 Preview a repeatable naming rule before renaming files
Preserve proportions
Use aspect-ratio controls when images should resize without appearing stretched.
Check crop behavior
Preview portrait and landscape sources because one crop rule may not suit every composition.
Avoid naming conflicts
Use prefixes, suffixes, or sequence numbers and preview the result before processing the whole folder.
4. Convert a collection of images to PDF
Arrange the pages before creating the PDF
- Open the Image to PDF task.
- Add the images that should become PDF pages.
- Arrange them in the intended reading order.
- Review page size, orientation, margins, and other available output controls.
- Select the PDF destination and create the file.
- Open the PDF and check page order, image clarity, and orientation.
This is useful for reports, scanned pages, portfolios, handouts, product sheets, and office documents assembled from image files.
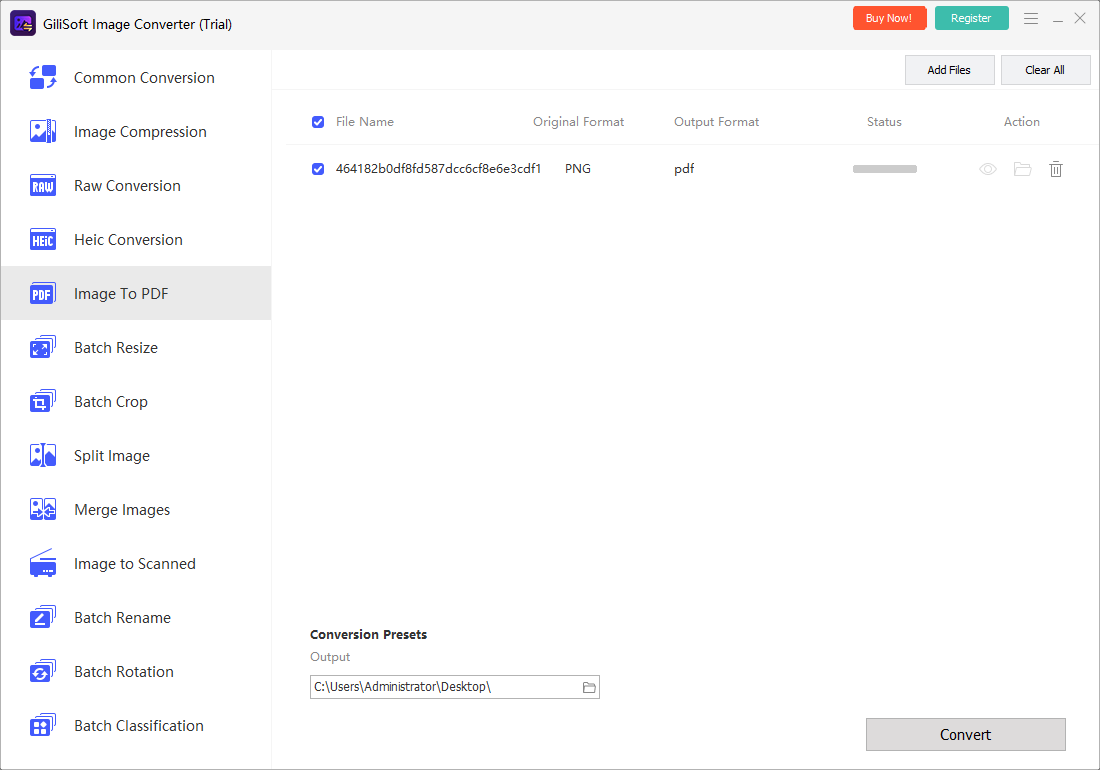 Arrange images and create a PDF from the collection
5. Use the built-in image editing workspace
Make practical visual changes before conversion or delivery without moving every image into a separate editor.
Prepare the visual result as well as the file format
- Open the selected image in the built-in editing workspace.
- Choose the crop, transform, adjustment, text, mark, or other available editing task.
- Preview the change at full image size.
- Keep faces, products, text, and fine edges natural.
- Apply only the edits needed for the intended output.
- Return to the main workflow and create a test file.
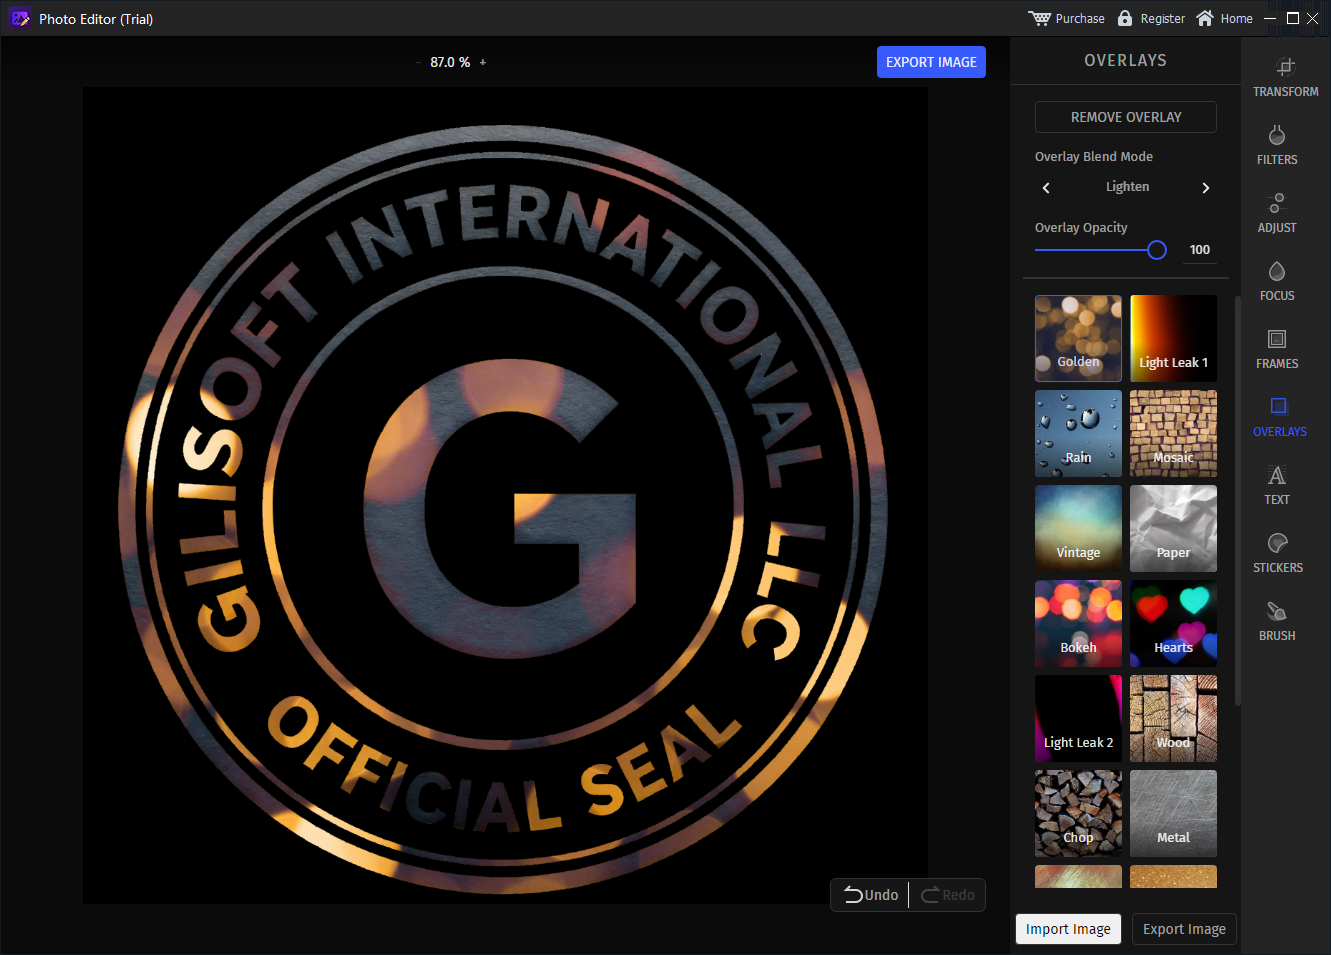 Open the image editor for practical preparation tasks
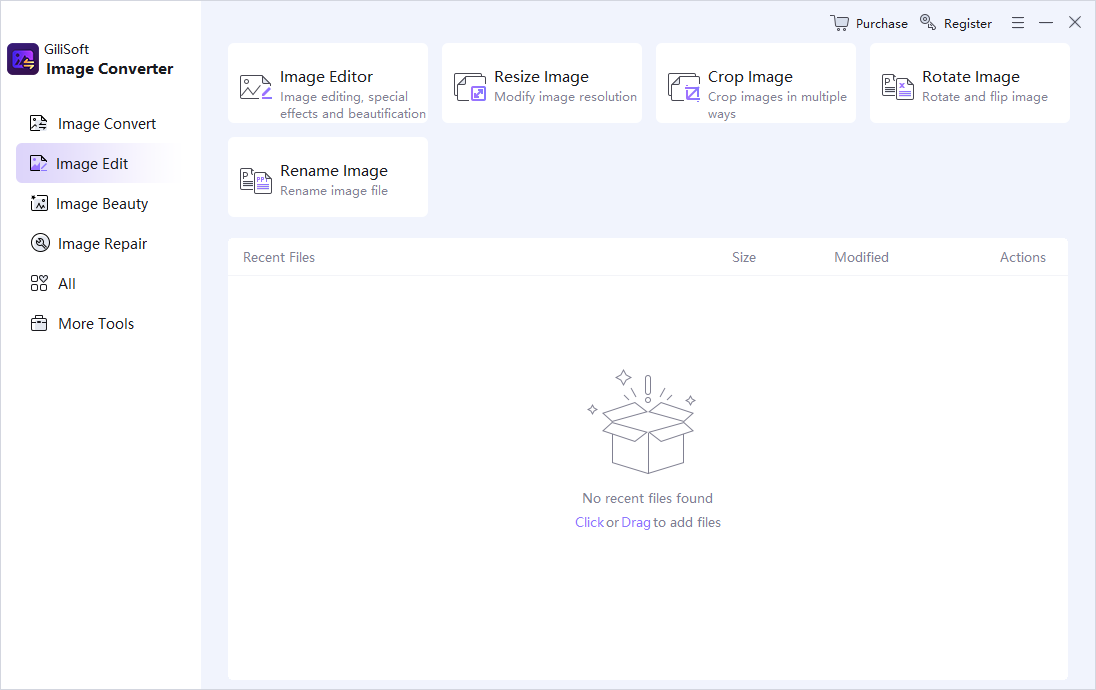 Apply practical image edits before output
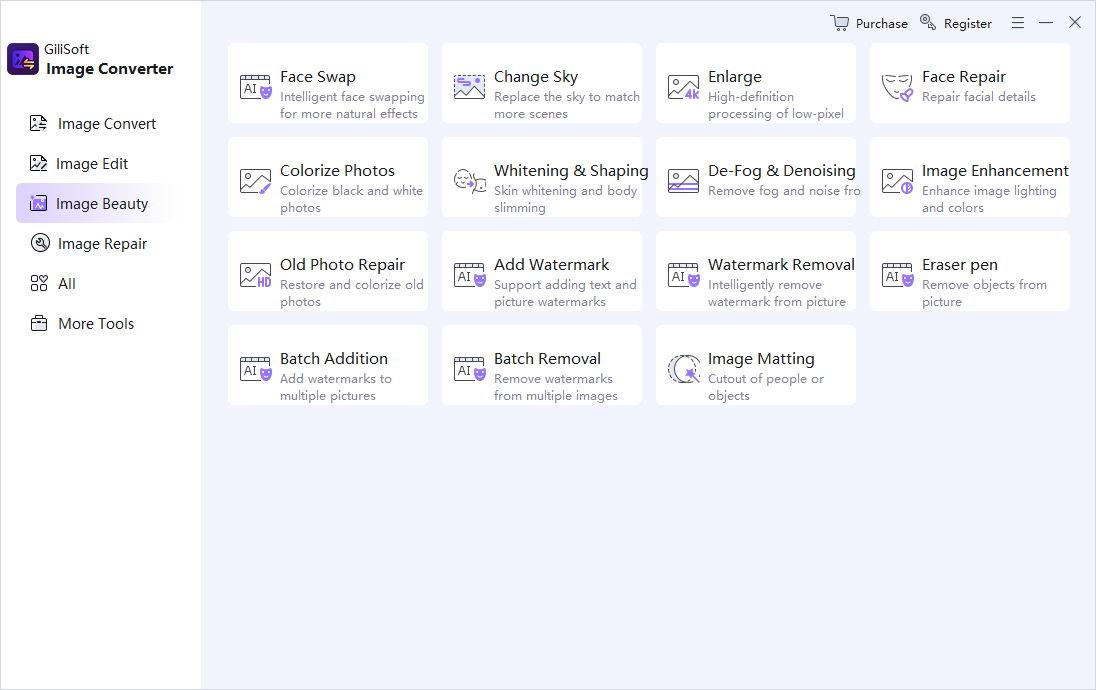 Review image enhancement and beauty tools carefully
6. Use the photo repair and image recovery toolbox
Choose the utility that matches the image problem
- Open the image repair and recovery toolbox from the main application.
- Choose Old Photo Repair when the goal is to improve an older or faded photograph.
- Choose Fix Corrupted Image when an image file is damaged and needs a repair attempt.
- Choose Image Recovery when the task is recovering lost or deleted image files.
- Work from copies or recover to a different location where appropriate.
- Open and verify every repaired or recovered result before relying on it.
These utilities solve different problems. Do not use image conversion as a substitute for damaged-file repair or deleted-image recovery.
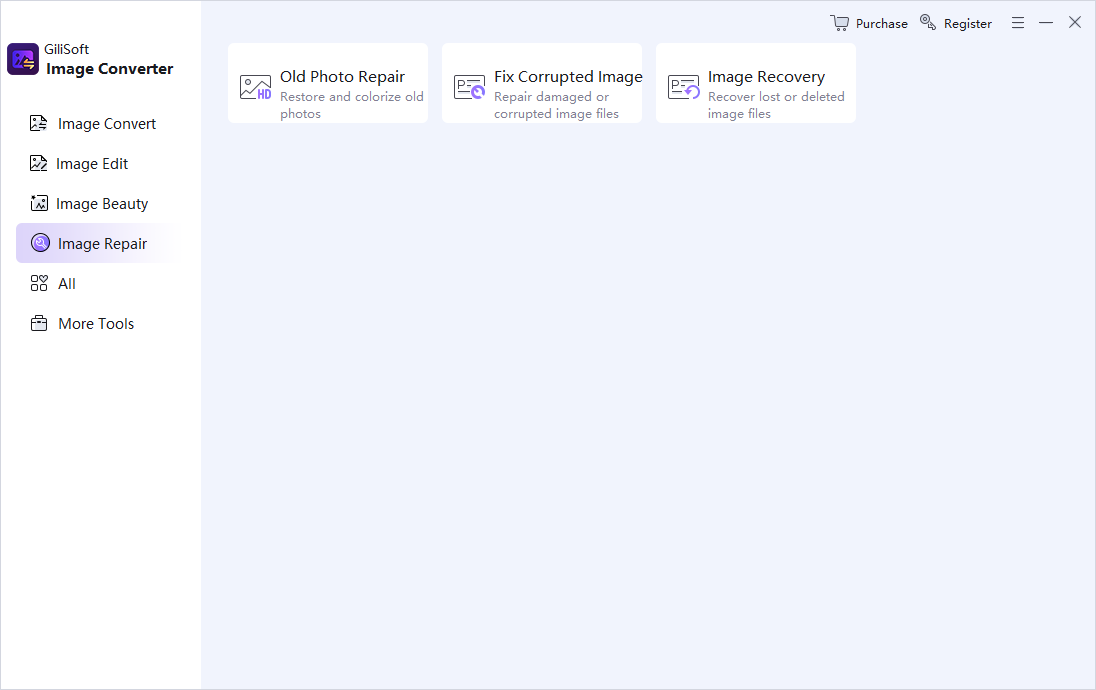 Open the dedicated repair or recovery tool that matches the problem
Old Photo Repair
Improve the visible appearance of older or faded photographs before reuse or archiving.
Fix Corrupted Image
Attempt to repair damaged image files that cannot be used normally.
Image Recovery
Search for lost or deleted image files and restore selected results to a safe destination.
7. Review output before processing the complete image set
Verify a representative result
- Confirm the output format, dimensions, orientation, quality, and destination.
- Check that renamed files are unique and follow the intended sequence.
- Inspect transparent areas, fine detail, color, and embedded text.
- Open generated PDFs and check every page.
- Verify repaired or recovered images outside the application.
- When the test is correct, continue with the remaining files.
Return to the main workspace and confirm the complete taskFinal Image Converter checklist
Confirm these six points before delivering files or running a large folder.
Image Converter troubleshooting and FAQ
Why is a converted JPG larger than the HEIC source?
HEIC can store photographic content efficiently. A JPG produced with high quality or larger dimensions may use more space even though it is more broadly compatible.
Why does a RAW conversion look different?
RAW files depend on camera data and processing choices. Compare color, brightness, and detail with the source and adjust the available output settings when needed.
How do I preserve transparency?
Choose a target format that supports transparency, such as PNG, and inspect the finished image in an application that displays transparent areas correctly.
How can I prevent batch rename conflicts?
Preview the naming pattern, include a unique sequence, and write results to a separate folder before changing the original file organization.
Why are PDF pages in the wrong order?
Return to the Image to PDF task and arrange the source images in the intended sequence before creating the PDF again.
What is the difference between Fix Corrupted Image and Image Recovery?
Fix Corrupted Image attempts to repair damaged image files. Image Recovery is intended to find and restore lost or deleted image files.
Ready to convert and prepare your images?
Convert mixed image formats, process folders in batches, create PDFs, and review the result before delivery.


