
Can You Remove a Logo from a Photo?
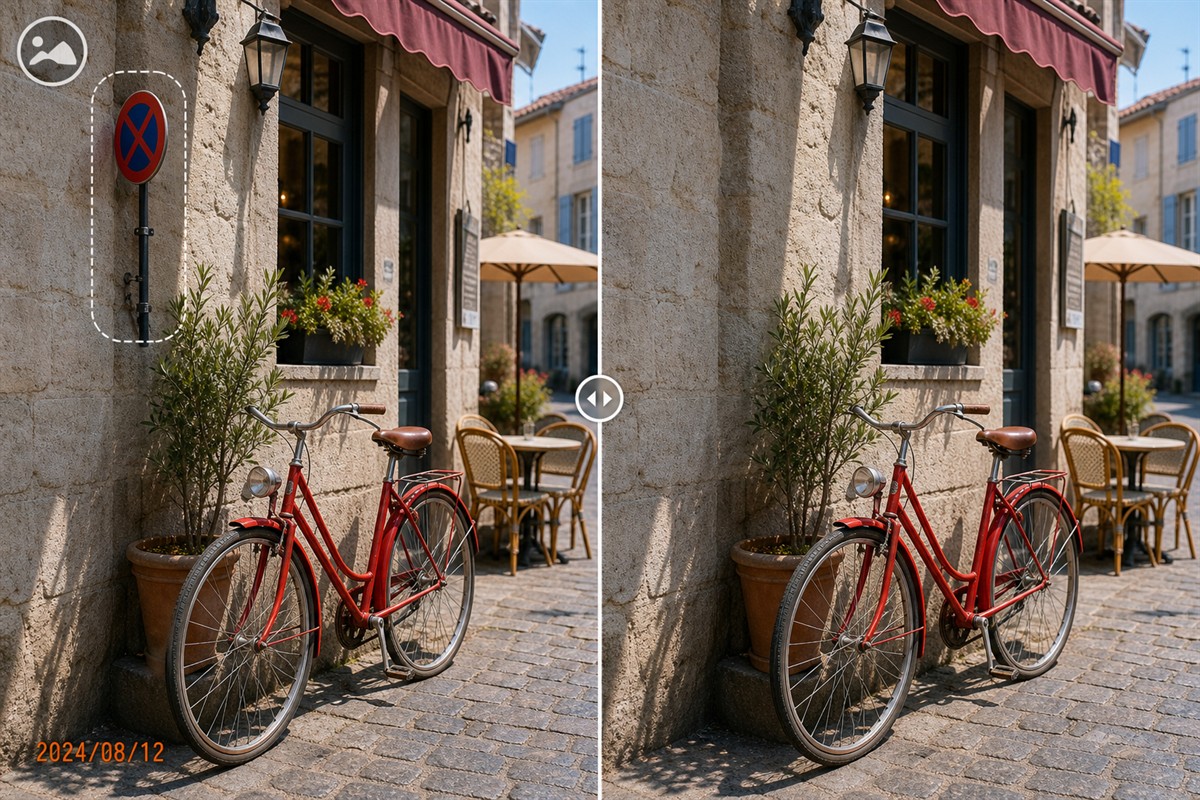
Yes, when you own the photo or have permission to edit it. The visible logo area can be selected and replaced with image content reconstructed from the surrounding background.
A flattened JPEG or PNG does not contain the clean pixels hidden below a baked-in logo. Removal software therefore creates an approximation based on nearby color, texture, lines, and shapes. A small logo over sky or a plain wall is generally easier than a large semi-transparent logo crossing a face, product, sign, or repeating pattern.
Should You Remove the Logo, Crop It, or Find the Original?
Choose the least destructive method that still meets the publishing requirement. Logo reconstruction is useful, but it should not be the automatic first choice for every image.
Remove the logo
Best when the mark is inset from the edge or cropping would cut away important product detail, framing, or background.
Crop the edge
Best when the logo sits entirely inside an expendable border and the new aspect ratio still fits the intended website, catalog, or presentation.
Use the unbranded original
Best when the organization still has the source photo, layered design file, or original product image without the old mark.
Use a full editor
Best when the logo covers faces, typography, architecture, fine product features, or several unrelated textures that need manual restoration.
Adobe’s official crop documentation describes cropping as removing everything outside the selected frame. That makes it clean and predictable, but it also changes composition and output dimensions. If the logo sits well inside the image, reconstruction usually preserves more of the frame.
Why Some Photo Logos Are Harder to Remove
Opaque corner logos
A small solid mark over a uniform background is usually the most straightforward case. The selection still needs to include its complete border and any drop shadow.
Semi-transparent and anti-aliased logos
Transparent logos mix their color with the underlying photo. Anti-aliased letters and icons also contain partially blended edge pixels. If the selection misses that feathered fringe, a pale halo or ghost outline can remain after the center is removed.
Logos crossing important edges
A logo across hair, eyes, text, product contours, railings, tiles, or architectural lines hides unique structure. The software can estimate what belongs there, but it cannot retrieve exact pixels that are no longer present in the flattened file.
Large marks over mixed backgrounds
One oversized repair selection may sample from the wrong texture. Divide the logo into smaller regions when different parts sit over sky, clothing, pavement, or another distinct area.
Official Adobe guidance recommends a precise selection and allows control over which surrounding pixels supply the fill. Microsoft’s photo-editing documentation similarly provides add-mask and remove-mask controls and warns that an AI erase result may not always match expectations. GIMP advises choosing a brush suited to the defect and notes that repeated healing can introduce smudging.
Editing principles consulted: Adobe Content-Aware Fill, Adobe Crop guidance, Microsoft Photos editing guidance, and GIMP Heal documentation.
How to Remove a Logo from a Photo with MarkEase
Test one representative image before cleaning an entire archive or product library. This reveals whether the mark, background, and available source quality are suitable for automatic reconstruction.
- Open the authorized source photoUse the highest-resolution original available and preserve an untouched copy. Avoid beginning with a social-media screenshot when the original file exists.
- Check whether cropping is cleanerPreview an edge crop first when the logo touches the outside border. Continue with removal only if cropping harms framing or removes useful content.
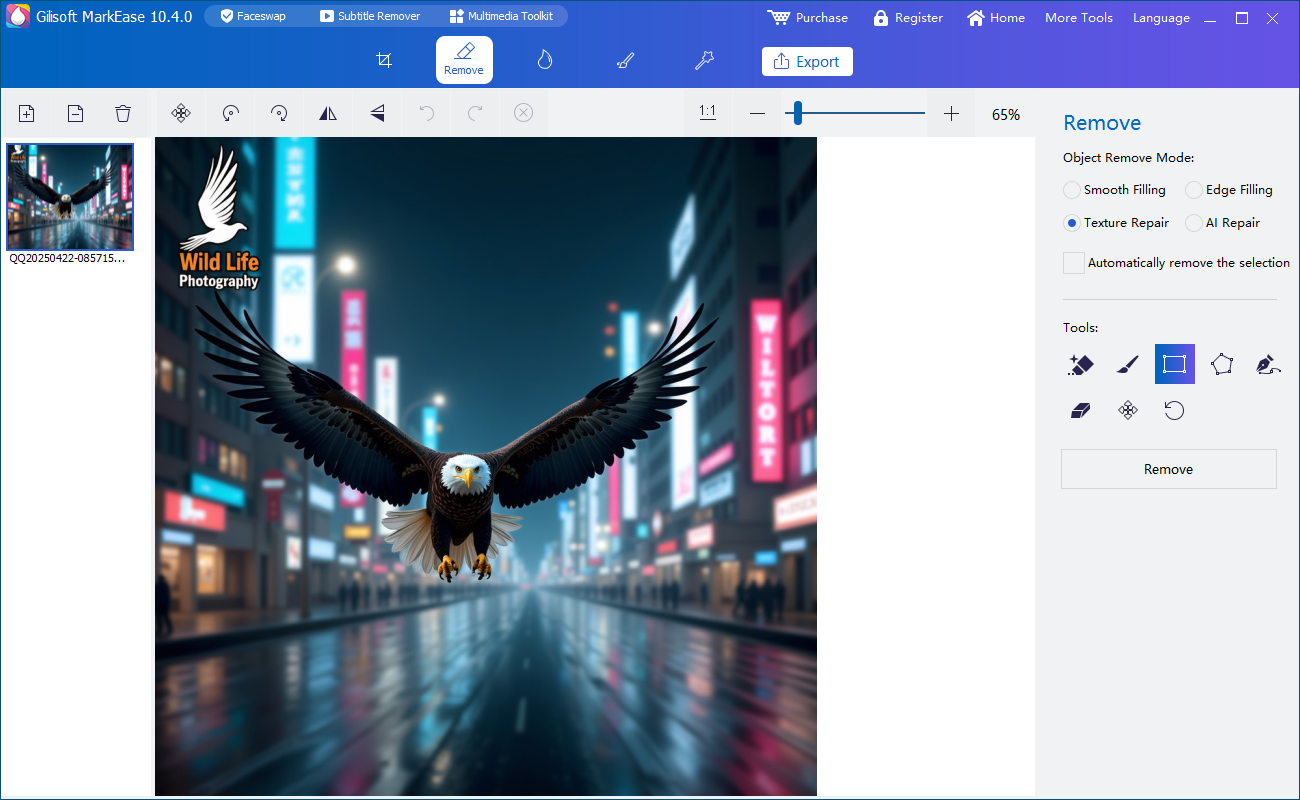
- Zoom in and select the full logoInclude every letter, symbol, border, shadow, and transparent fringe. Keep the mask close enough that nearby detail remains available for reconstruction.
- Split mixed backgrounds into smaller regionsIf one part of the logo crosses sky and another crosses a product or person, repair those areas separately instead of using one large pass.
- Inspect at 100% sizeCheck for remaining halos, repeated texture, blurred lines, broken edges, color seams, and invented detail that does not match the surrounding scene.
- Export a new photoSave the result to a separate folder, open it outside MarkEase, and compare it with the original before adding current branding or republishing.
Test logo cleanup with GiliSoft MarkEase
Download the Windows trial and evaluate one real authorized photo at full resolution before committing the rest of the image library.
Download MarkEase TrialCompare Ways to Remove a Logo from an Image
| Method | Use it when | What it preserves | Trade-off |
|---|---|---|---|
| GiliSoft MarkEase cleanup | The logo is inside useful photo content | The original frame and output dimensions | The covered area is reconstructed, not recovered exactly |
| Crop the image | The logo sits on an expendable outer edge | Original pixels inside the new crop | Changes composition, dimensions, and possibly aspect ratio |
| Replace with the original asset | An unbranded source or layered design file exists | Authentic hidden image detail | Requires locating the correct source and confirming usage rights |
| Clone or heal manually | The logo crosses complex lines, subjects, or patterns | More control over the sampled replacement area | Takes more time and editing experience |
How to Avoid Halos, Blur, and Repeated Texture
Know when automatic cleanup is not enough
A large logo over a face, unique product component, printed label, or readable sign may require manual cloning, a different source photo, or a new photograph. Removing the mark can hide it visually, but no tool can guarantee exact recovery of image detail that was permanently covered.
A Safer Rebranding and Archive Workflow
Removing an old logo is often only one step in refreshing product photos or moving an image library to a new brand. Keep the process reversible and auditable.
MarkEase also provides tools for adding a new text or logo watermark after cleanup. For that workflow, see how to add a logo watermark to photos or the complete MarkEase guide.
Remove Logo from Photo FAQ
Can I remove a corner logo without cropping the photo?
Yes. MarkEase can reconstruct the selected logo area from nearby image information when cropping would discard useful framing or subject detail.
Why is a semi-transparent logo harder to remove?
Its color is blended with the underlying photo, and feathered edge pixels can leave a halo if the full visible fringe is not included in the selection.
Can the hidden original detail be recovered exactly?
No. Once a logo is baked into a flattened photo, the covered pixels are unavailable. Cleanup software reconstructs a plausible replacement from surrounding content.
Can MarkEase also remove date stamps and text labels?
Yes. The same focused cleanup workflow can be used for authorized date stamps, captions, labels, watermarks, and small unwanted objects.
Should I remove a copyright logo from any image?
No. Remove logos only from photos you own or are authorized to modify. Logo removal does not create permission to reuse someone else’s work.
Can I add a new company logo afterward?
Yes. After checking the cleaned image, use the MarkEase watermark tools to place updated text or logo branding and export a new version.


