
Export to a separate folder so you can revise the selection without losing the original image or video.
GiliSoft Watermark Remover Help Center
Watermark Remover User Guide for Windows
Choose the right cleanup task, mark unwanted watermarks, logos, text, subtitles, or objects, preview the affected area, and export authorized media.

Before you remove a watermark or unwanted object
Keep the original, identify whether the source is an image or video, and choose a task that matches the visible mark instead of using one oversized cleanup region for every job.
Use cleanup tools only on media you own, created, licensed, or are authorized to edit.
Marks over faces, movement, detailed textures, or changing light need a tighter region and more preview checks.
For video, process a short section containing typical motion before running a long export.
1Load media2Choose task3Mark area4Set timing5Preview6Export
1. Remove a watermark or unwanted object from an image
Mark only the pixels that need reconstruction
- Open the image watermark removal or image eraser task.
- Add the source image and keep the original available.
- Choose Smart Pen, Brush, Shape, Lasso, or Eraser according to the outline.
- Adjust the selection radius and cover the complete mark, including shadows and borders.
- Use the available OCR text or portrait-removal task when it matches the visible subject.
- Preview the cleaned area, refine the selection, and export to a separate file.
Use a narrow, accurate selection. A large cleanup area gives the software more background to reconstruct and may make the result less natural.
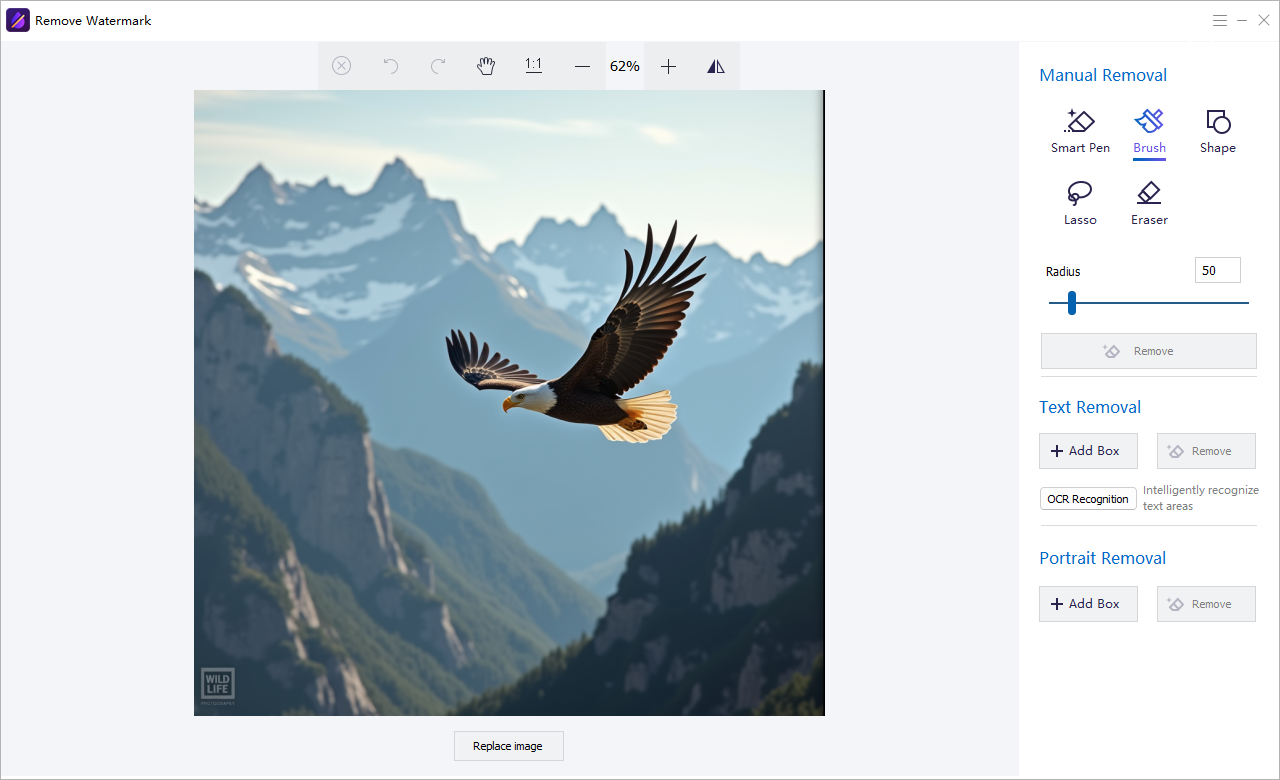 Use manual selection, OCR text, or portrait cleanup tools according to the image
2. Use quick video watermark removal for a fixed overlay
Define the visible area, cleanup style, and active time
- Open Quick Video Watermark Remover and add the source clip.
- Move to a frame where the complete logo, timestamp, or overlay is visible.
- Mark the fixed area as tightly as possible.
- Choose Delogo, Mosaic, or Gaussian Blur and adjust the available level.
- Set the start and end time when the mark appears.
- Preview entry, middle, and exit frames before exporting the complete video.
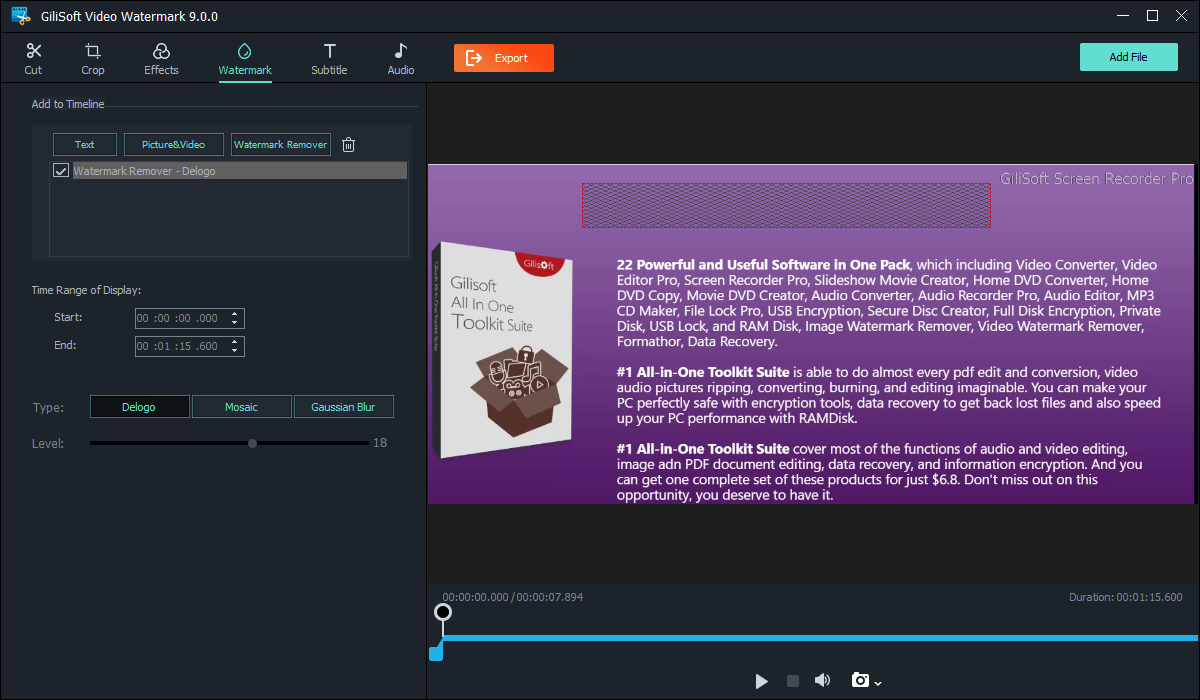 Choose the cleanup style and limit processing to the visible time range
3. Remove subtitles or fixed text from video
Use the dedicated subtitle or text task when the unwanted content stays in a predictable horizontal, vertical, or fixed region.
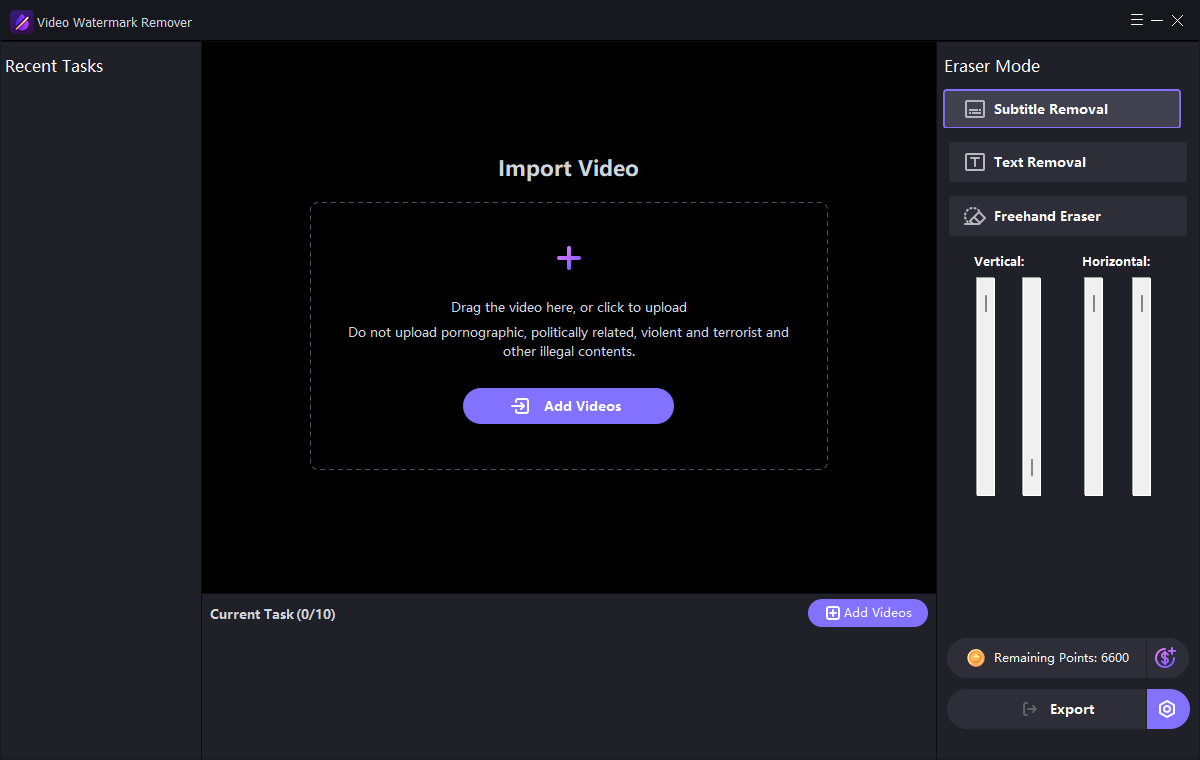 Choose the caption layout and mark the subtitle region
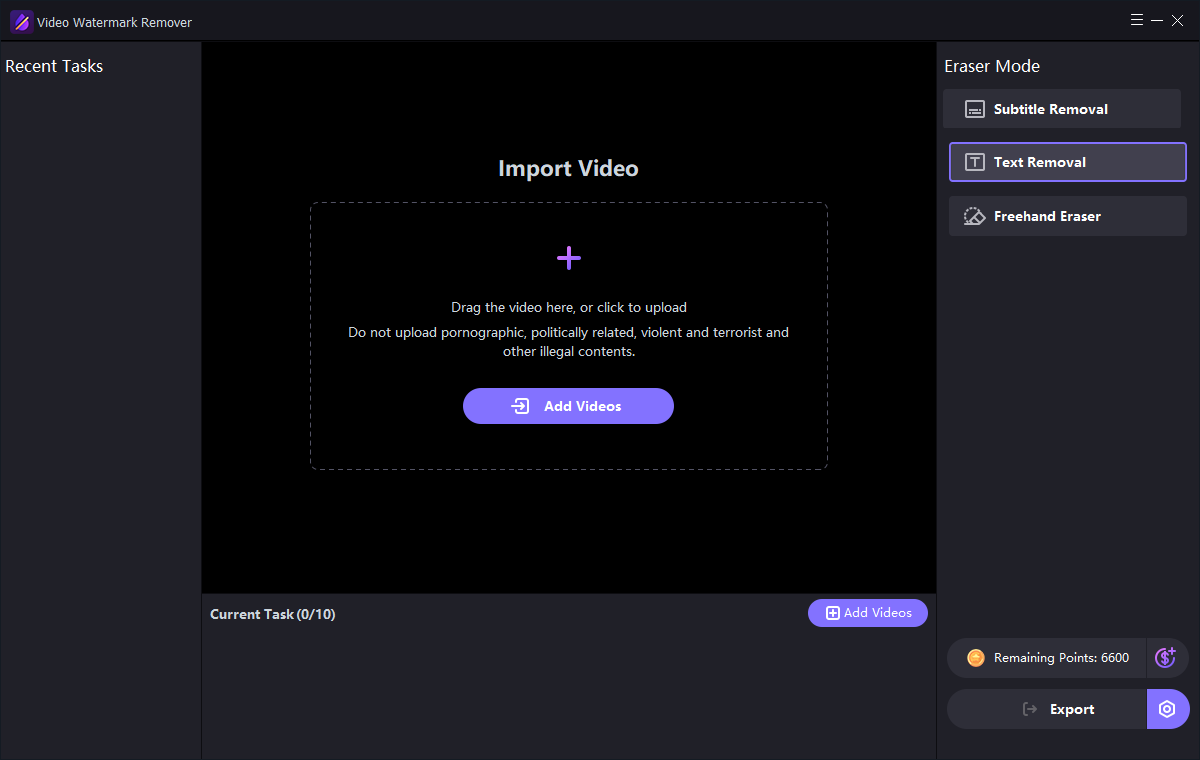 Mark a title, label, timestamp, or other fixed text area
Cover the complete text
Include outlines, shadows, boxes, and the longest visible line so letter fragments are not left behind.
Keep the area focused
Avoid selecting faces or unrelated moving content when only a caption band or corner label needs cleanup.
Check scene changes
Review several points on the timeline and create separate tasks when the text position changes.
4. Use freehand removal for irregular video marks
Trace shapes that do not fit a rectangle or subtitle band
- Open the freehand video eraser task.
- Move to a clear frame that shows the complete unwanted area.
- Choose Smart Pen or Brush Pen and trace the irregular mark.
- Use Eraser to correct any part of the selection that extends too far.
- Review the marked area over motion and different backgrounds.
- Export a short test before processing the full clip.
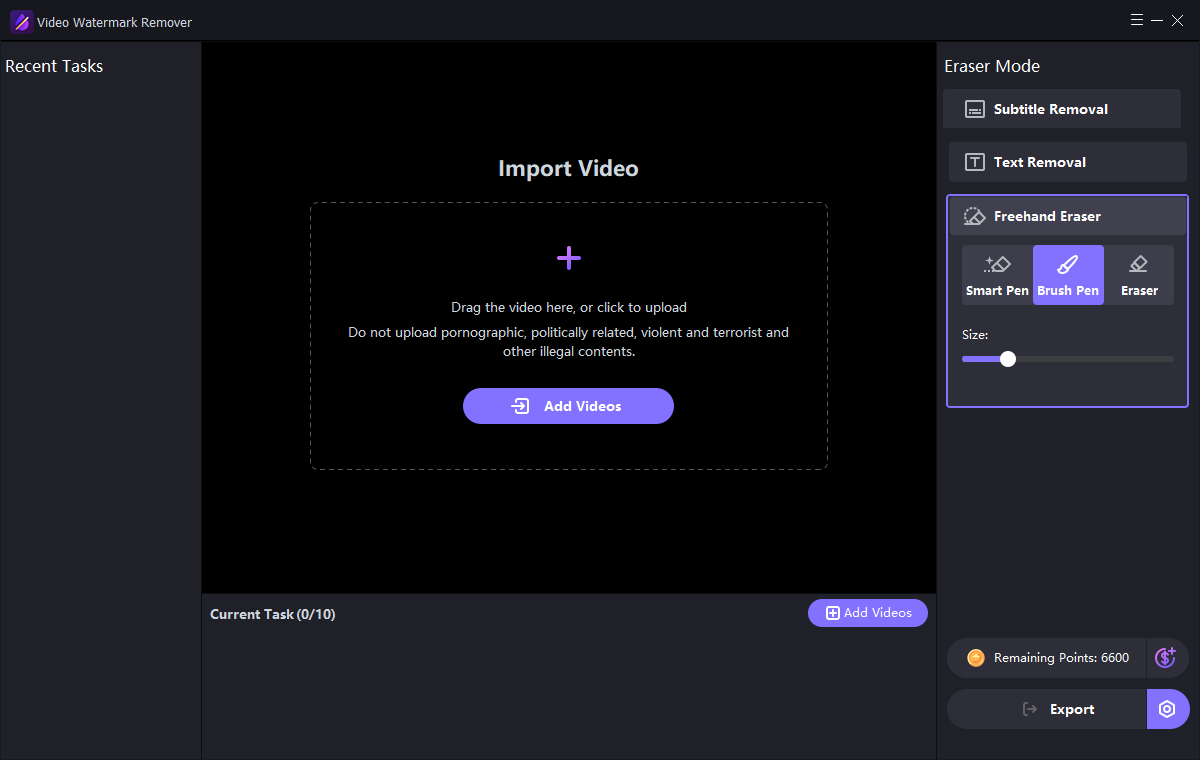 Use freehand controls for irregular marks and precise manual selections
5. Add a new text, picture, or video watermark
Apply updated branding after cleanup
- Open the Add Watermark task and load the destination video.
- Choose a text, picture, or video watermark.
- Set its position and visible time range.
- Adjust transparency, font, size, and other available styling controls.
- Preview the watermark over bright, dark, and moving scenes.
- Export and play the result in a normal media player.
Keep the new watermark readable without covering faces, captions, product details, or other important content.
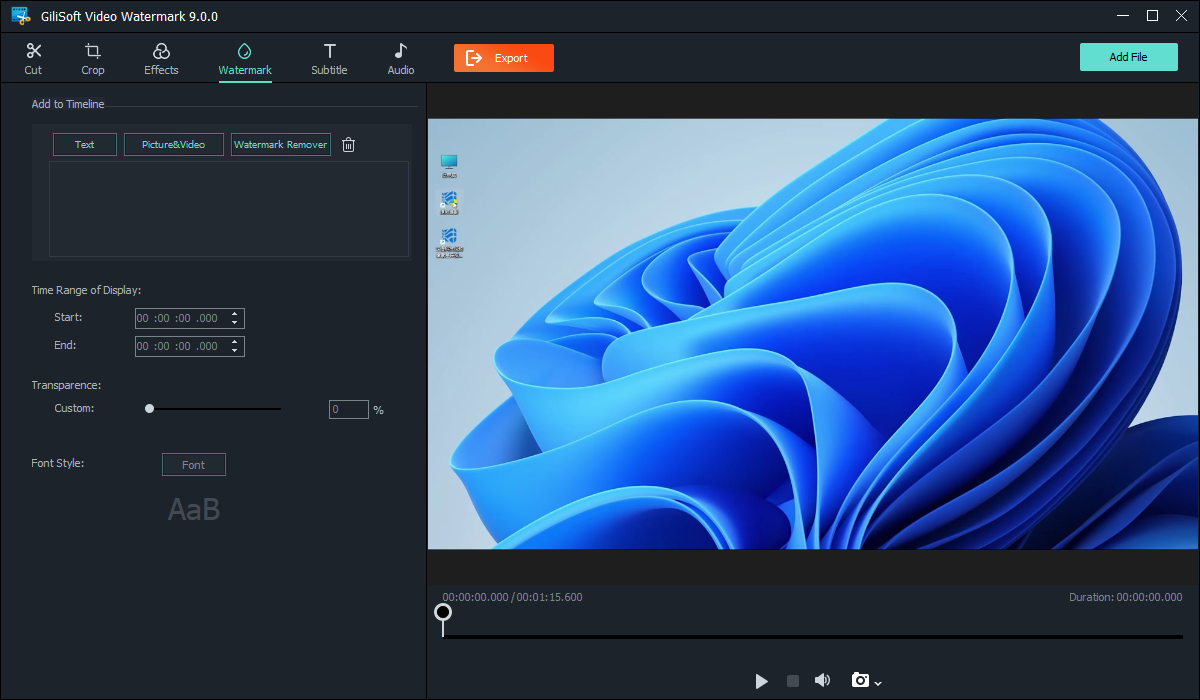 Add new branding and control its appearance and visible time range
Related picture, video, and audio tools
The same interface provides entry points to related utilities. Choose them when the media project needs more than watermark cleanup.
Picture tools
Open image eraser, background removal, enhancement, old photo repair, or batch watermark tasks from the picture category.
Video tools
Move between AI video watermark removal, quick video cleanup, and add-watermark tasks.
Audio tools
Access voice cloning, text-to-audio, or speech-to-text tools when the wider media project also needs audio work.
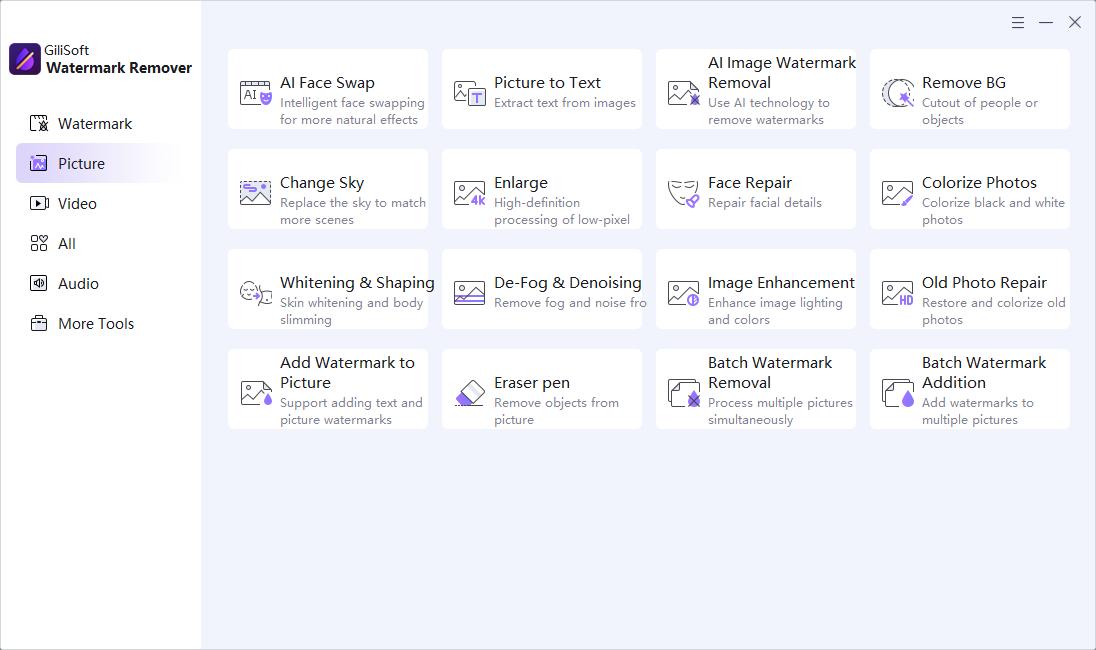 Picture cleanup and repair utilities
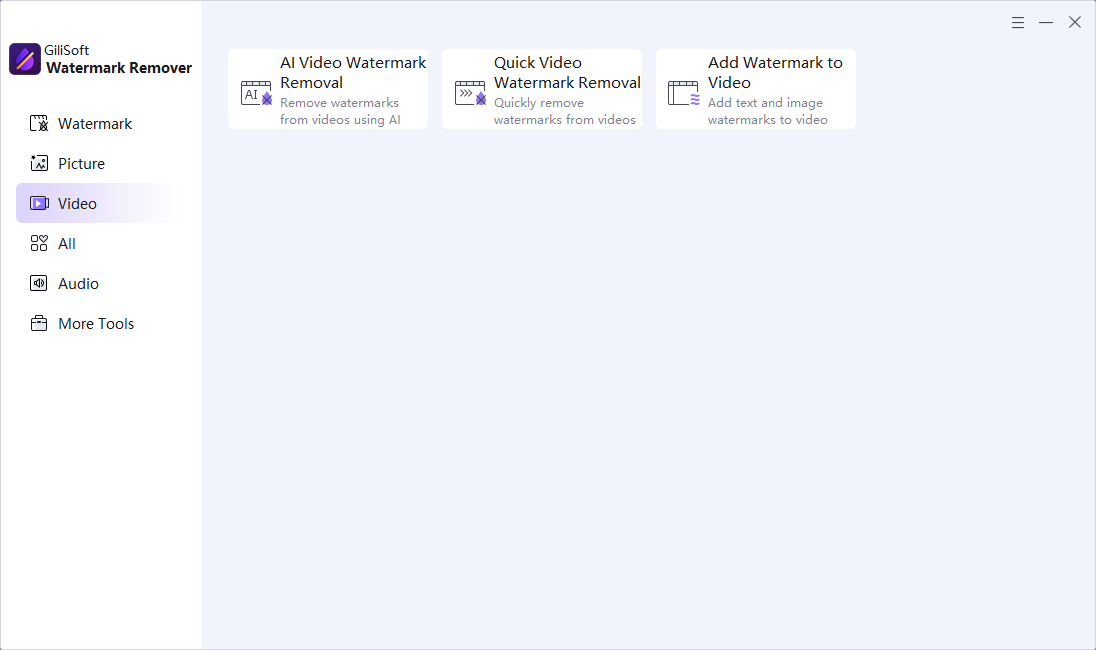 Video cleanup and watermark utilities
Final Watermark Remover checklist
Watermark Remover Help by Task
Choose the focused guide for the media and visible element you need to clean.
Images and screenshots
Remove a photo watermarkRemove a photo logoRemove photo textClean a screenshotVideo logos and text
Remove a video watermarkRemove a video logoRemove a video overlayRemove burned-in subtitlesBatch work and branding
Batch watermark removalRemove without croppingAdd photo watermarksAdd text to videoFocused GiliSoft tools
MarkEase for imagesClipMark for videoSubtitle RemoverMore cleanup help
Offline photo cleanupRemove an objectVideo branding and cleanupCombined product
Product detailsBuy Watermark RemoverDownload TrialUse GiliSoft Watermark Remover for this guide
Download TrialOne Windows workspace for image cleanup, video overlays, subtitle regions, freehand removal, and updated watermarking.
Watermark removal FAQ
Can it clean both images and videos?
Yes. The application provides separate image and video tasks so the selection and preview controls can match the source media.
Which video cleanup mode should I choose?
Use quick removal for a fixed overlay, Subtitle Removal for a caption band, Text Removal for fixed labels, and freehand tools for irregular shapes.
Why does part of a watermark remain?
The selection may not include the complete border, shadow, or longest visible frame. Expand it slightly and preview another representative point.
Why does the cleaned area look patched?
The marked region may be too large or the background may change strongly. Tighten the region and test a shorter section with that motion.
Can I add a new watermark after cleanup?
Yes. The Add Watermark task supports text, picture, or video marks with timing and appearance controls.
How should I handle several files?
Use the available batch image task for repeated image work, and verify each video task's region and time range before export.
Clean watermarks, text, subtitles, and unwanted objects from authorized media
Use GiliSoft Watermark Remover to select the correct task, mark the affected area, preview the result, and export cleaner images or videos.


