
Prepare one video or a folder of videos that need similar watermark, cleanup, or publishing work.
GiliSoft ClipMark User Guide
ClipMark User Guide for Windows
Remove unwanted video overlays, add visible branding, create picture-in-picture video, and prepare subtitles.
- Remove logos, timestamps, text, and other overlays
- Add text, image, shape, or video watermarks
- Generate subtitles and verify every timed edit before export

Start with the ClipMark Task You Need
Each shortcut goes directly to the relevant instructions, screenshot, timing guidance, and output checks. Keep the original video until the exported result has been reviewed.
Remove a logo or overlayClean fixed logos, timestamps, text, and repeated marks.Add visible watermarksPlace text, images, logos, and shapes in the video.Create picture-in-picturePosition and time a second video above the main video.Generate subtitlesCreate captions from speech and review the result.Process and exportConfirm regions, timing, output quality, and destination.
Before you edit a video in ClipMark
Prepare the source files and decide what should change, where it appears in the frame, and when it should be active on the timeline.
Decide whether you are adding a visible mark, cleaning an existing overlay, creating picture-in-picture, or generating subtitles.
Record when the mark or overlay appears so the operation can be limited to the correct section.
Select an output folder with enough space and keep the original source available until the result is verified.
Preview the beginning, middle, and end of the source before editing. A watermark that moves, changes size, or appears intermittently may need more than one region or time range.
1. Open the ClipMark task you need
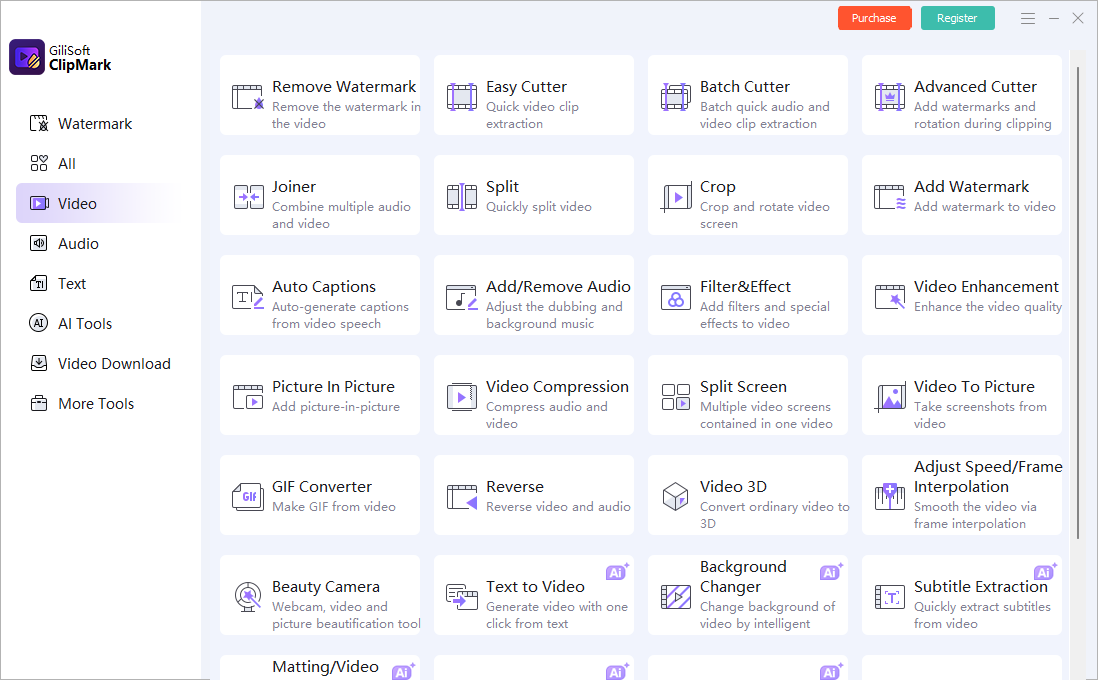
Start from the watermark and video publishing workspace
- Open ClipMark and choose the watermark-related task center.
- Select Add Watermark when the goal is visible branding or an overlay.
- Select Remove Watermark or Remove Logo when an unwanted mark must be cleaned.
- Choose the subtitle task when spoken content needs captions.
- Add the source video or folder and review the available output controls.
The task center keeps branding, cleanup, video overlay, and subtitle work close together without requiring a full nonlinear editor.
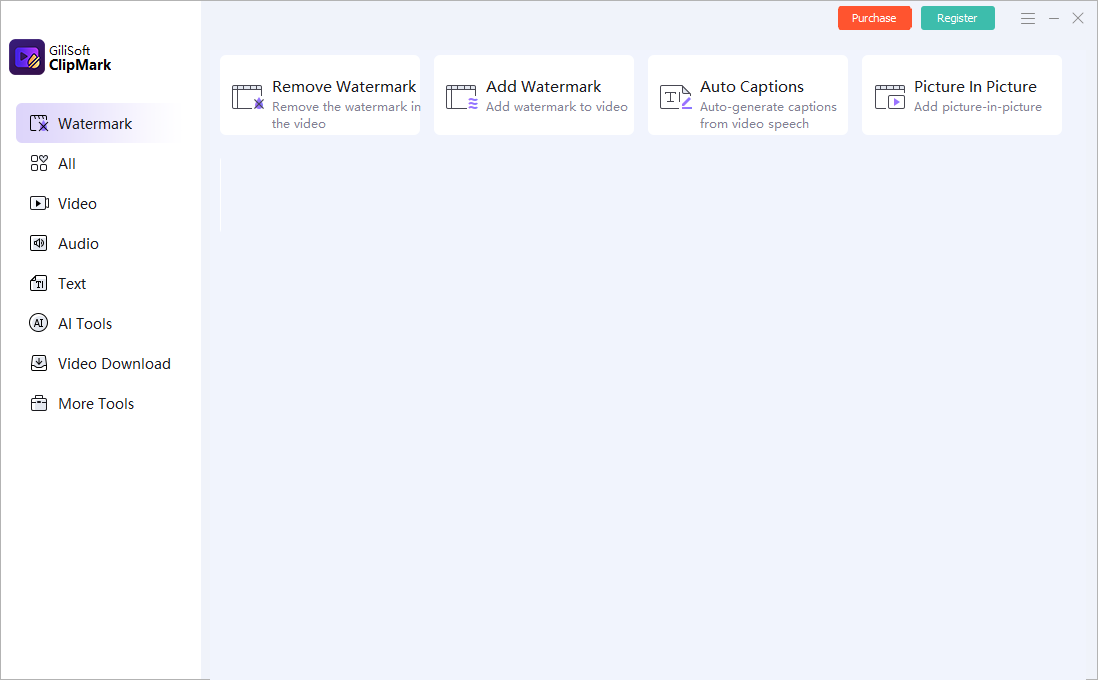 Choose the ClipMark task that matches the intended result
2. Remove a logo, timestamp, or video watermark
Mark the unwanted area and limit cleanup to the right time
- Add the source video and open the logo or watermark removal task.
- Move the playhead to the first frame where the unwanted mark is visible.
- Draw a cleanup region tightly around the logo, timestamp, label, or fixed overlay.
- Set the start and end time for that region.
- Add another region when multiple marks appear in different positions.
- Preview the cleanup before exporting the complete video.
Keep the selected region close to the visible mark. An unnecessarily large cleanup area can affect more of the surrounding picture than needed.
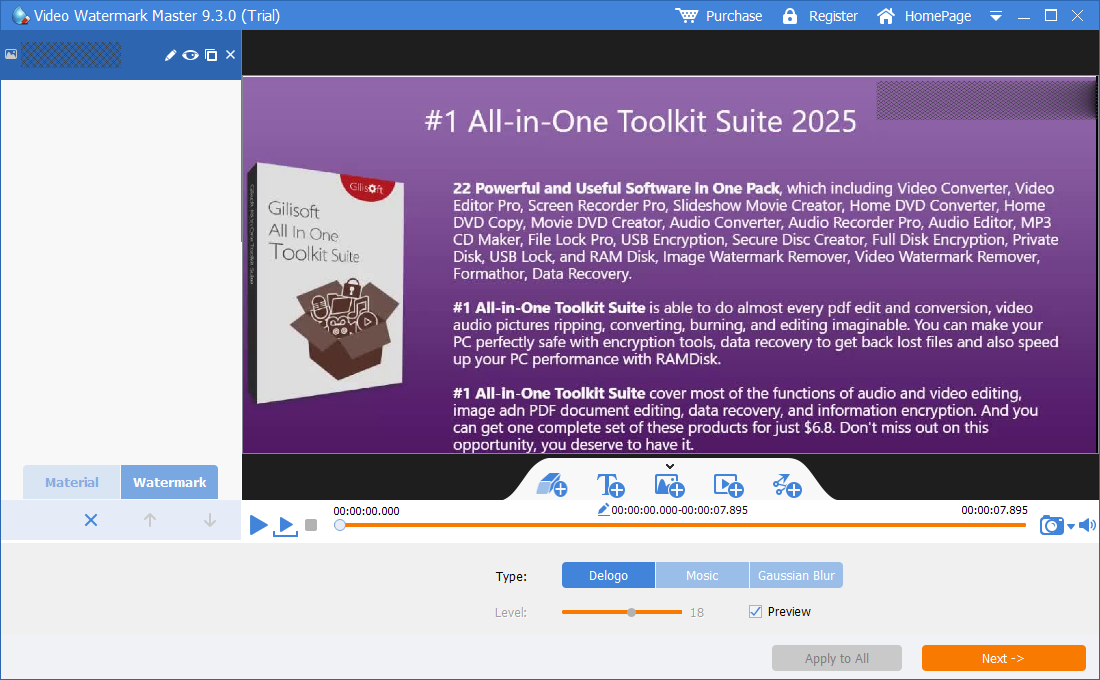 Select unwanted overlay areas and control when cleanup is active
Fast cleanup
Use the standard cleanup path for simpler fixed logos, timestamps, labels, and overlays with a relatively consistent background.
Best starting point for straightforward marksAI-assisted cleanup
Use AI cleanup when the mark overlaps motion, gradients, faces, or detailed backgrounds that are harder to reconstruct with a simple region.
Review the required AI credits before processingMultiple regions
Create separate regions and time ranges when marks appear in different corners or change during the video.
Preview every transition between regions3. Add text, image, logo, or shape watermarks
The setup is shared across watermark types: choose the asset, position it, adjust its appearance, and decide when it should be visible.
Build a visible branding or information layer
- Open Add Watermark and import the source video.
- Choose Text, Image, Logo, or Shape according to the mark you need.
- Place the watermark in the frame and adjust its size.
- Set transparency, style, color, or other available appearance controls.
- Set the beginning and ending time for the watermark.
- Preview the result at different points in the timeline.
Use short text and clear logos that remain readable on smaller screens. Keep important subtitles, faces, and interface details unobstructed.
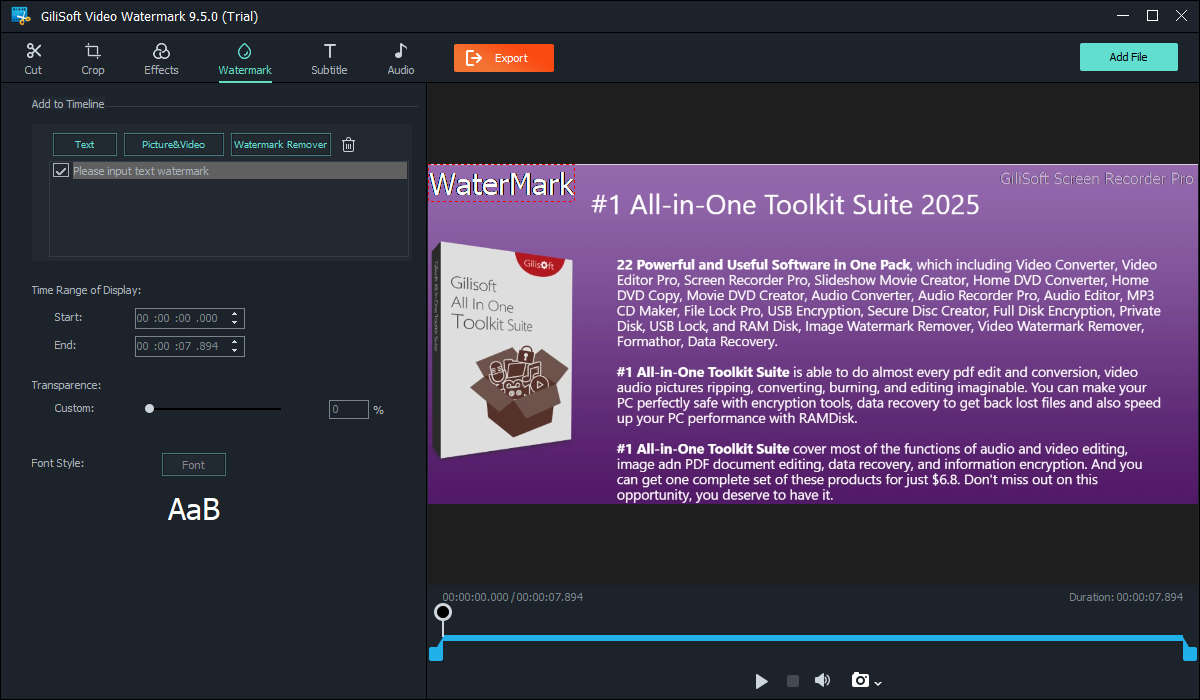 Add and position visible watermarks before video export
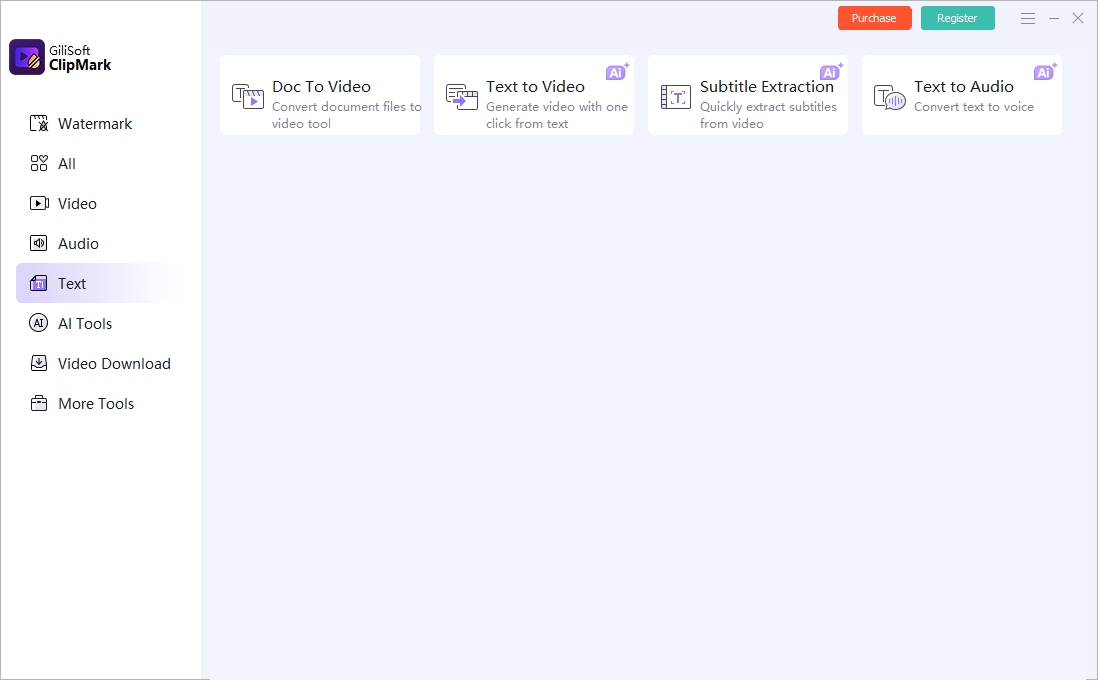 Create text marks, labels, or visible notices
Image, logo, and shape marks
Import a transparent logo or image for branding, or use a shape layer for highlights, masks, callouts, and controlled visual emphasis. Apply the same position and timing checks used for text.
4. Add a video watermark or picture-in-picture overlay
Place a second video above the main video
- Open the video watermark or video-layer task.
- Load the main video and choose the overlay video.
- Resize and position the overlay in the preview frame.
- Set the start and end time for the overlay.
- Preview the entry, active section, and exit of the picture-in-picture layer.
- Export a short test when timing or composition needs closer review.
This is useful for commentary, demonstrations, reaction windows, speaker inserts, branded motion elements, and supporting video examples.
 Position and time a second video layer above the main video
5. Generate and review smart subtitles
Use the subtitle task when spoken video content needs captions for lessons, demonstrations, social publishing, or internal delivery.
Generate
Add the source video, choose the appropriate subtitle or speech-recognition task, and start generation for the spoken content.
Allow the complete audio to be analyzedReview
Correct names, technical terms, punctuation, and line breaks, then check that each caption appears with the intended speech.
Human review improves publishing qualityDeliver
Choose the available subtitle-ready output and preview captions on the final video before sharing or publishing.
Check readability on desktop and mobileListen through the finished video once with captions enabled. Pay particular attention to names, numbers, technical terms, punctuation, line length, and subtitle timing around scene changes.
6. Process repeated tasks and export the finished video
Check one result before applying the workflow broadly
- Confirm every watermark, removal region, overlay, and subtitle time range.
- Review the selected output format, destination, resolution, and quality controls.
- Export a representative video first when processing a folder or repeated set.
- Open the result and inspect the beginning, transitions, moving scenes, and ending.
- When the test is correct, continue with the remaining videos that use the same setup.
Preview the visible result and confirm output before repeated processingFinal ClipMark checklist
Confirm these six points before you publish or process the remaining videos.
ClipMark troubleshooting and FAQ
Why does the watermark reappear later in the video?
The selected cleanup time range may end too early, or the mark may appear again in another position. Extend the range or add another region for the later section.
Why does the cleaned area look blurred or unstable?
Tighten the selected region and preview it over moving frames. For motion, gradients, faces, or detailed texture, try AI-assisted cleanup.
Can I remove more than one watermark?
Yes. Create separate regions and time ranges for marks that appear in different positions or at different moments.
Why is my added logo covering subtitles?
Move or resize the logo, reduce its opacity, or limit its time range so it does not overlap important captions and interface details.
Why is the picture-in-picture video out of sync?
Review the overlay start time and source duration, then preview the entry and ending around the affected section before exporting again.
Why do generated subtitles need correction?
Speech recognition can misread names, accents, punctuation, music, or technical terms. Review the text and timing before final delivery.
More ClipMark Guides by Task
Continue with the guide that matches the exact video cleanup, branding, publishing, or troubleshooting task. These pages provide focused instructions while this user guide remains the central ClipMark workflow.
Remove Logos and Video Overlays
Add Video Watermarks
Picture-in-Picture and Publishing
AI Cleanup and Troubleshooting
Smart Subtitles
Ready to clean or brand your video?
Use ClipMark to remove unwanted overlays, add visible watermarks, create picture-in-picture video, and prepare subtitles.


