
Do not download, copy, install, edit, or save files on the affected drive, partition, USB device, or memory card.
GiliSoft Data Recovery User Guide
How to Recover Deleted and Lost Files on Windows
Stop using the affected storage, choose the recovery mode that matches the loss, scan for recoverable files, preview important results, and restore selected data to a different drive.
Affected Drive
Recovery ScanFiles foundPreview checkedSafe destination

Before you scan: prevent further data loss
New files can overwrite recoverable data. The safest first step is to stop using the affected storage and keep recovery activity away from it.
If Windows reports RAW, inaccessible, or unformatted storage, scan for data before formatting or running file-system repair.
Recover files to a different physical drive with enough free space. Never restore them back to the source during the first recovery attempt.
When the affected location is the Windows system drive, minimize normal PC use. Install and run recovery software from another suitable drive whenever practical.
1. Choose the recovery mode that matches the loss
Start from what happened, not only from the file type
- Open GiliSoft Data Recovery.
- Choose deletion recovery for files removed normally or with Shift+Delete.
- Choose Recycle Bin recovery after the bin was emptied.
- Choose formatted-drive recovery after a mistaken format.
- Choose lost-partition or removable-media recovery when the storage layout or device is the problem.
- Use deep recovery when a normal scan does not find enough useful results.
The recovery category determines where and how the software searches. Choose the closest data-loss event before starting a long scan.
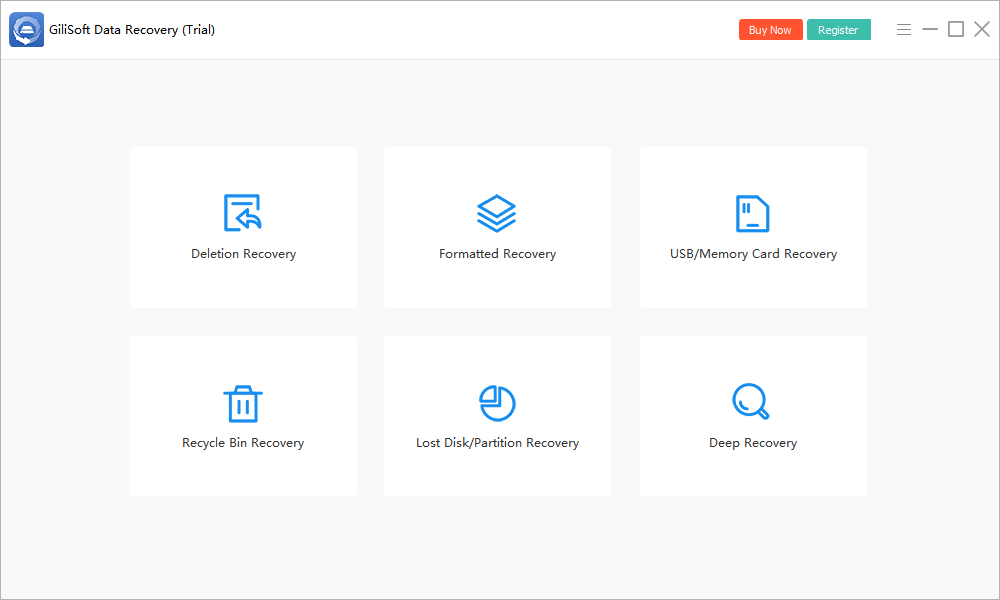 Choose the recovery mode that best matches what happened
Deleted files
For accidental deletion, Shift+Delete, and ordinary folder cleanup.
Recycle Bin
For files that can no longer be restored through the Windows Recycle Bin.
Formatted drive
For data lost after mistaken or unexpected drive formatting.
RAW or inaccessible storage
Scan for files before Windows repair or reformatting changes the device.
Lost partition
For a deleted, missing, damaged, or no-longer-visible partition.
USB or memory card
For removable drives, SD cards, microSD cards, and camera storage.
2. Recover accidentally deleted files
Scan the original location and restore selected results
- Choose Deletion Recovery.
- Select the drive or location where the files existed before deletion.
- Start the scan and allow the initial results to populate.
- Filter by path, file type, size, date, or name when those details are available.
- Preview important files before selecting them.
- Recover the selected items to a different physical drive.
Prioritize irreplaceable documents, photos, project files, and archives before restoring less important data.
 Scan the original file location for deleted data
3. Recover files after emptying the Recycle Bin
Search beyond the normal Windows restore option
- Stop saving files to the affected Windows drive.
- Open Recycle Bin Recovery.
- Select the volume that held the deleted files.
- Run the scan and filter the results by type or original path.
- Preview recoverable files when available.
- Restore selected items to another drive and open them to verify the result.
Emptying the Recycle Bin removes the normal restore path, so avoiding new writes becomes especially important.
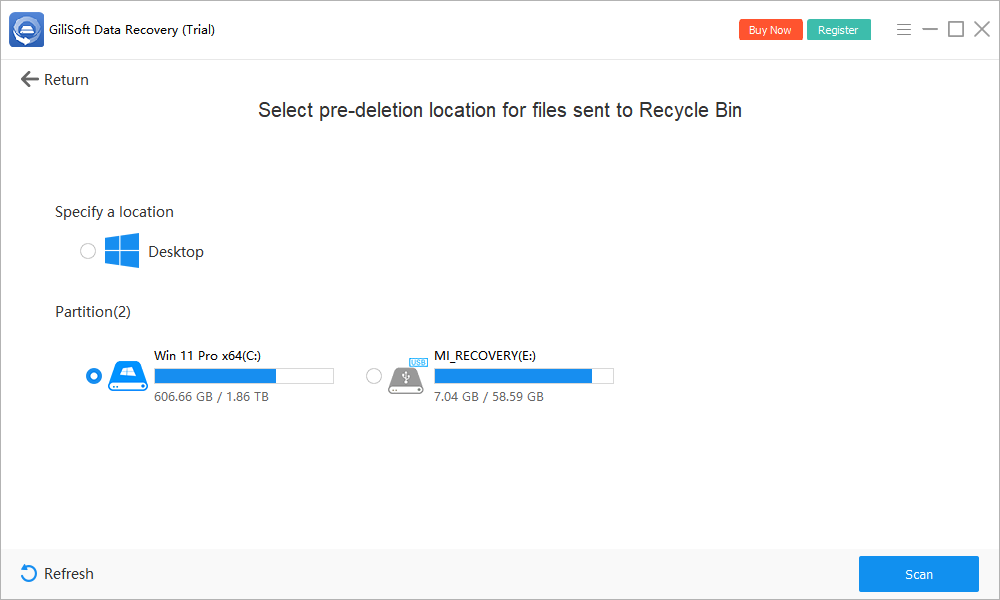 Scan for files no longer available through Recycle Bin restore
4. Recover files from formatted, RAW, or inaccessible drives
Do not create a new file system or copy fresh data onto the device before recovery. Scan first, then repair or reformat only after important files are safe.
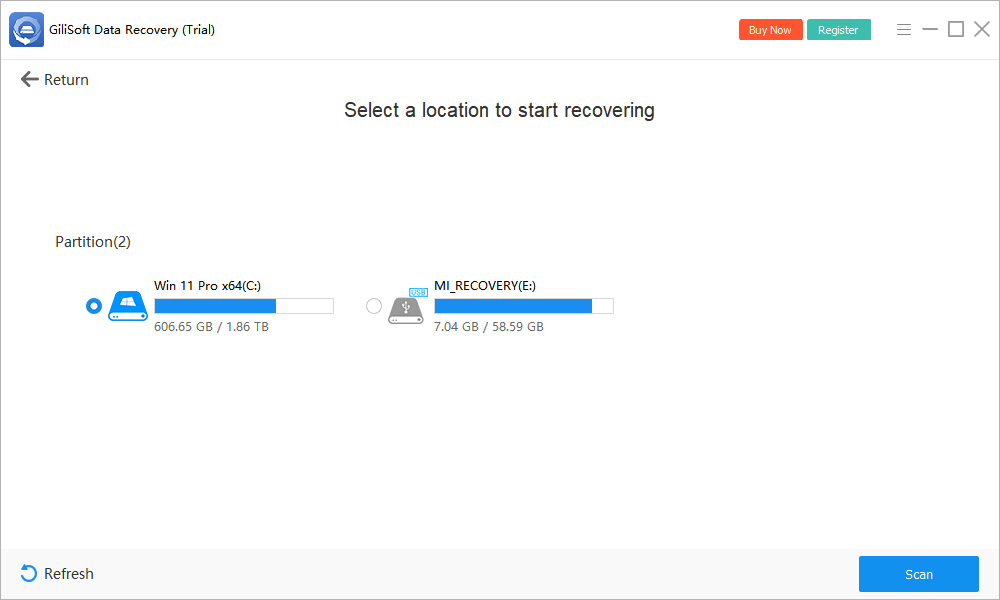 Search for files after a mistaken or unexpected format
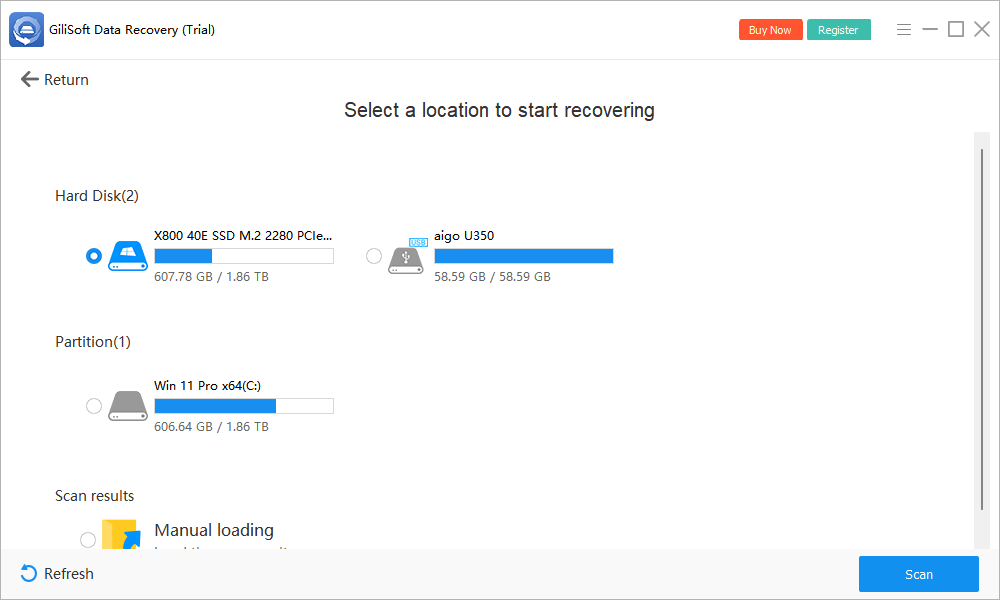 Use deeper scanning when the ordinary result is incomplete
Formatted storage
Select the formatted volume and check the scan results before any new files are written to it.
RAW drive
When Windows shows RAW, 0 bytes, or asks to format, recover the data before changing the file system.
Inaccessible volume
Keep the connection stable and scan the logical storage before attempting repairs that modify it.
5. Recover files from a lost or deleted partition
Identify the former partition by size and location
- Choose Lost Partition Recovery.
- Select the physical disk that contained the missing partition.
- Scan for lost or deleted partition records.
- Compare candidates using expected size, location, file system, and recognizable folders.
- Open the likely result and preview important files.
- Recover selected data to another disk before rebuilding the partition layout.
Avoid creating a replacement partition in the same space before important files have been recovered.
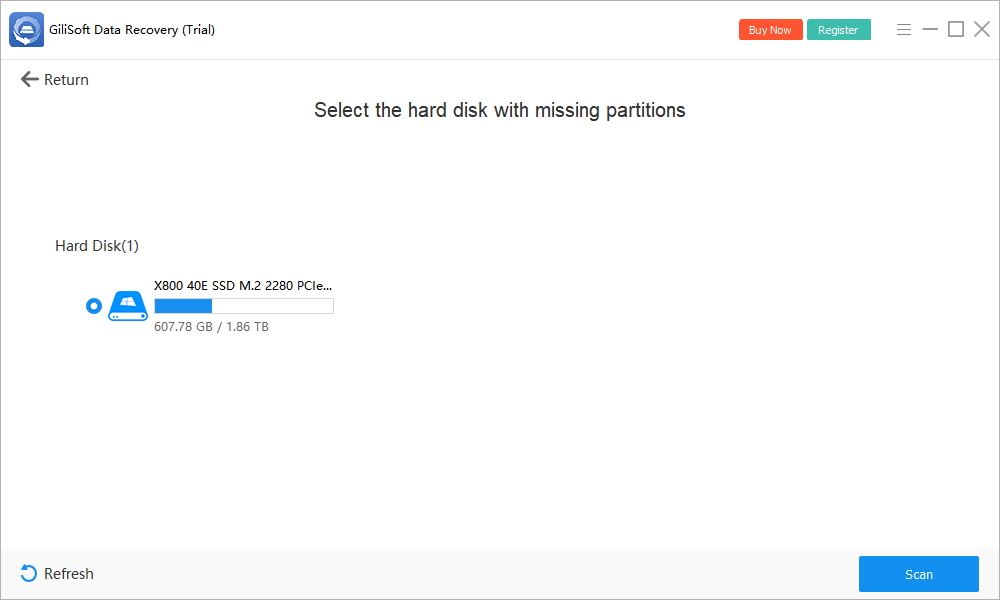 Search the physical disk for the missing partition and its files
6. Recover files from USB drives and memory cards
Keep the removable device connected and unchanged
- Stop using the USB drive, SD card, microSD card, or camera card.
- Connect it directly or through a stable card reader.
- Choose USB and Memory Card Recovery.
- Select the correct removable device by capacity and drive letter.
- Scan, filter, and preview the results.
- Recover files to the computer or another drive, never back to the source card.
For camera media, do not take new photos or videos after discovering the loss.
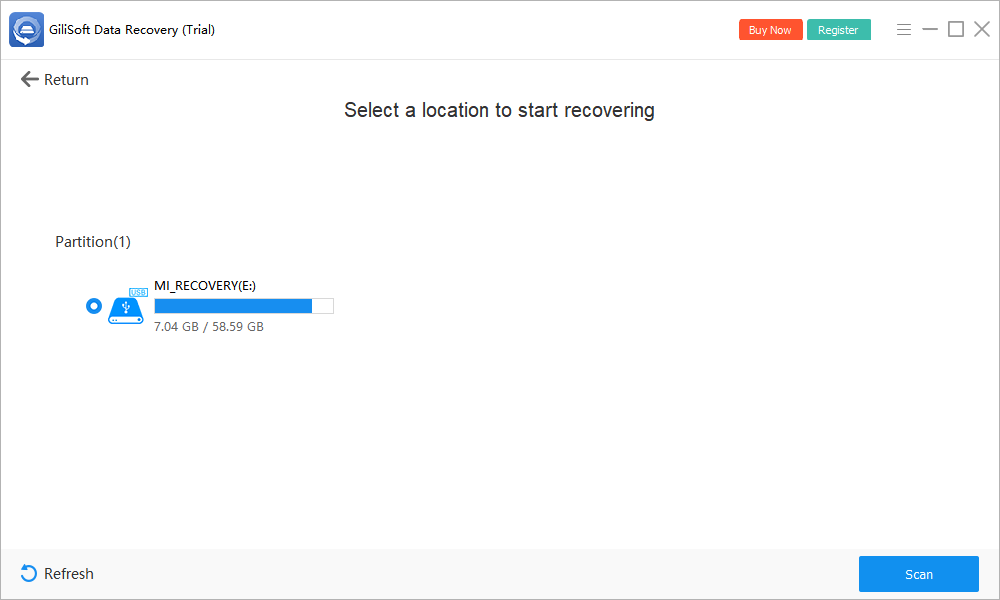 Select the removable device and restore data to another drive
7. Use deep recovery when a normal scan is not enough
Search more thoroughly for complex data loss
- Review the normal scan results first.
- Start Deep Recovery when important files or folders are still missing.
- Leave the source connected and prevent sleep or disconnection during the scan.
- Filter large result sets by file type, size, date, or recognizable content.
- Preview representative files before recovery.
- Restore the most important results to another drive and verify them.
Deep scans can take longer and may find files without their original names or folder structure, so preview and content-based filtering matter more.
Run a deeper scan when the initial result is incomplete8. Preview, select, and recover files safely
Verify before restoring a large result set
- Use file type, path, name, date, and size filters where available.
- Preview photos, documents, and other supported files.
- Select the most valuable files first.
- Choose a destination on a different physical drive.
- Recover the selected results.
- Open the restored files outside Data Recovery and confirm they are usable.
Keep the source device unchanged until the recovered files have been checked and backed up.
Return to the recovery workflow and verify the selected outputFinal data recovery checklist
Confirm these points before ending the recovery session or changing the affected device.
Data Recovery troubleshooting and FAQ
Why are some original file names missing?
When file-system records are damaged or overwritten, a deeper scan may identify file content without recovering the original name or folder structure.
Why is a deep scan taking so long?
Deep recovery examines storage more thoroughly. Scan duration depends on device capacity, connection speed, condition, and the amount of data being searched.
Why can some files not be previewed?
The file may be incomplete, overwritten, fragmented, unsupported for preview, or damaged. Recover important candidates to another drive and verify them there.
Should I format a RAW drive before scanning?
No. Scan for important data first. Formatting changes the source and can reduce the information available to the recovery process.
Can I restore files to the same drive?
Do not use the affected source as the first recovery destination. Restoring there can overwrite other recoverable data.
Is file repair the same as data recovery?
No. Data recovery locates lost or deleted files from storage. File repair attempts to make an existing damaged file usable.
Scan first, preview important files, and recover to a safe destination
Use GiliSoft Data Recovery for deleted files, emptied Recycle Bin data, formatted or RAW drives, lost partitions, USB devices, and memory cards on Windows.


